Organization Ideas,  Our Favorites

DIY Apothecary Jars

DIY Apothecary jars

What is an apothecary jar? Per Dictionary.com Apothecary jar. noun. a small, covered jar, formerly used by druggists to hold pharmaceuticals, now chiefly in household use to hold spices, candies, cosmetics, etc., and sometimes decorated, as a lamp base or flower vase.”

I don’t know about you but I just think they are “stinking cute”. And the possibilities on how you want to make one is endless. I took the easy route in making my DIY Apothecary jars and wanted to share with you.

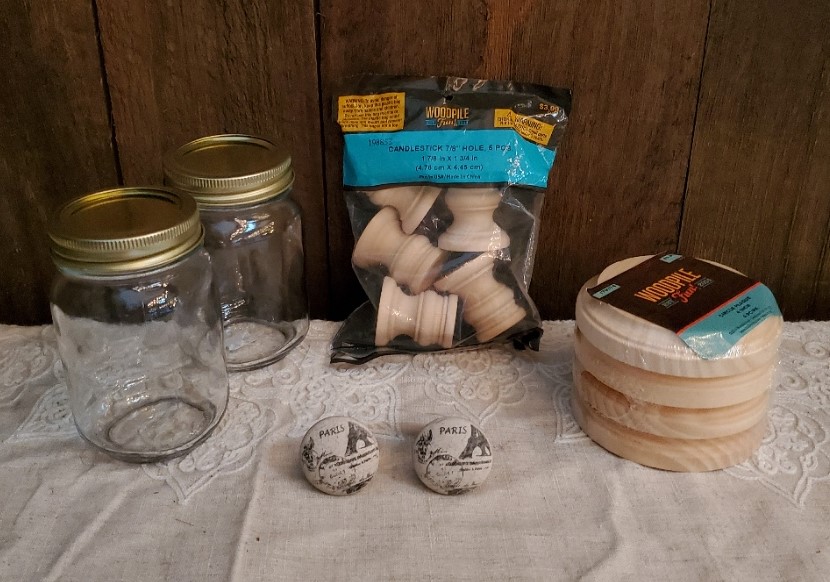
FIRST I found most all of my materials at Hobby Lobby. Here is a list of the items I used:

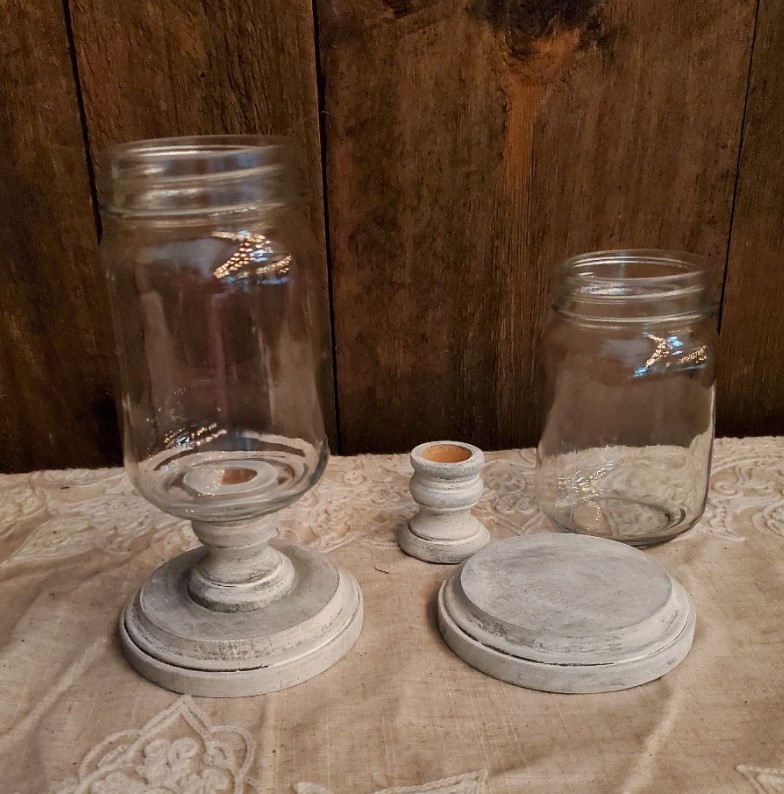
  • 2 Jars with metal lides (see photo below) (you can use any recycled jars but I didn’t have any left at the time of this project)
  • Small round wood pieces (see photo below)
  • Small short wood candle holders (see photo below)
  • 2 decorative cabinet knobs (see photo below)
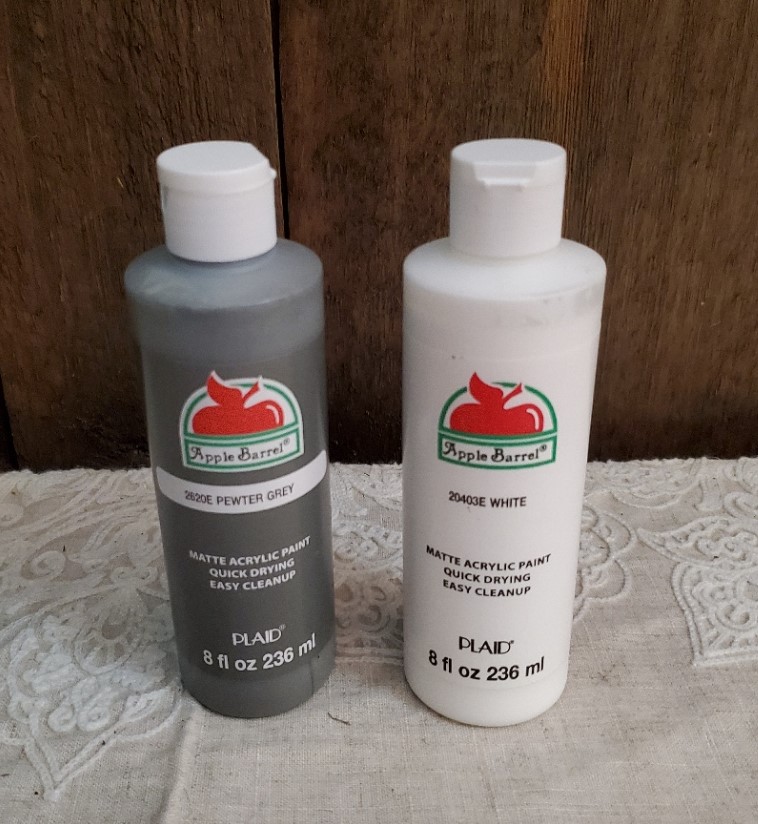
  • Pewter Grey and White acrylic paint (see photo below)
  • Charcoal chalk spray paint
  • Glue
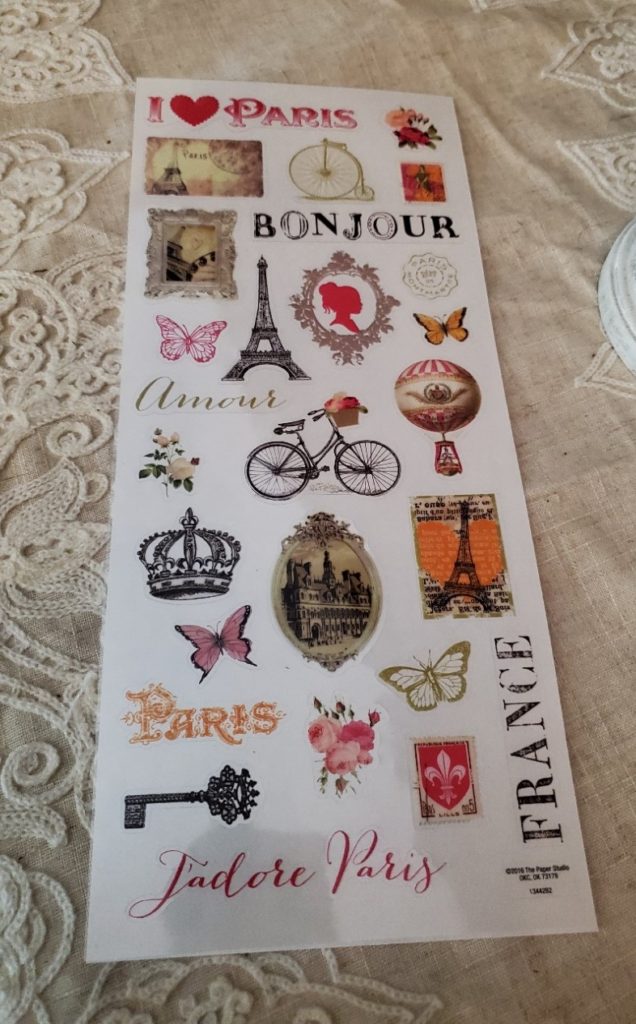
  • stickers for decor
  • POWER TOOLS: drill and dremel
Apothecary jar supplies
Here is a pic of the first 4 items on my list
Paints for apothecary jars
Here are the Pewter Grey and White paints I used.

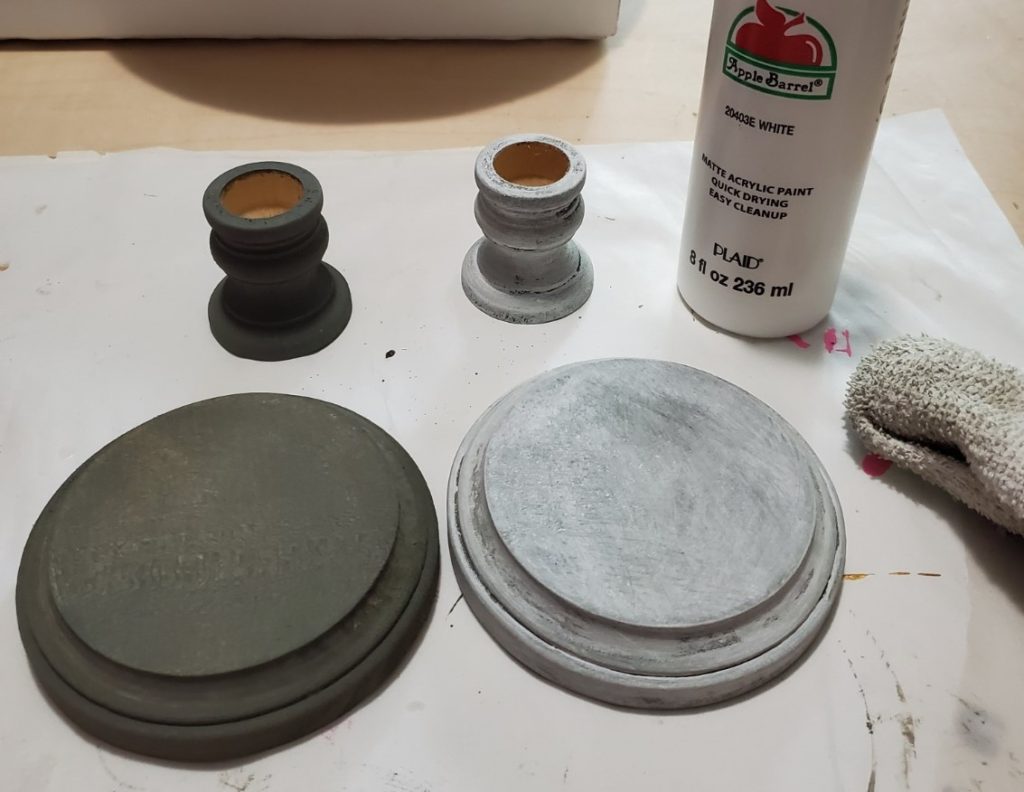
FIRST, I started with the bases. I wanted the distressed look so I used a combination of Pewter Grey and White acrylic paint.
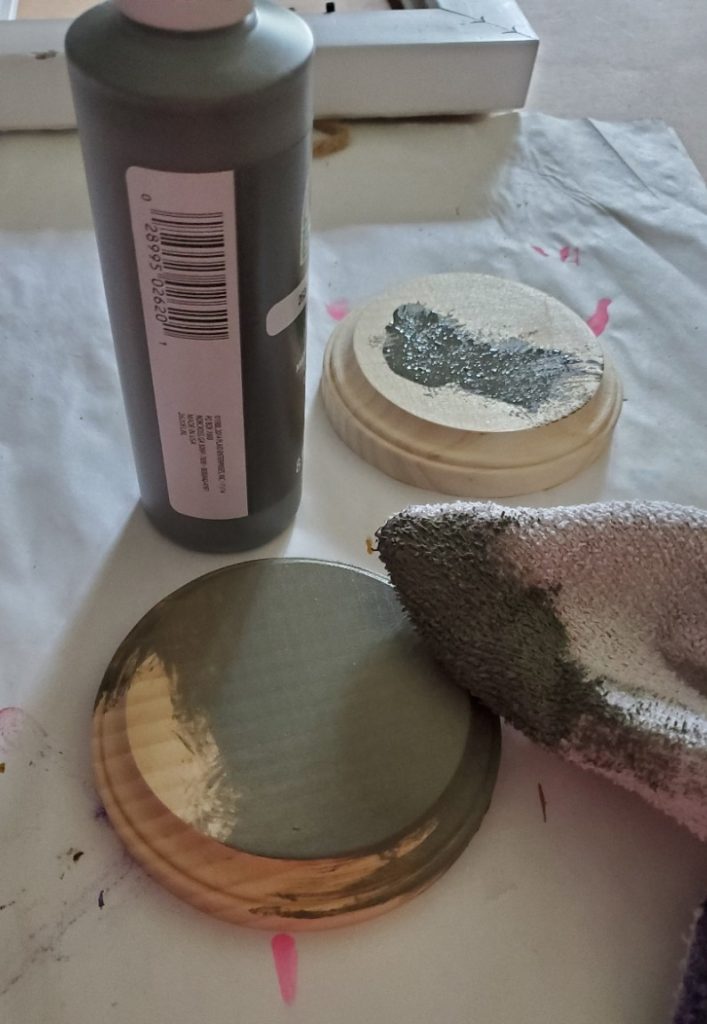
painting apothecary jar base
First, I applied the Pewter Grey paint to the wood round pieces and the wood candle holders with a rag (it dries very quick).

NOW to give it the distressed look.

distressing apothecary jar base
Then I applied the White paint (again with a rag) on top of the Pewter grey and rubbed it off so the Pewter Grey would show through.

NOW come the power tools. There are only 2 things you need to do with the power tools.
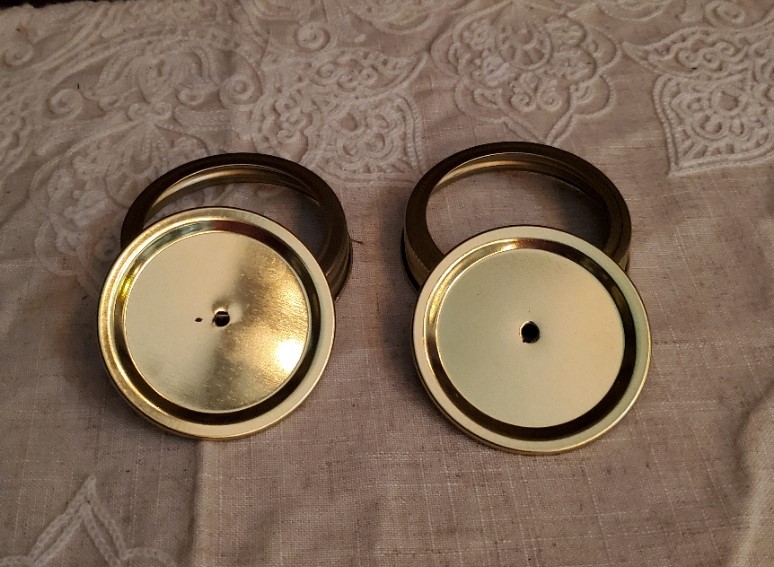
drill hole in lid of apothecary jar
Drill a hole in the top of your lid big enough to attach the cabinet knob. After the hole is drilled GLUE the 2 parts of the lid together. Last thing you need is someone opening your beautiful apothecary jar and the lid falls out.
Spray paint your lid whatever color you want. I chose a Charcoal chalk paint.
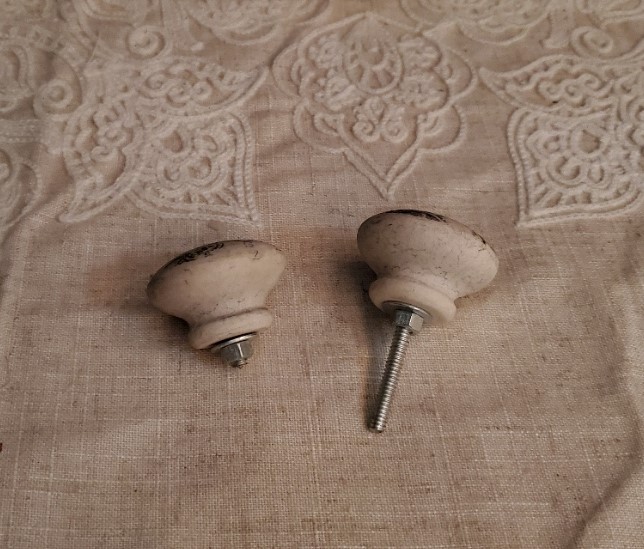
dremel cut the cabinet knob
Use a dremel to cut off a good portion of the length of the bolt on the cabinet knob. Here is pic of one cut and one not cut yet.

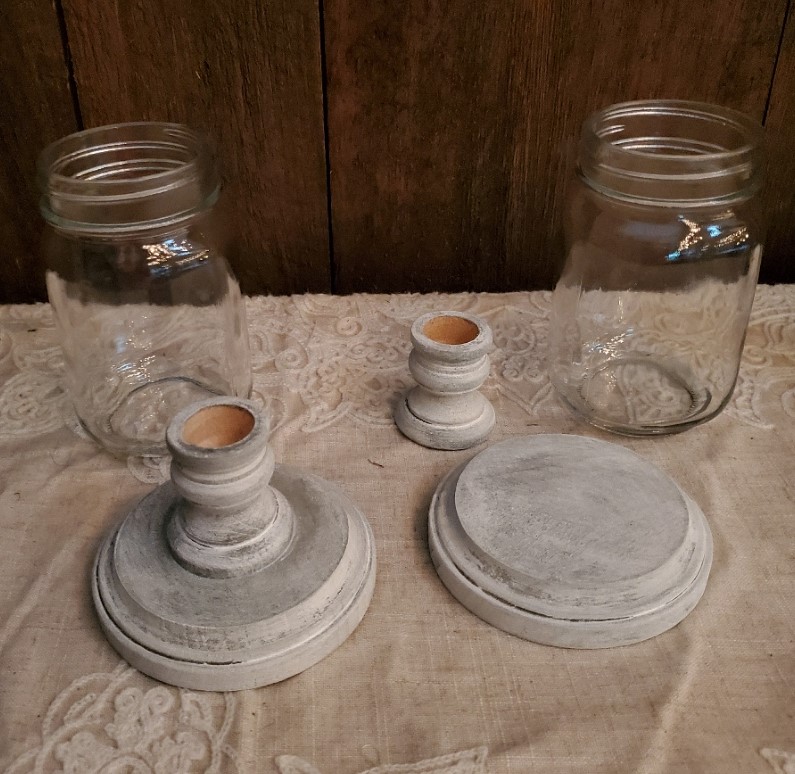
NOW to assemble your pieces.

glue candle holder to base
First glue your candle holder to the round wood piece.
glue jar to candle holder
THEN glue your jar to the top of your candle holder.
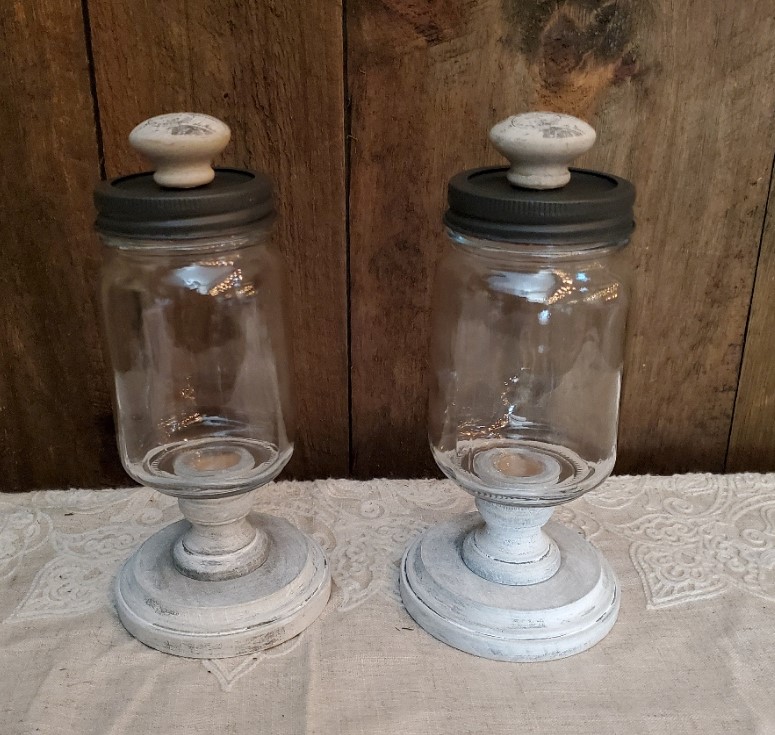
assembly of apothecary jars
Here is the final assembly with the lids and cabinet knobs in place.
sticker for apothecary jars
My cabinet knobs have a “Paris theme” so I found these really cut Paris stickers. My short cut to final decoration.
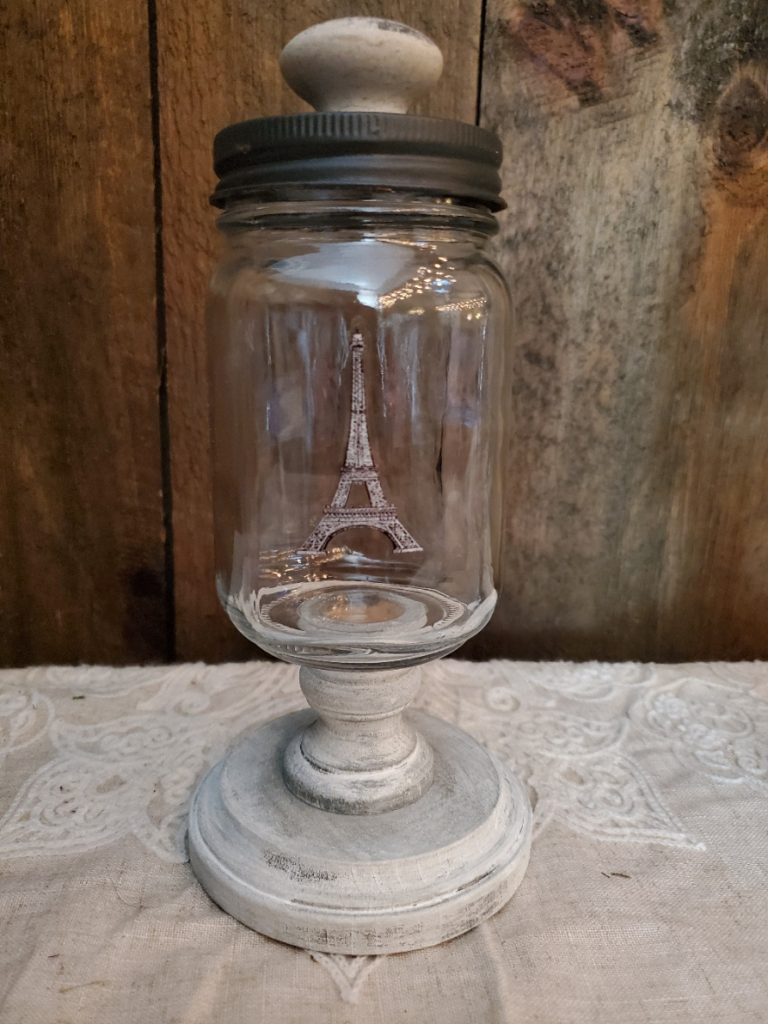
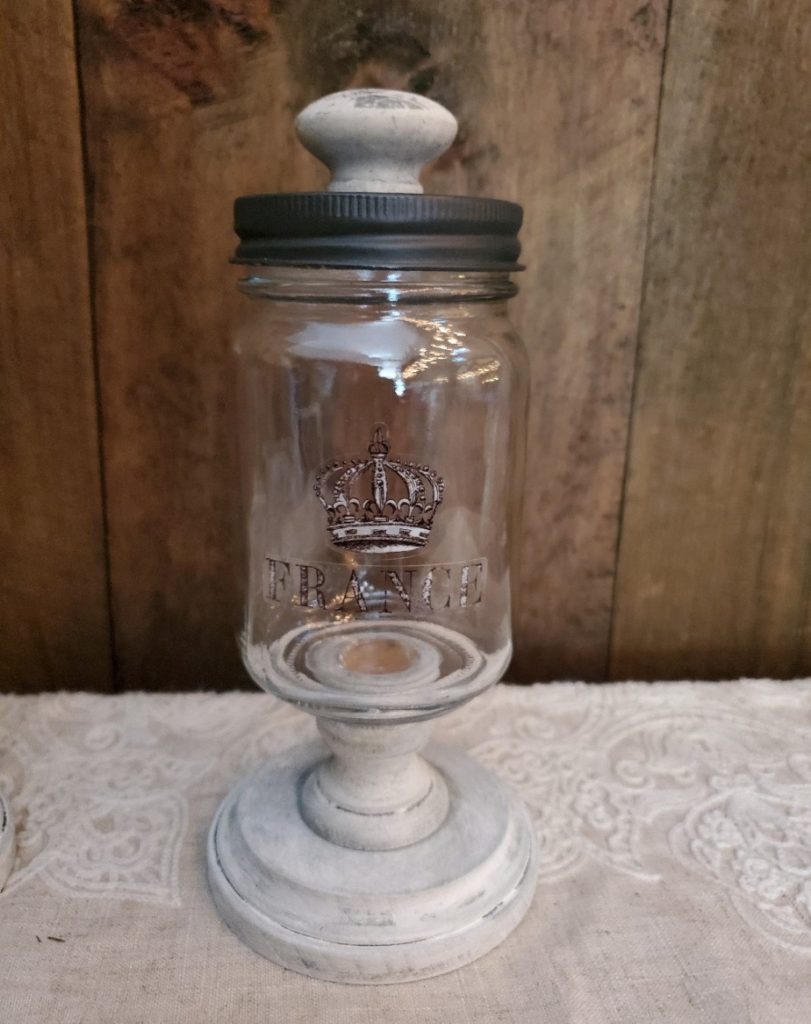
apothecary jar with paris sticker
Here is one jar with a sticker.
apothecary jar with paris sticker
Here is second jar with a sticker.
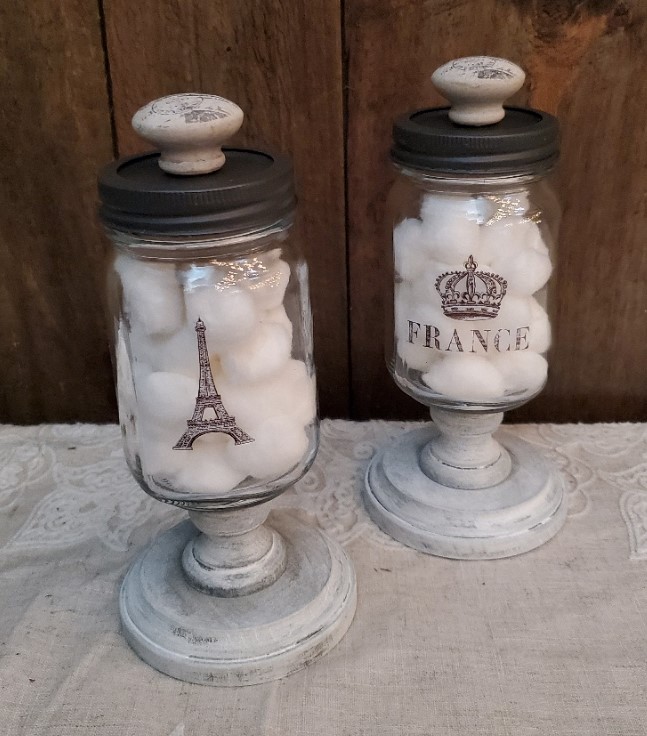
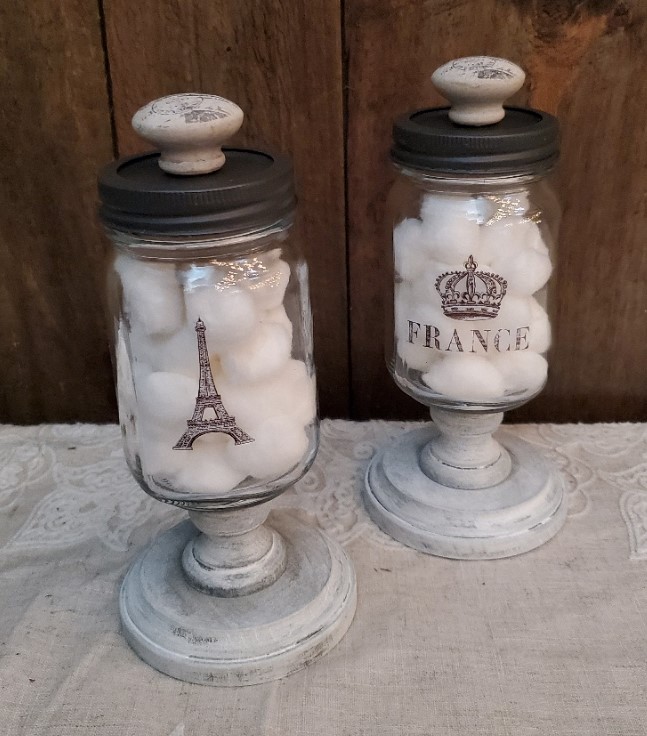
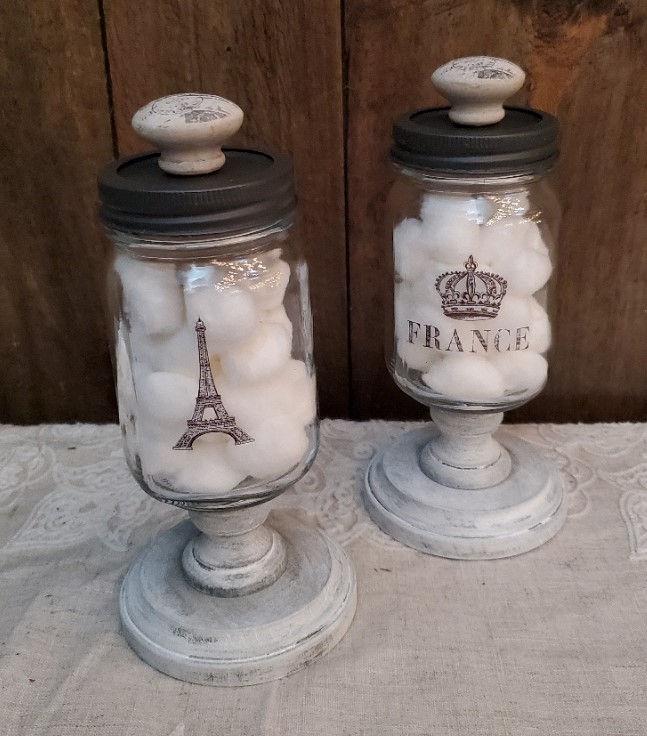
diy apotthecary jars
I put cotton balls in the jars so you could see the final decor.

The fun part of this project is that you can use whatever size and shape jar you want and you can change up the height of your base using different height candle holders. GET CREATIVE and go for it!!!!

Leave a Reply

Your email address will not be published. Required fields are marked *