DIY 2-Tiered Tray
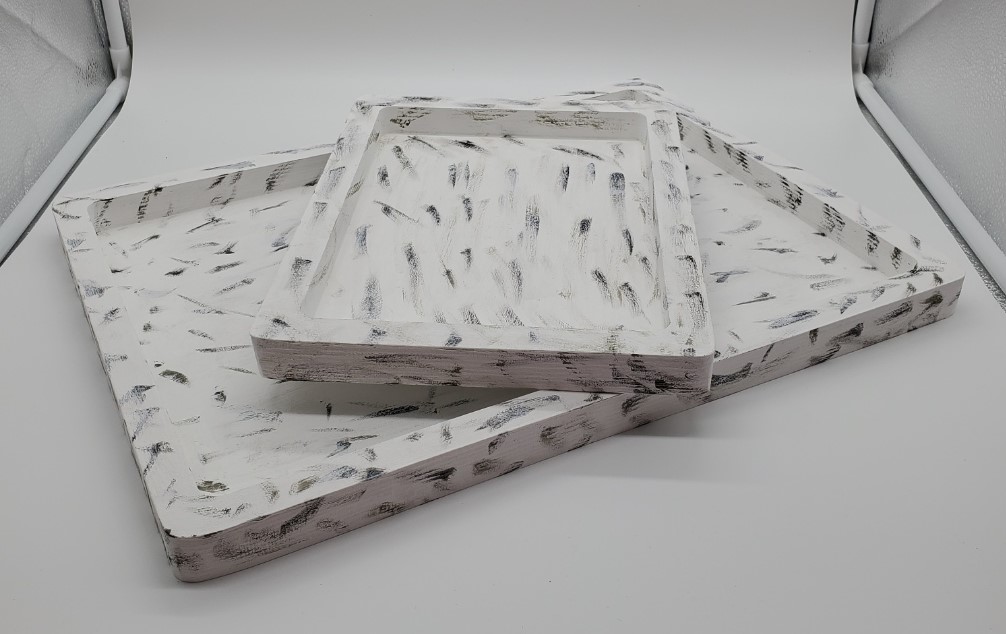
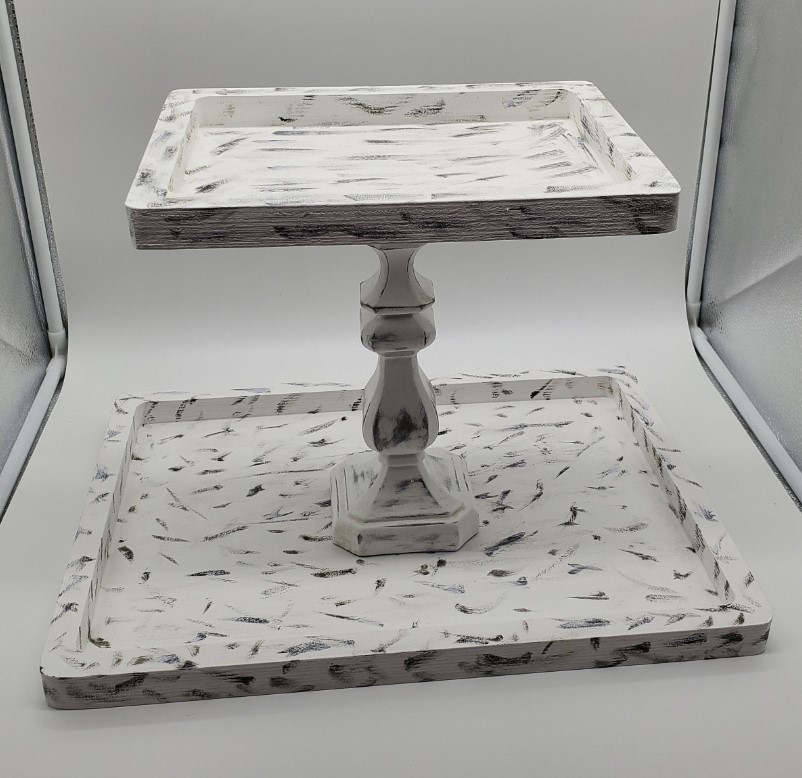
I have always wanted a 2-tiered tray BUT I wanted it to be functional. The 2-tiered trays I see out there do not seem to have a lot of room to put things SO I decided to make my own DIY 2-tiered tray. This was really easy and I know that I will repaint this over and over again as I grow tired of it to make me feel as though I have a new one over and over again. RECYCLE!!!!
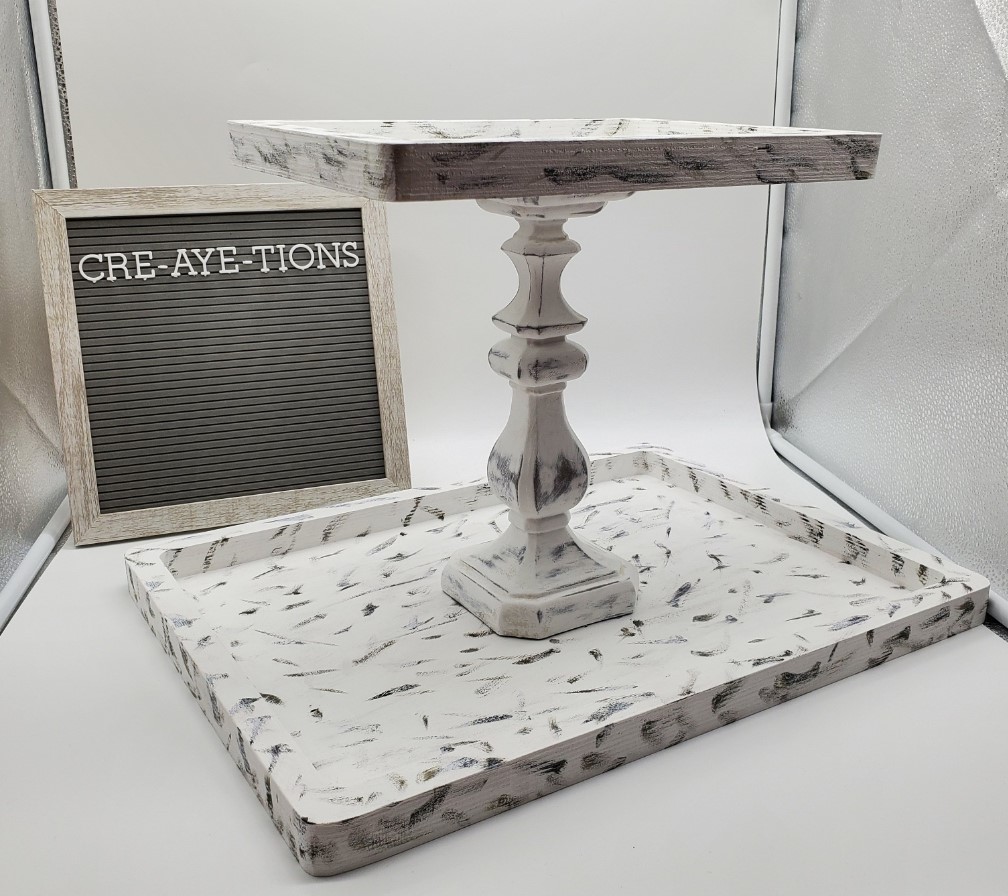
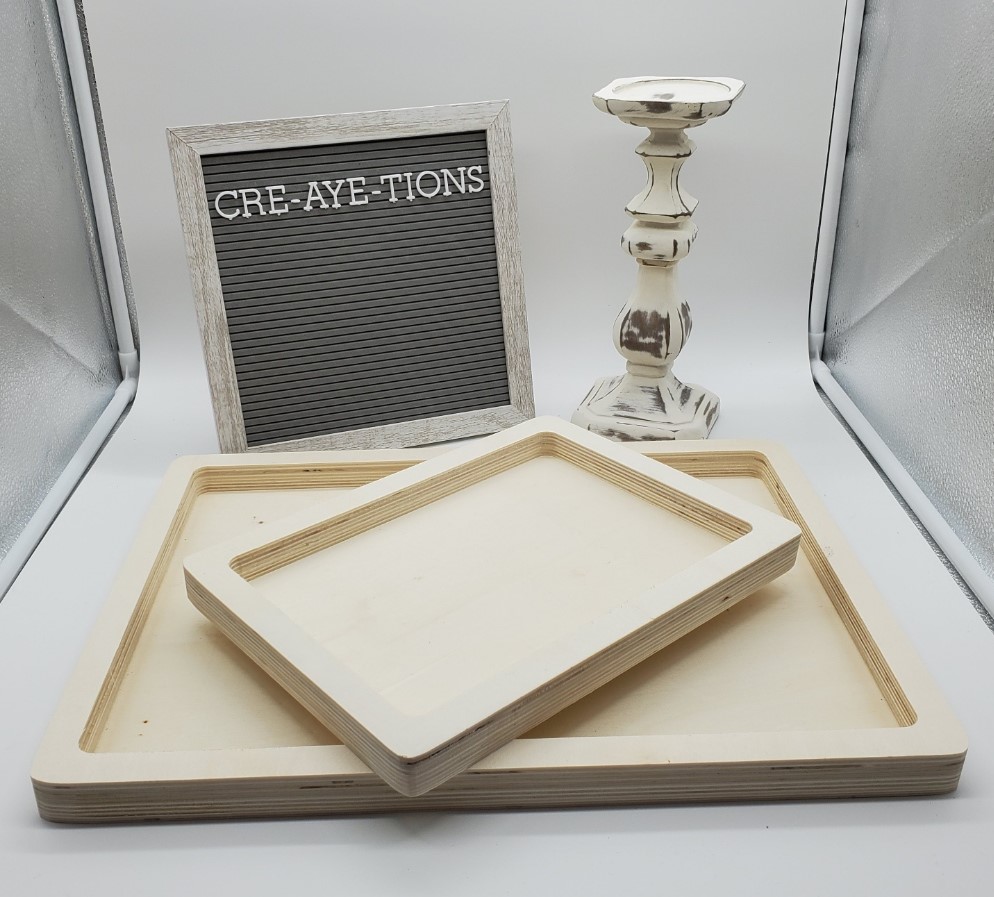
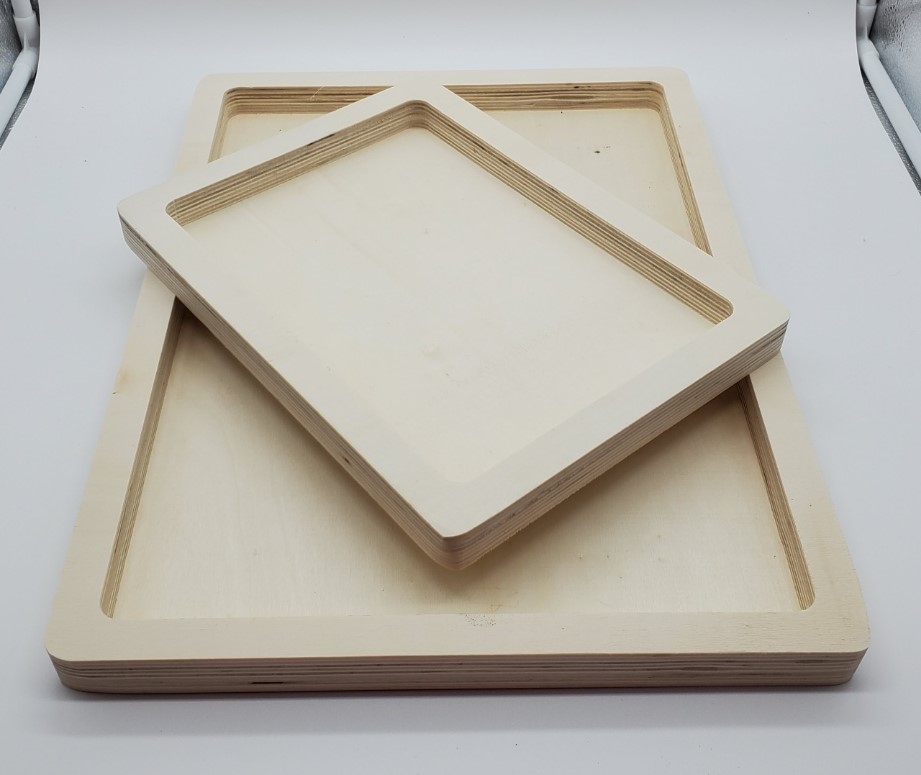
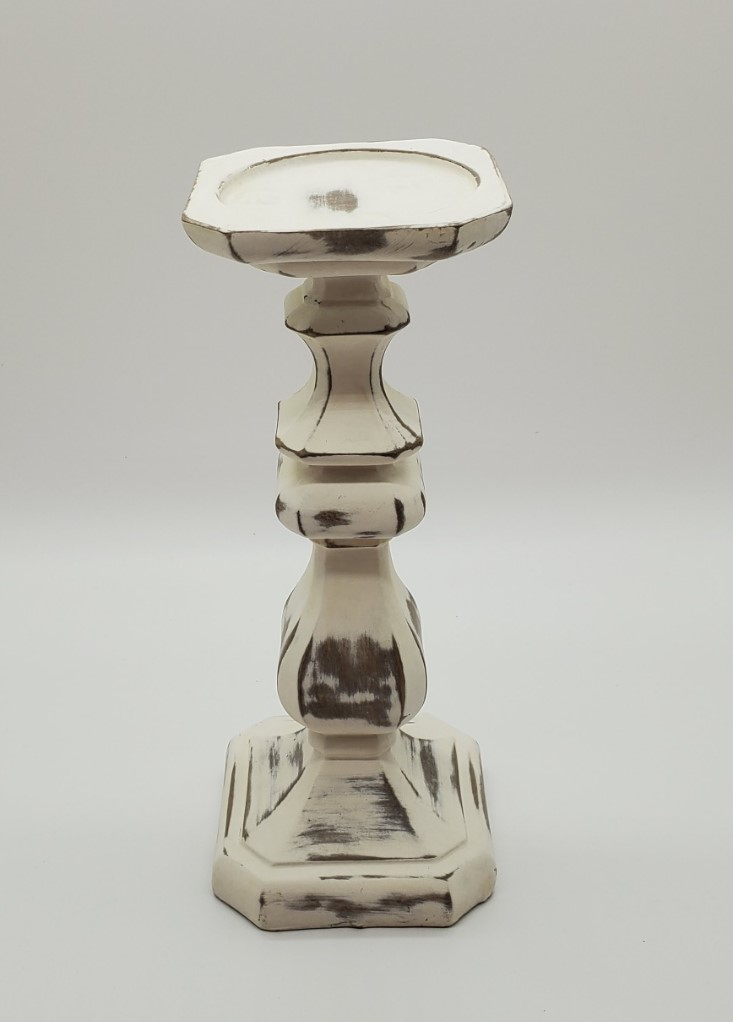
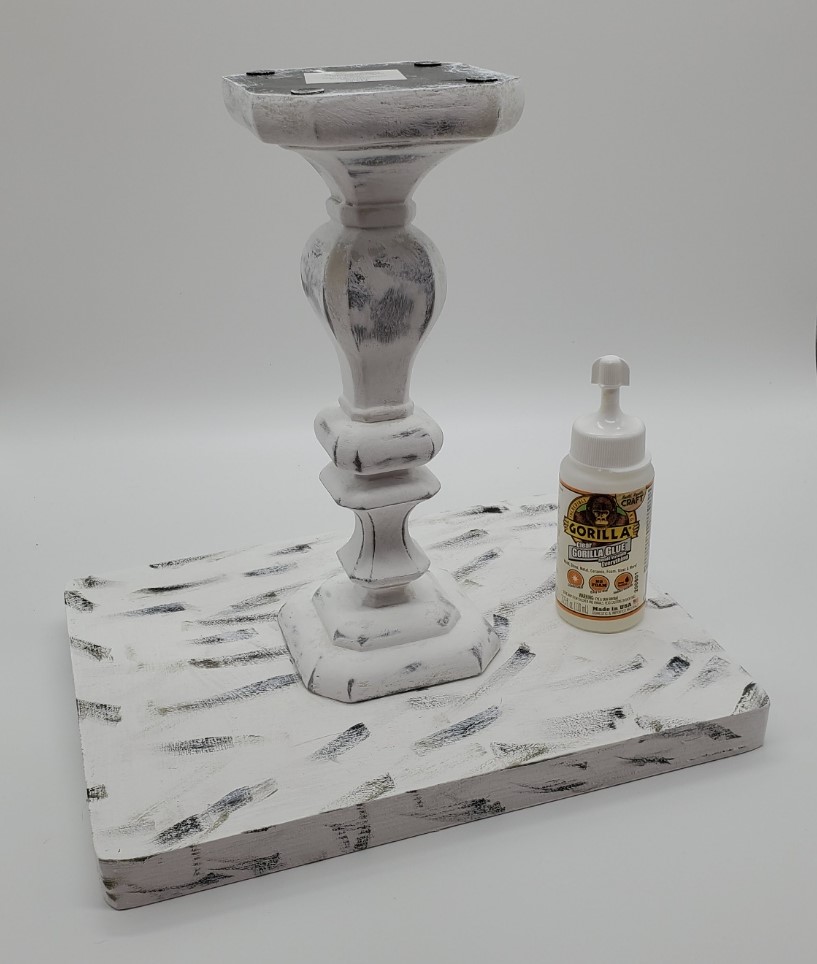
My first suggestion is evaluate what size you want….start there! Once you determine that, look for ANYTHING that might work for your storage layers….platters, wood trays, tin boxes/trays, etc. The middle piece that connects your tiers can also be totally creative also….a furniture leg, candle stick, tall glass vase, etc. That is the beauty in this project.
STEP-BY-STEP on how I made my DIY 2-Tiered Tray

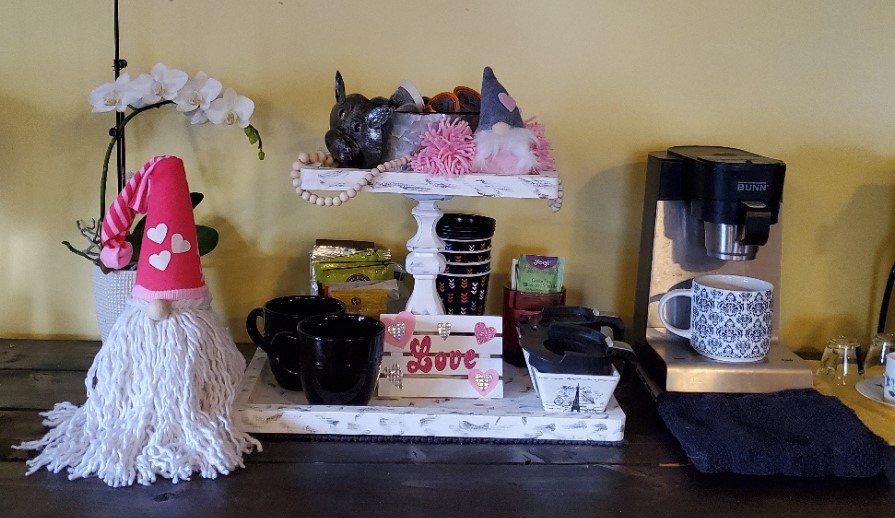
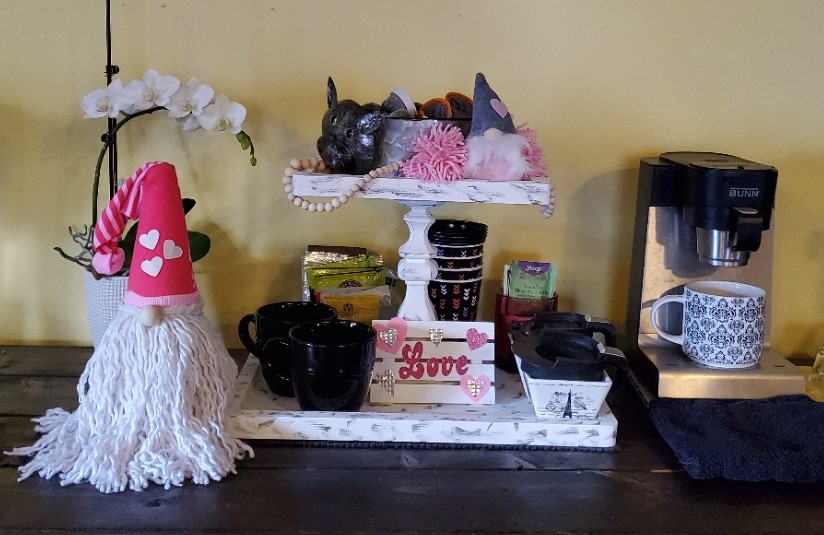
You will notice I have some Valentine decorations in my pic. I am finishing up a few really simple Valentine DIYs that I will show you all in one post next week. Not sure if you recognize the Gnome in this photo. These are from a previous blog on how to make Gnomes for Christmas. I took the same Gnome and just put a different hat on it to change it from a Christmas Gnome to a Valentines Gnome. I will do the same thing for St. Patrick’s Day, Easter and probably Summer. Click here to see how we made these DIY Gnomes.
Have a great week and revisit my past projects here!


You May Also Like

Bringing in the New Year!