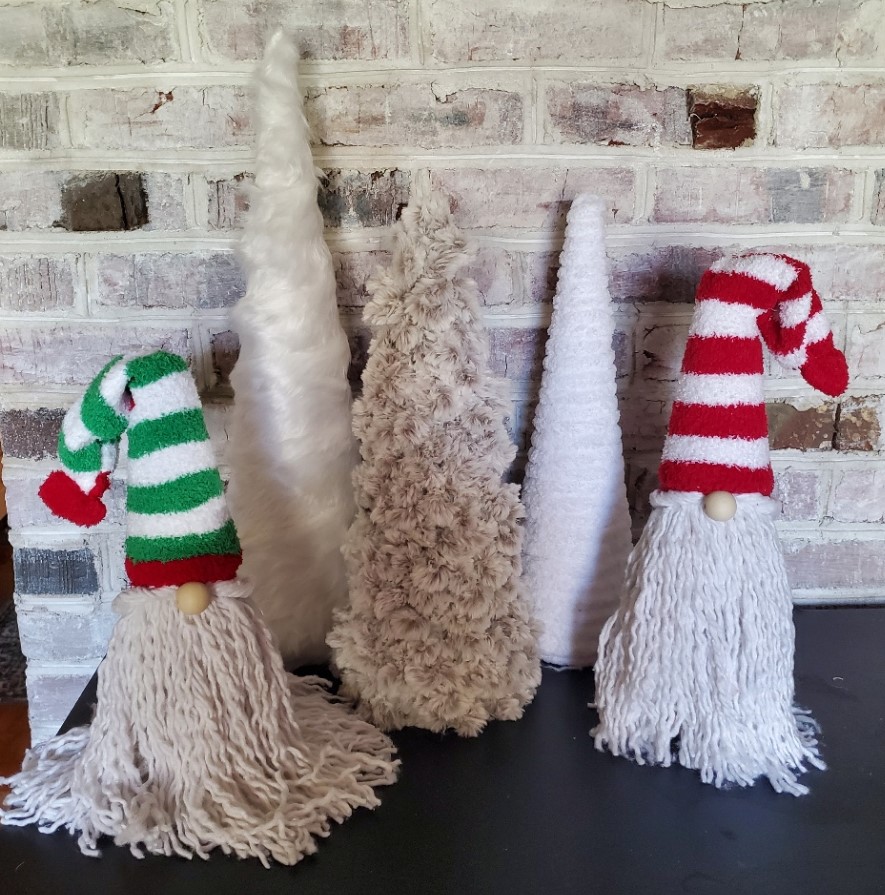
Our Favorites,  Uncategorized

DIY Christmas Gnome

I don’t know what happened but I have fallen in love with these mop head gnomes. At first I wasn’t too sure about them BUT after I made a couple of them….I am hooked. This DIY Christmas Gnome is a great craft to do with kids of all ages.

These are 2 Gnomes that I made pretty quick. The trees in this pic were also very easy…..I will be posting my DIY blog on those trees next week….still playing around with some other options.

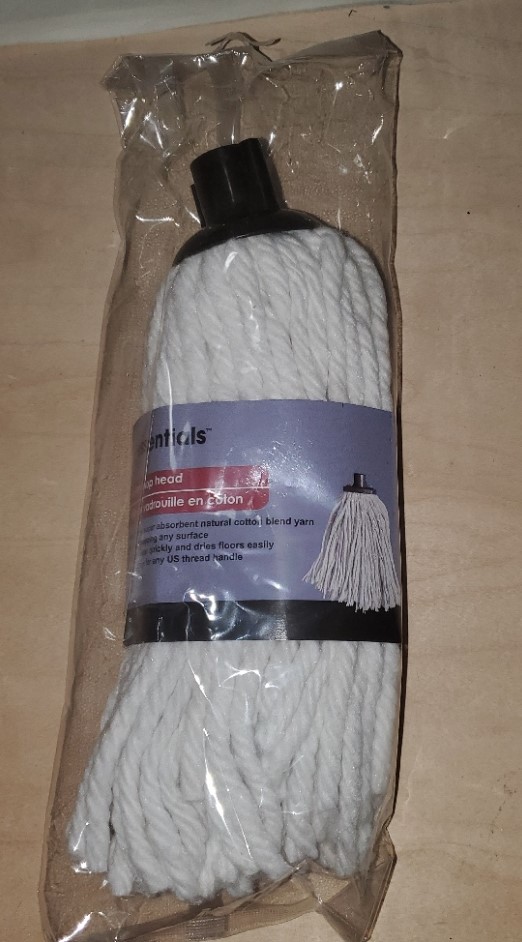
SUPPLIES NEEDED for the Gnomes
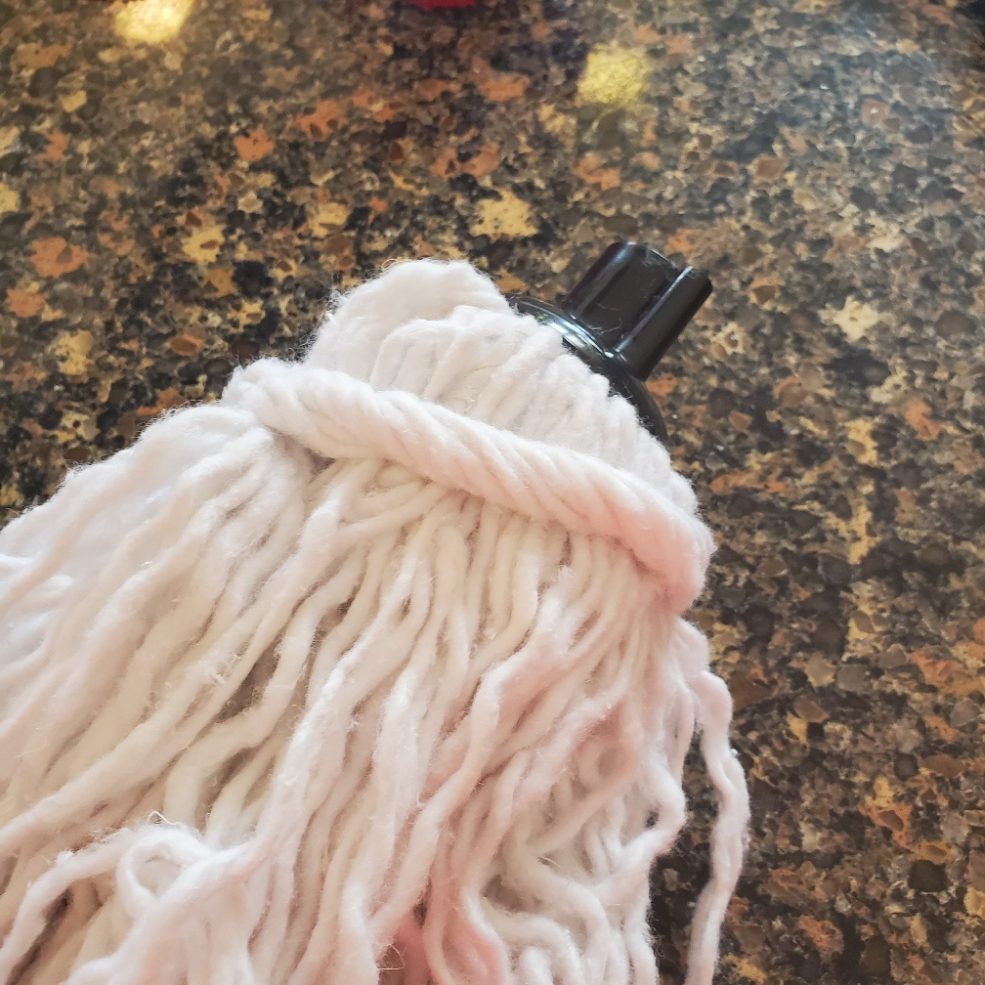
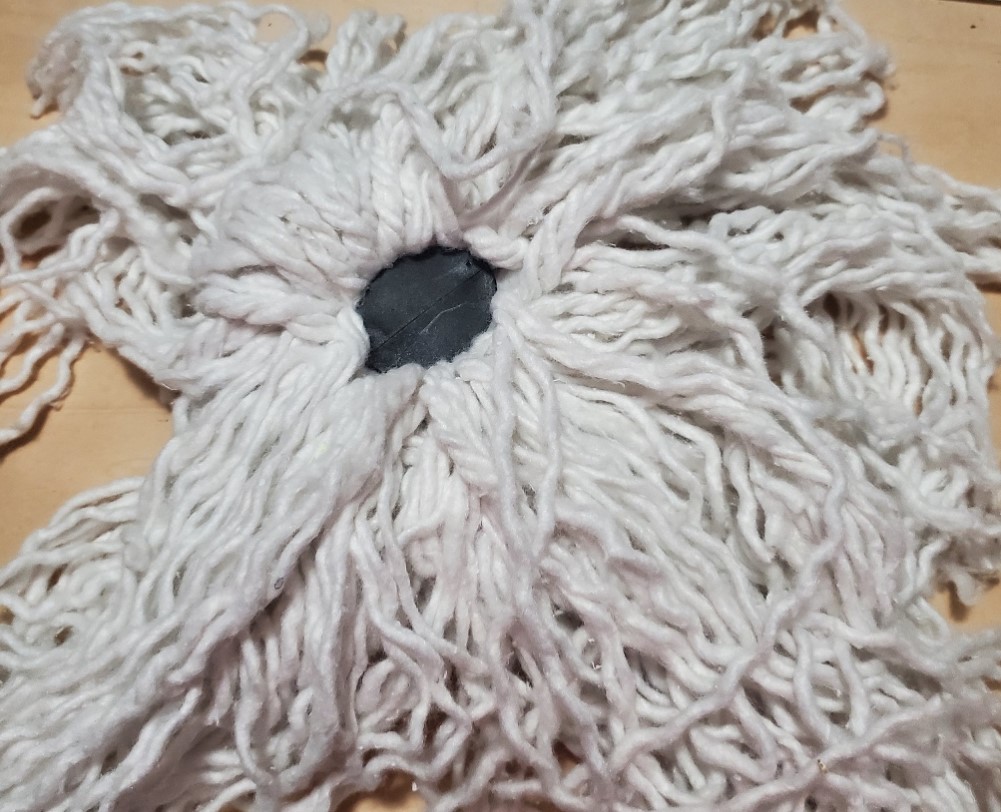
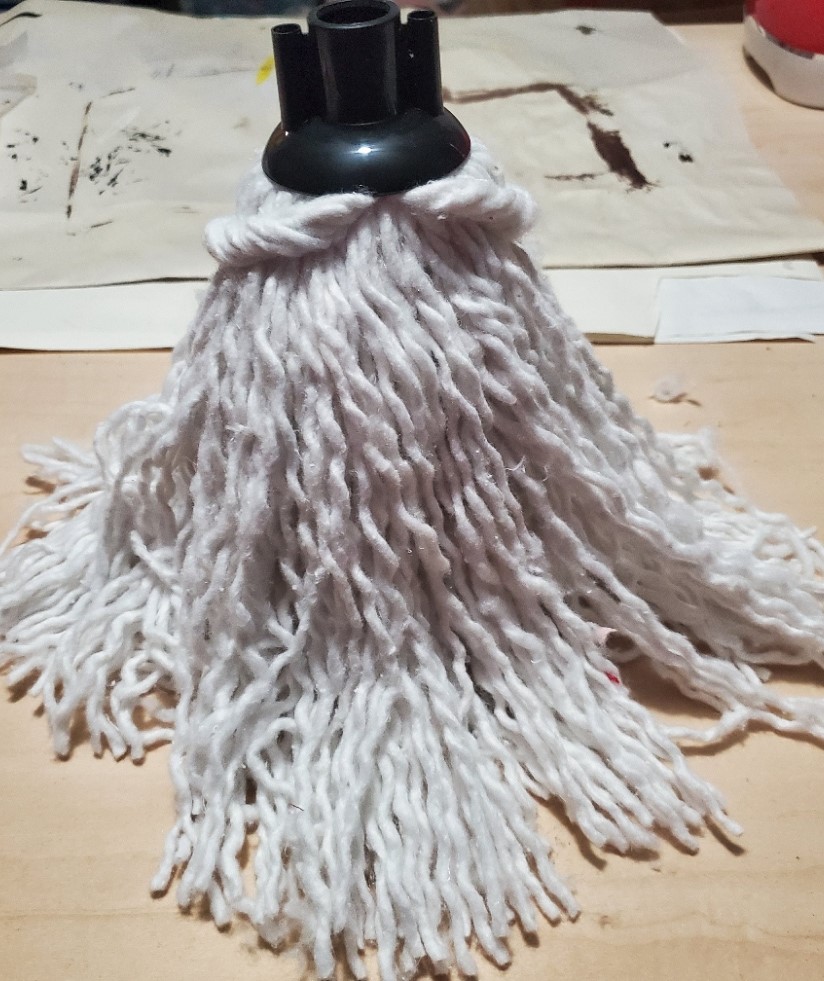
  1. Mop head
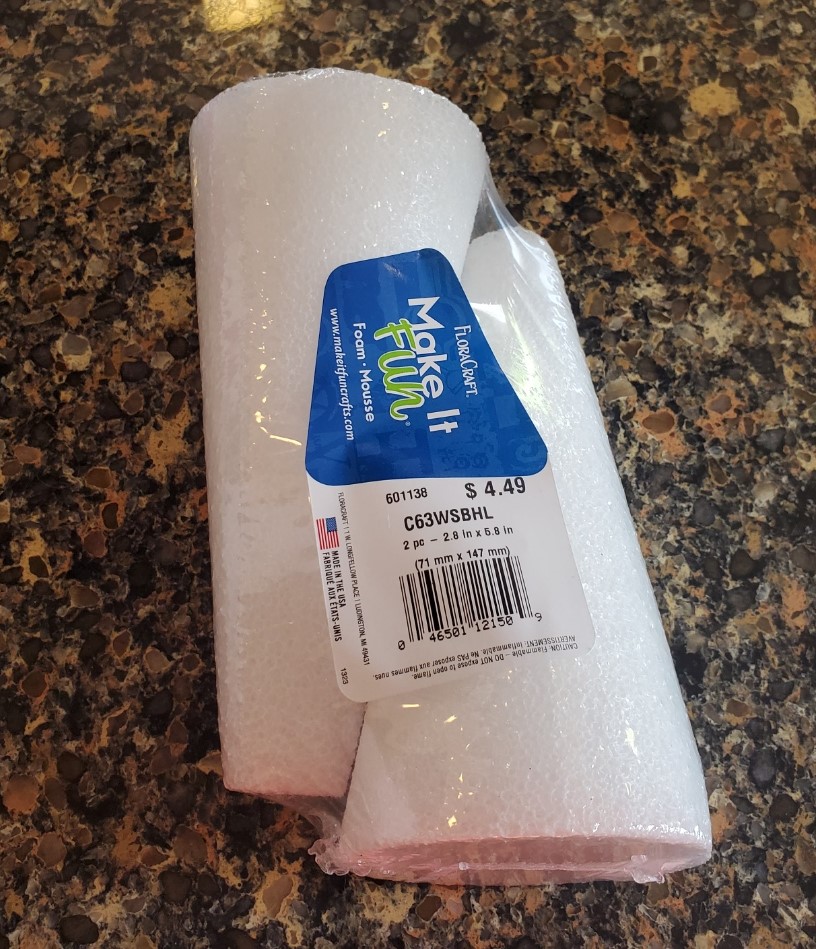
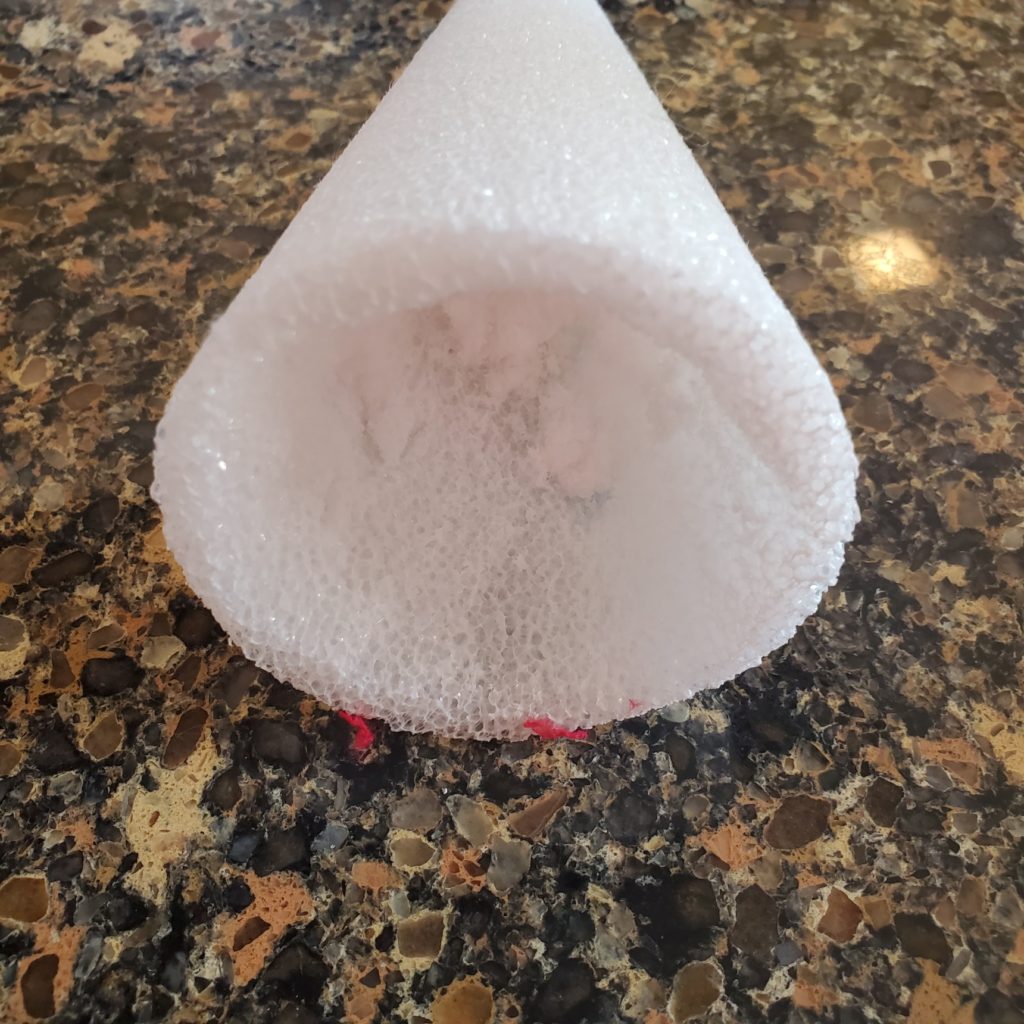
  2. Two small styrofoam cones (AND a utensil to “hollow out” one cone)
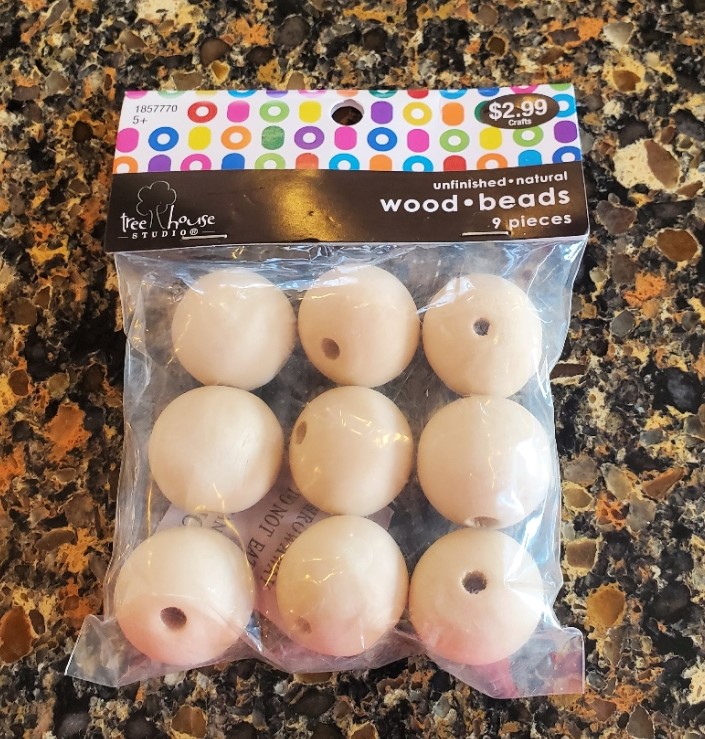
  3. Large wood bead
  4. One sock
  5. Hot glue gun
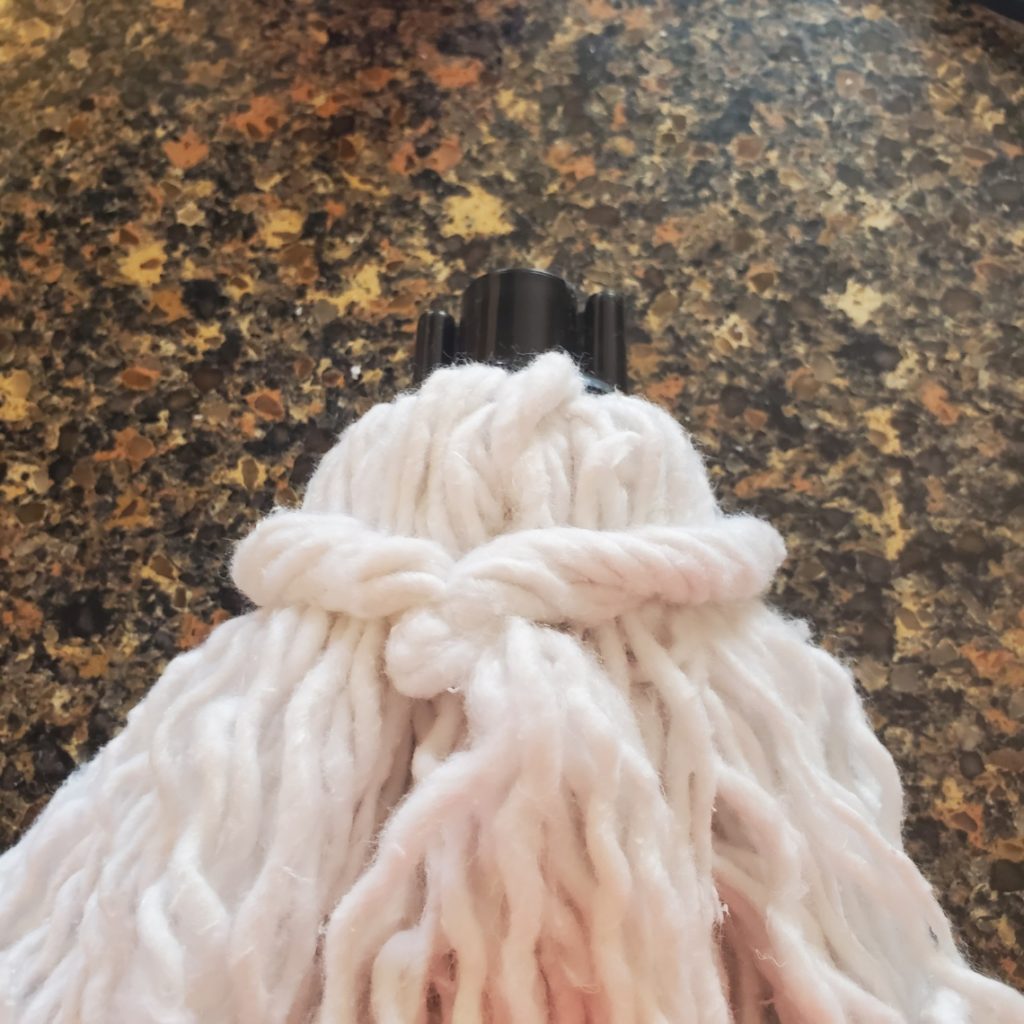
  6. Two Small rubber bands
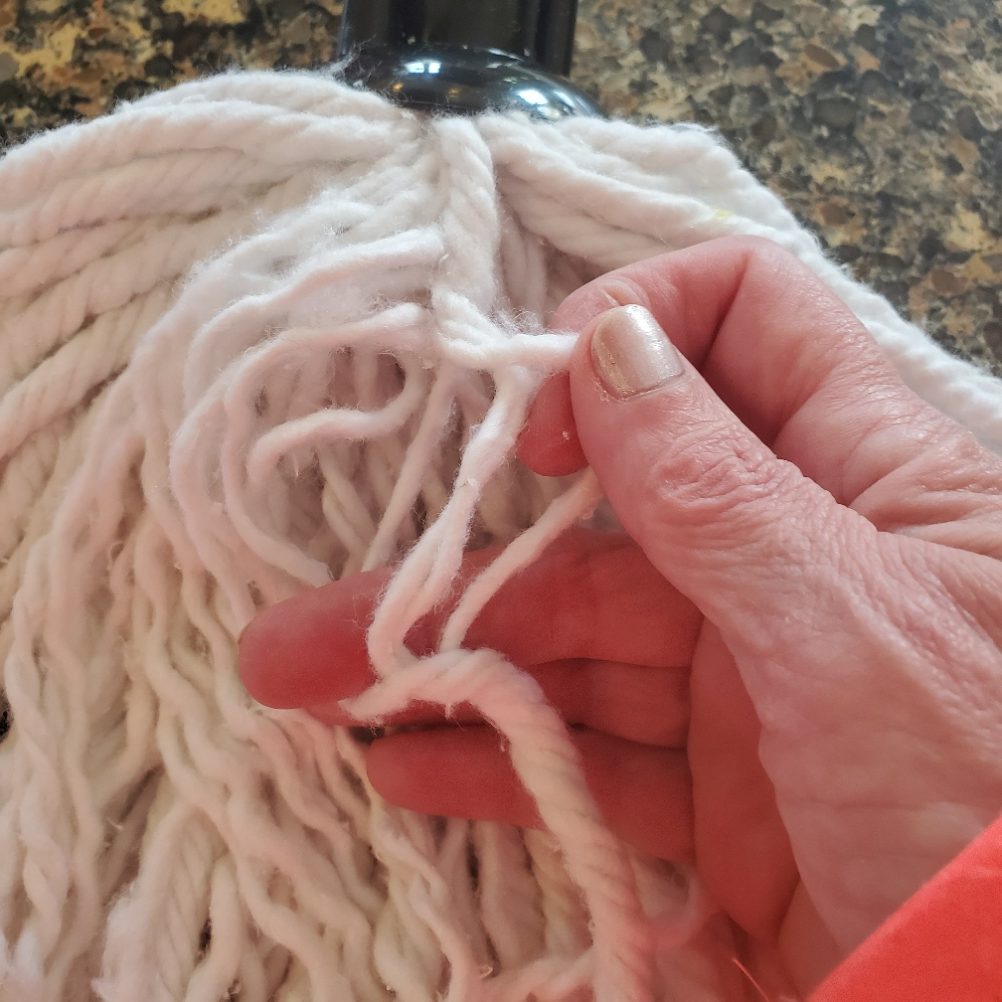
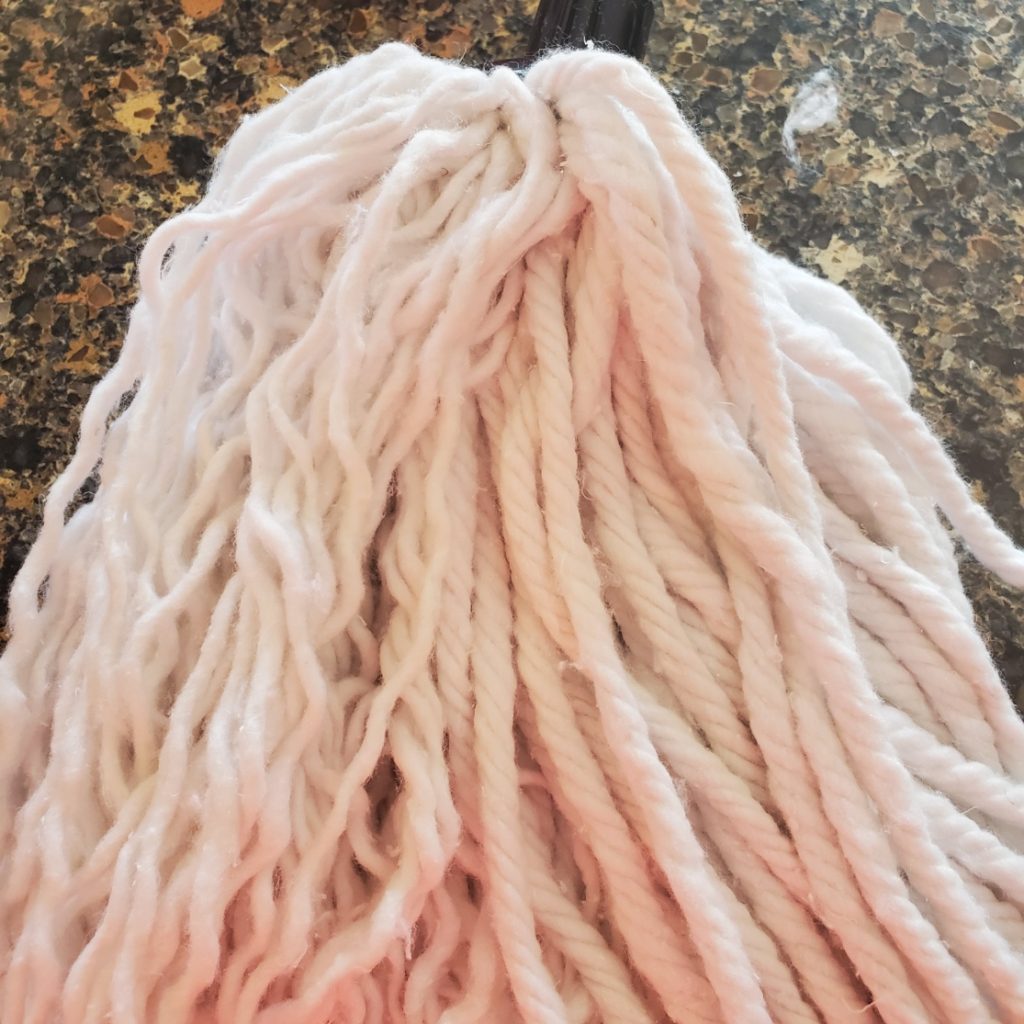
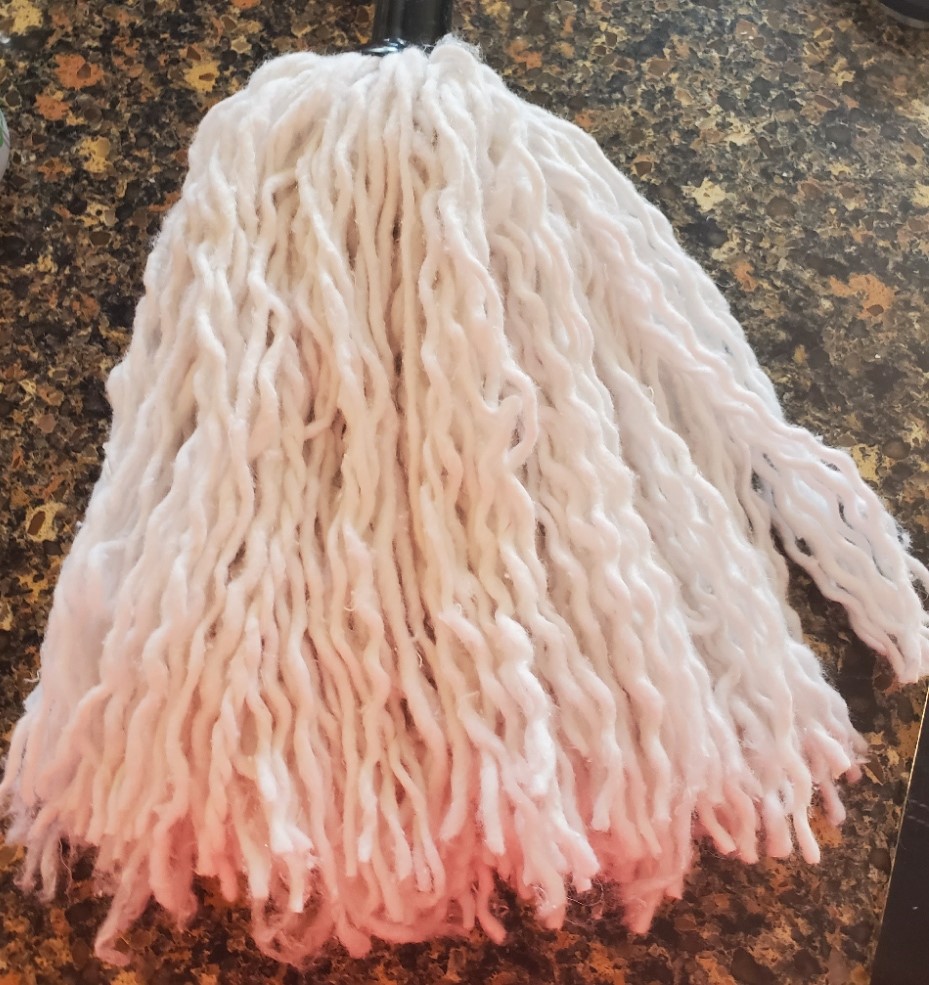
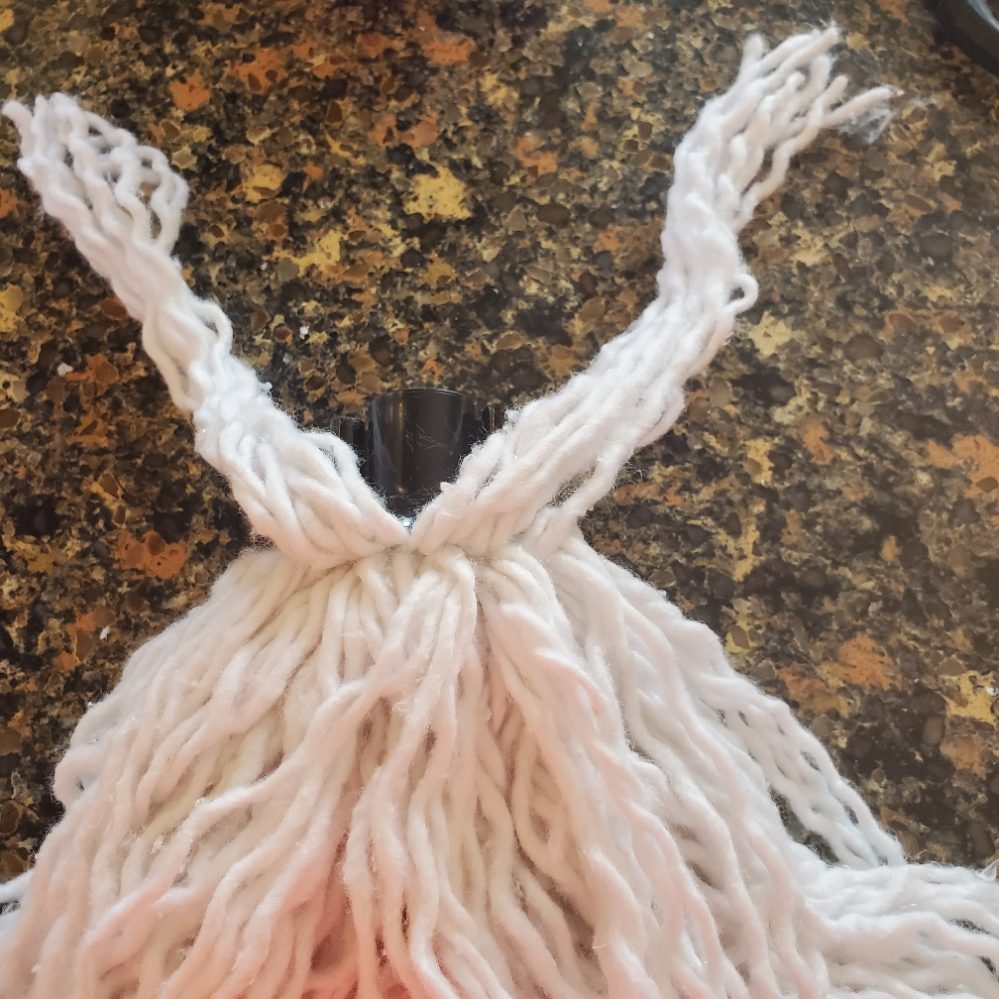
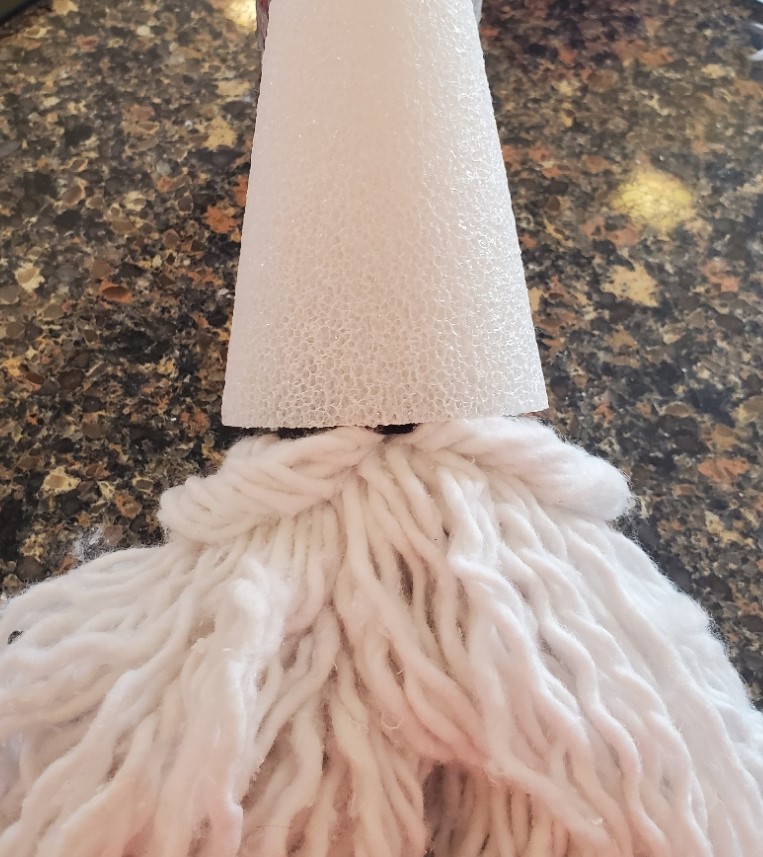
  1. Prep your mop head to look like a Gnome
Here is the mop head I purchased from The Dollar Tree
Take each strand of the mop and separate into individual smaller strands
In this pic you can see LEFT side with separated strands and RIGHT side still to separate.
FINAL look of all strands separated
Take a small portion at the very top to create a beard for the Gnome
Twist the sections and pull around to the back of the mop head
Secure both sides in the back of the mop with a small rubber band.
This is the front view

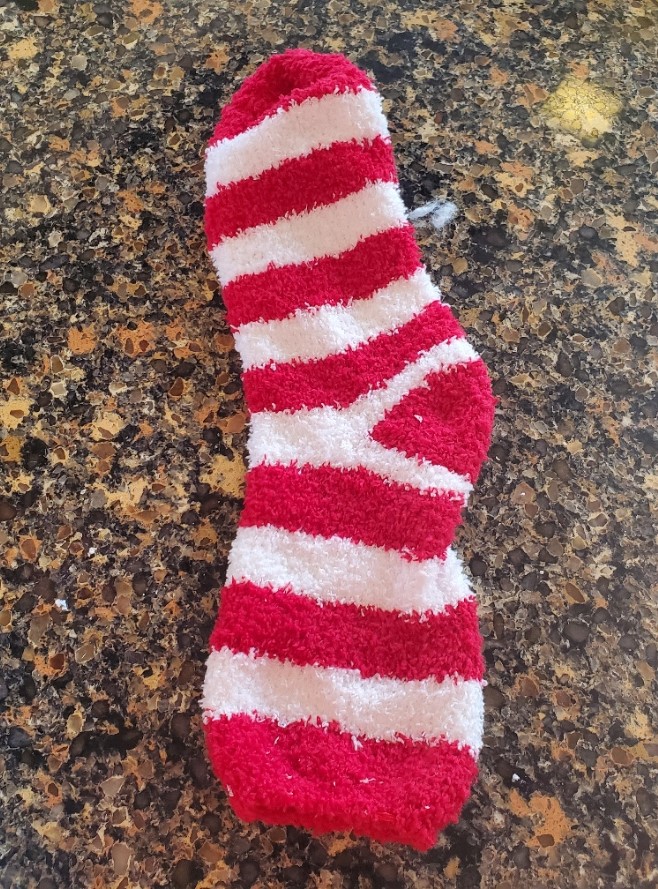
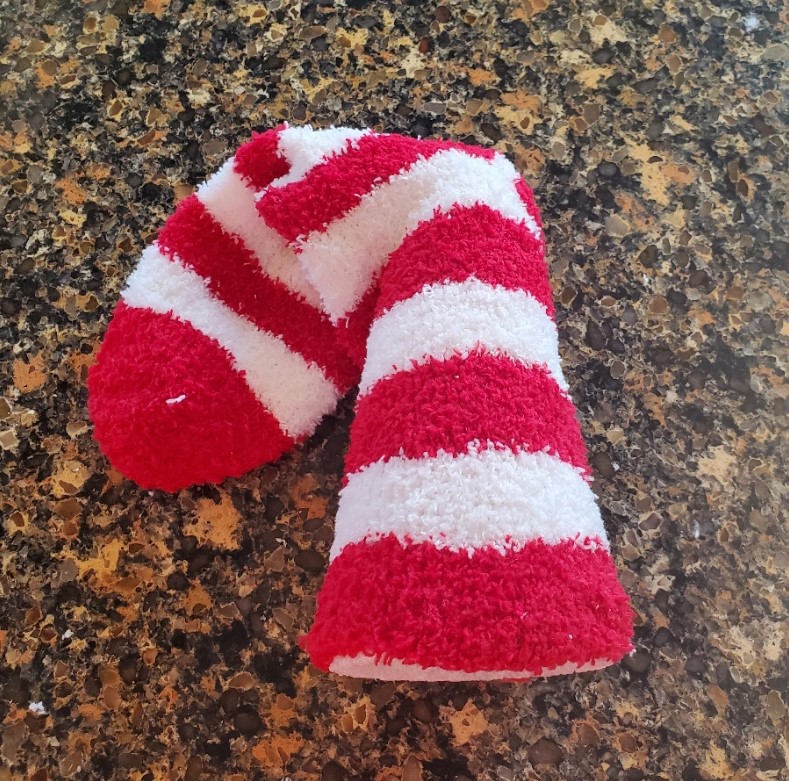
2. Prep the Hat for the Gnome

You will need 2 styrofoam cones for ONE Gnome. One for the hat and One for the body.
Take a styrofoam cone for the hat and “hollow it out” with a knife (or any tool of your choice) so that it fits over the top of the mop head (you want to hide the black top of the mop head so make sure you hollow it out deep enough and wide enough to cover)
Here is my “test” showing the cone is hollowed out enough to cover the top of the mop head.
Take a normal sock (I like the soft socks that you can find EVERYWHERE)
Place it over the styrofoam cone that you just hollowed out. Drape the top of the sock so it bends over.
Here is my test fit of the hat on the gnome. DO NOT GLUE on yet!

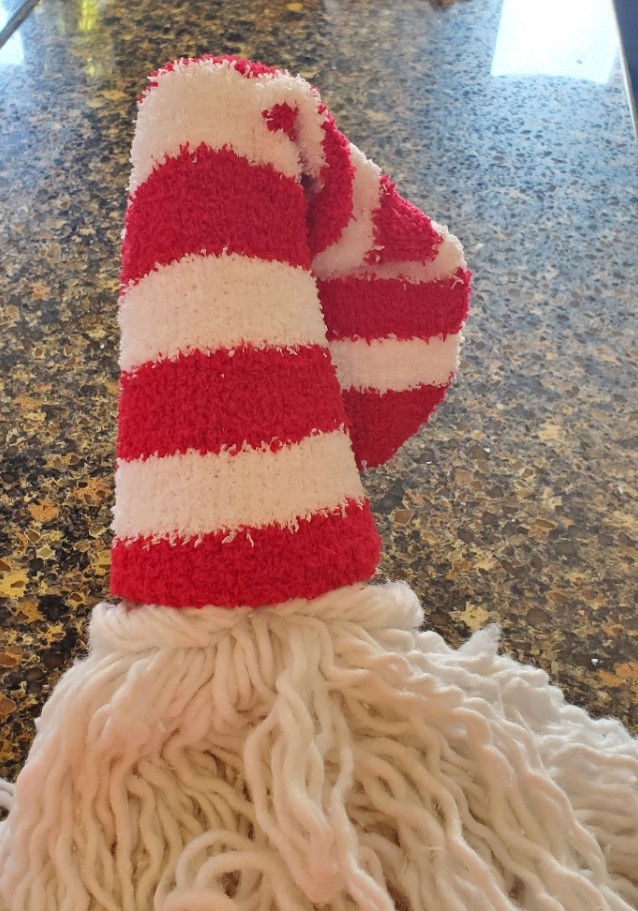
3. Prep the Body of the Gnome

This pic just shows where the SECOND styrofoam cone is going to go
Turn your mop head upside down and find the middle. Put a blog of hot glue on that spot and secure the cone to the glue
This is how it looks with the styrofoam cone in place

4. Make the Nose for the Gnome

I purchased these beads at Hobby Lobby. I tried to get a pretty big bead for the nose.
Hot glue the wood bead as pictured for the Gnome nose
NOW hot glue your hat to the top of your Gnome. I used the second small rubber band to create a ball at the end of the sock hat. AND here is your final product!!!

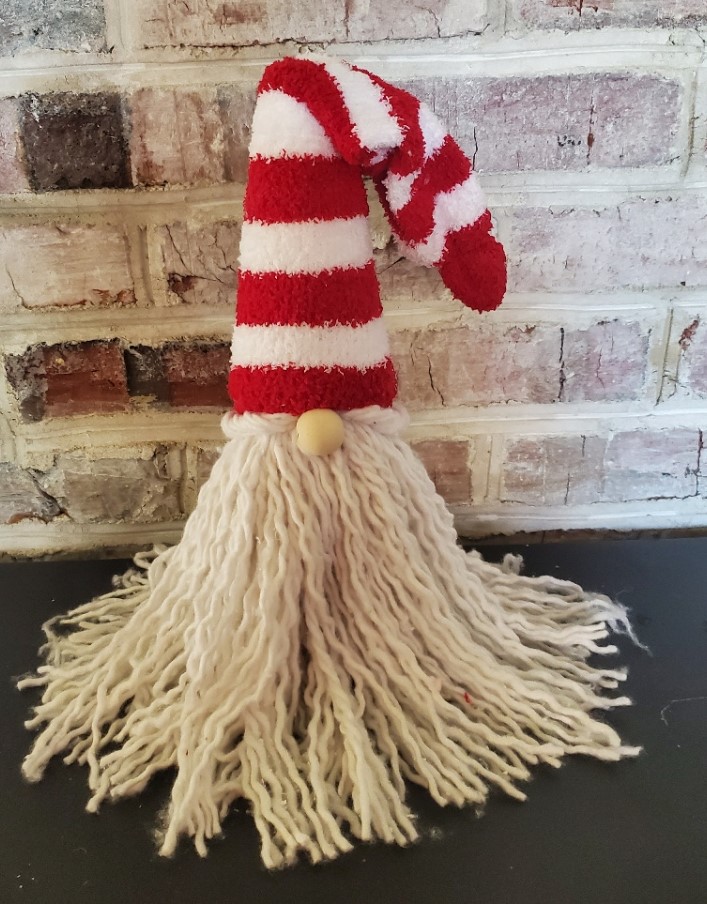
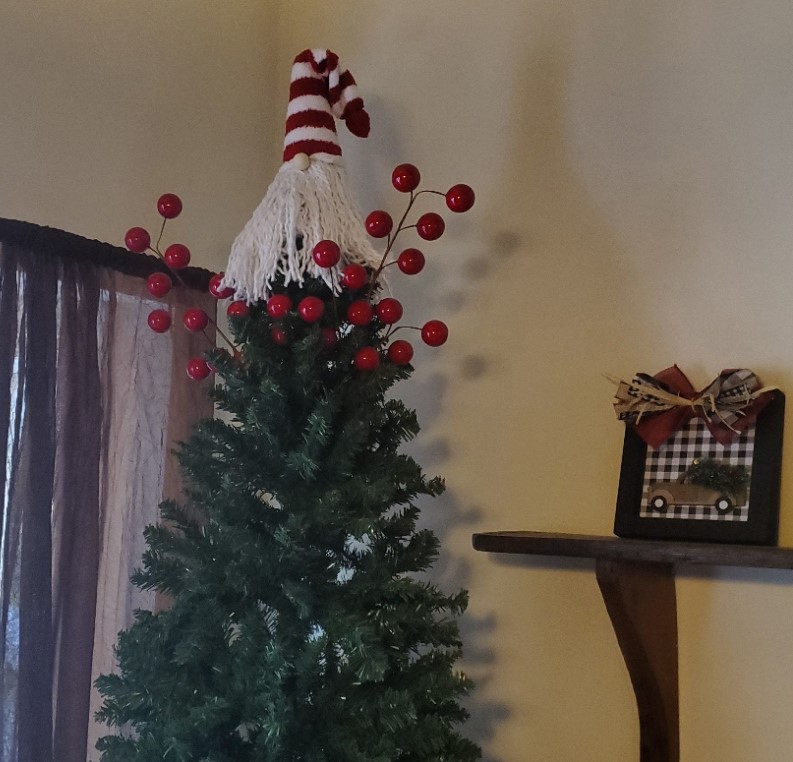
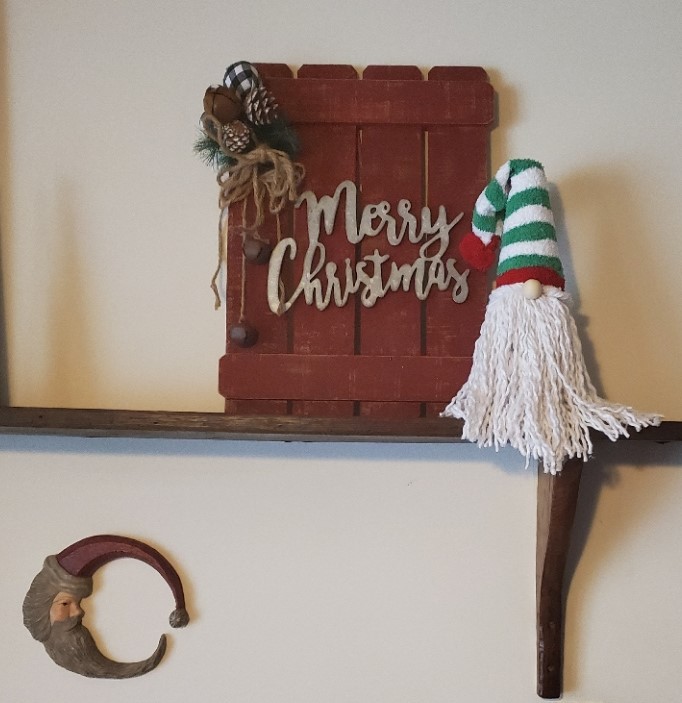
I am going to have to make some more Gnomes. I have already made two Gnomes but it looks like I will be using one for a tree topper and one for general decor.

I have you have as much fun making these Gnomes as I did!!!!

Leave a Reply

Your email address will not be published. Required fields are marked *