
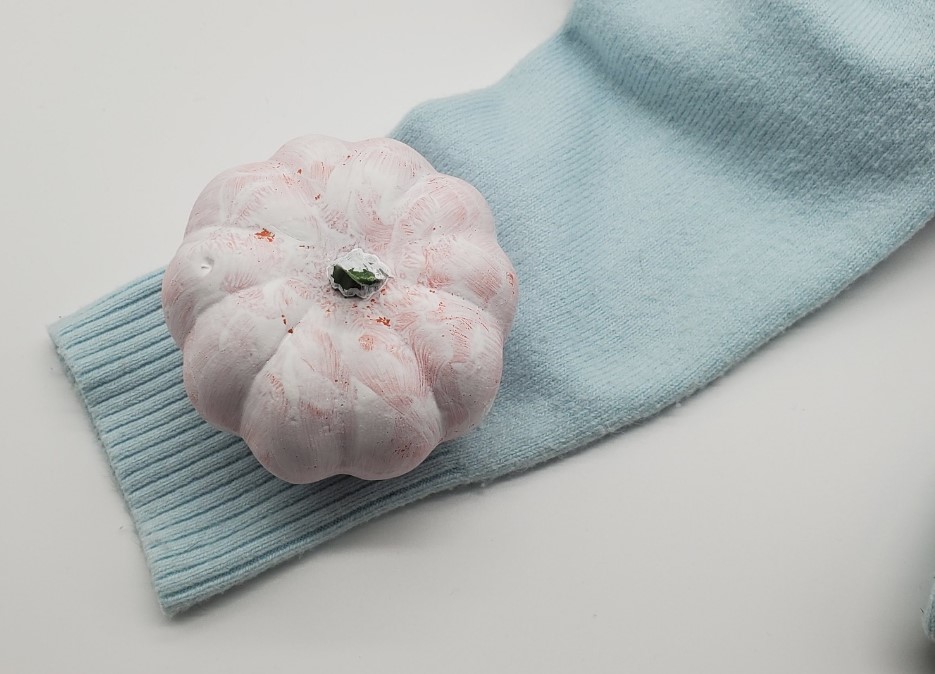
DIY Sweater Pumpkins
This time of the year seems to “fly by”. We are still enjoying Summer yet retail stores are putting out Halloween, Thanksgiving and even Christmas items. Those 3 holidays are so close together that we find ourselves preparing for/decorating for all 3 of them. Well, I have been doing Christmas DIYs and told myself I wouldn’t bother with the other holidays. BUT I got “sucked in to” the Pinterest vortex and saw these cute little DIY sweater pumpkins. I had just had to make them. Technically it will be September soon SO, here goes. There are several different ways to make them so I admit I took “bits n pieces” of different Pinterest posts. Below is my version of making these pumpkins.
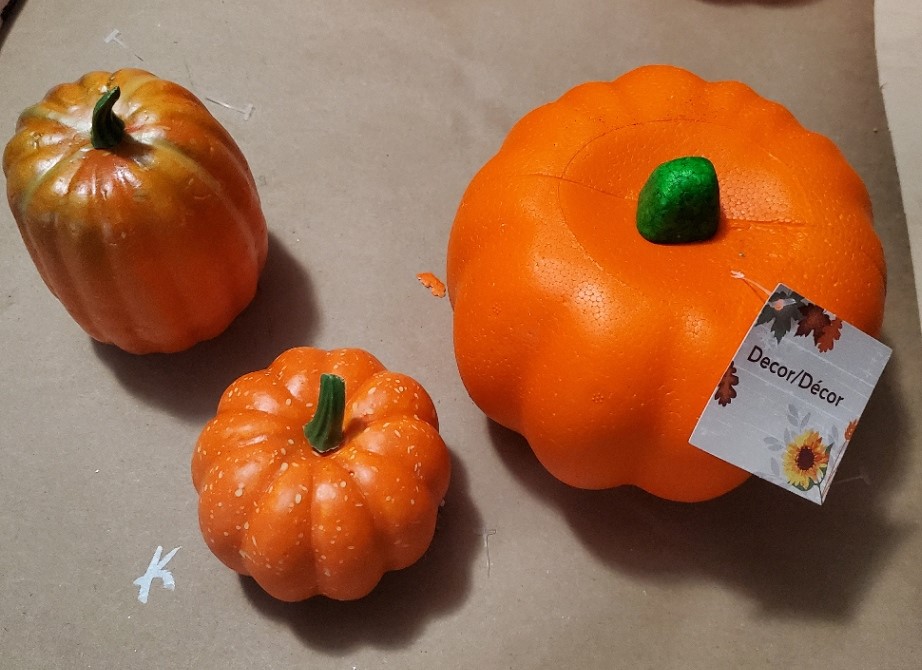
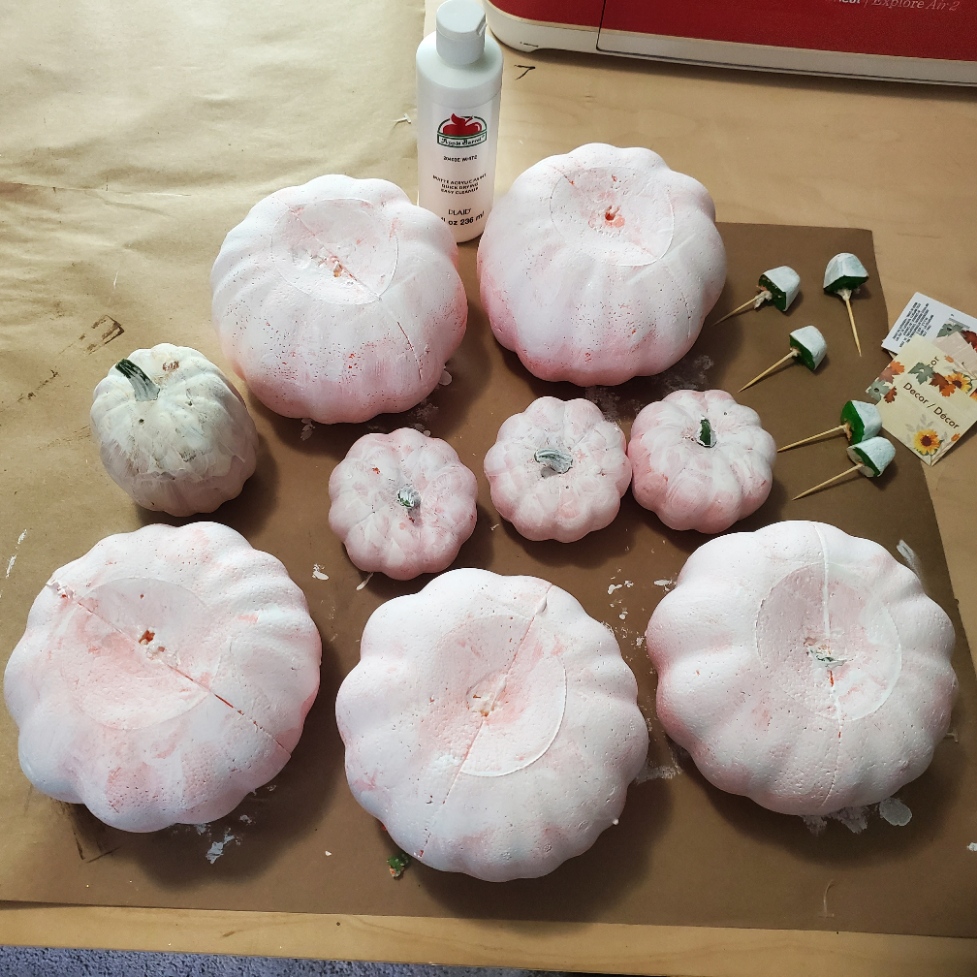
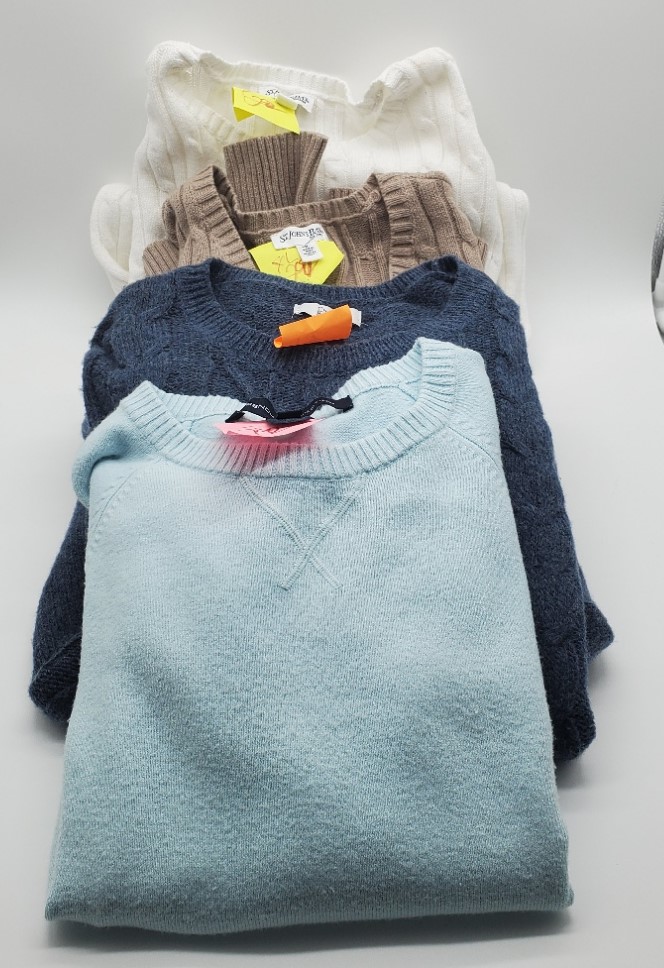
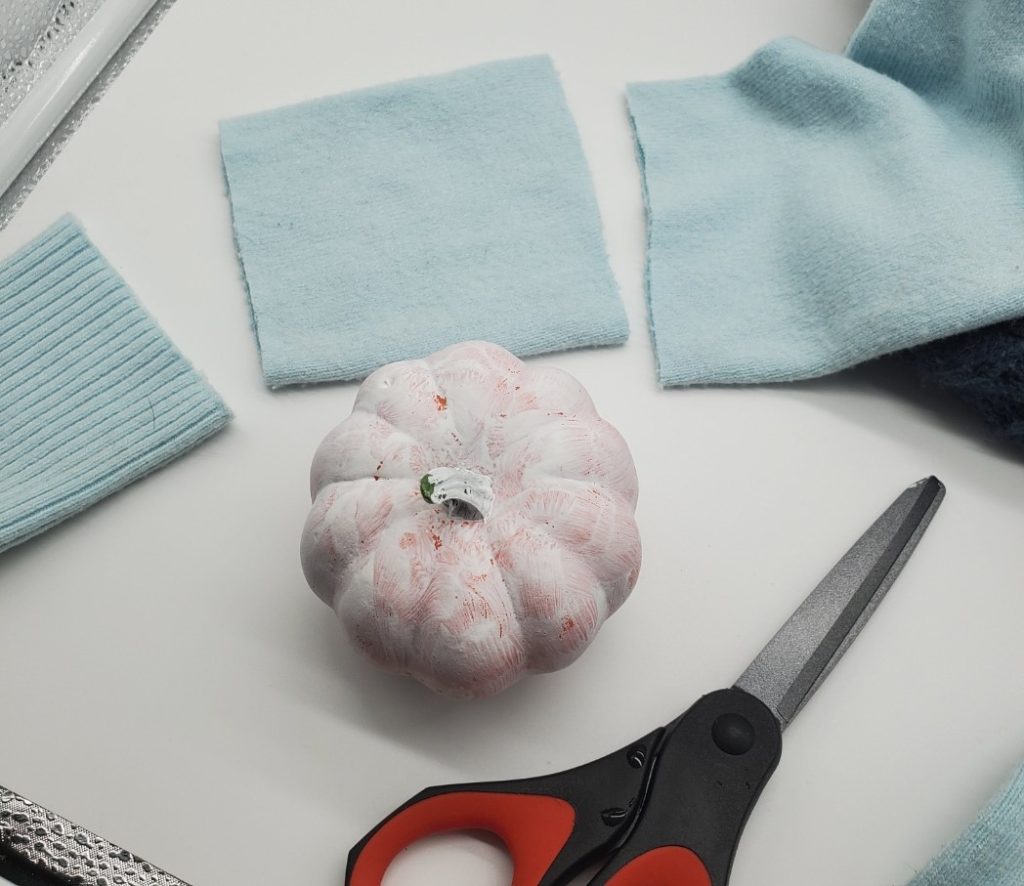
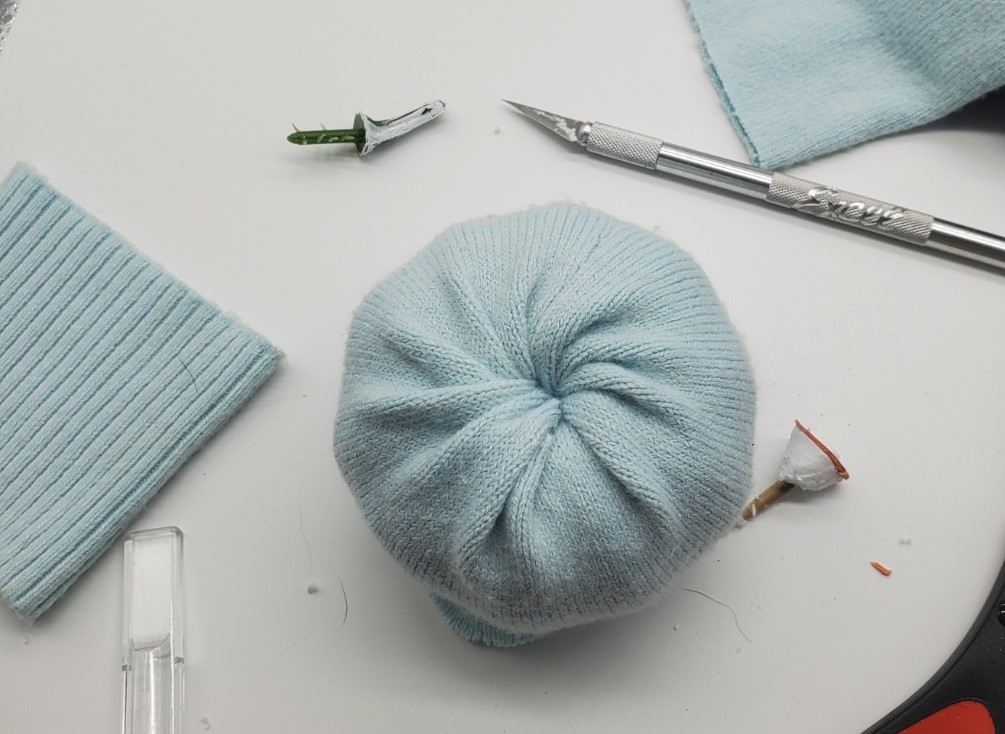
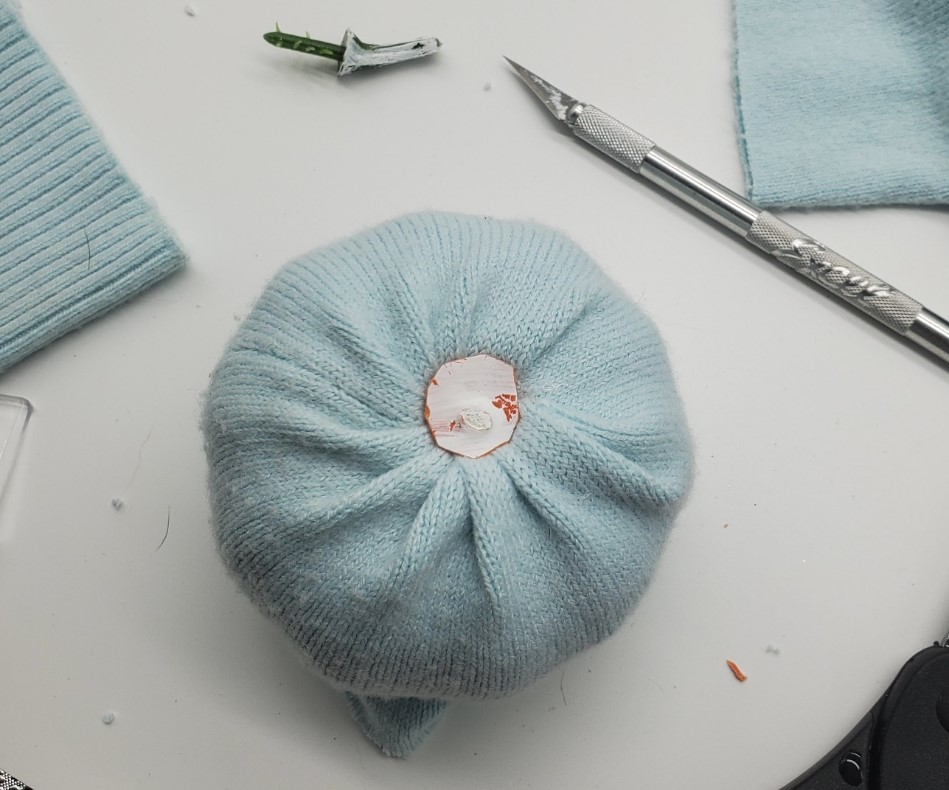
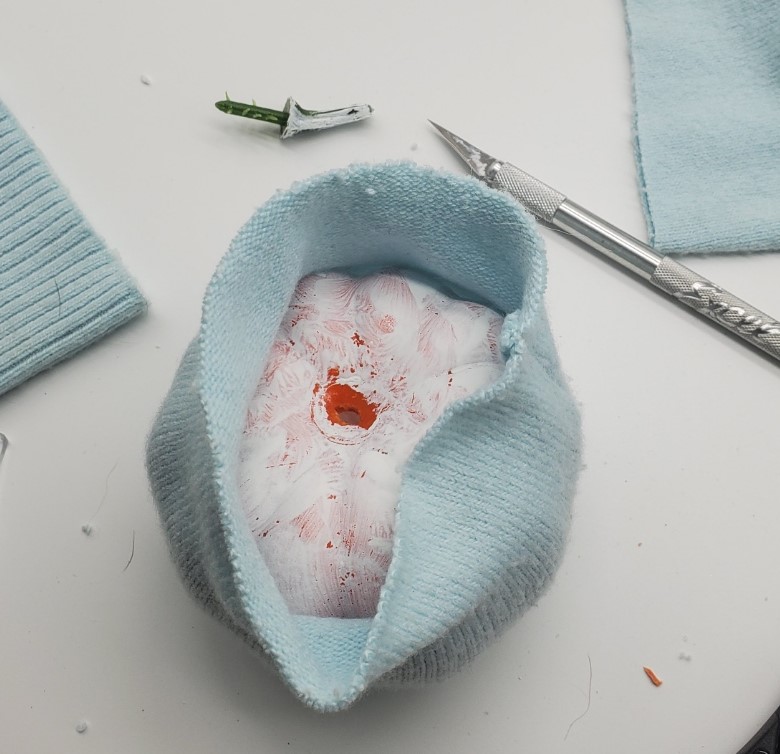
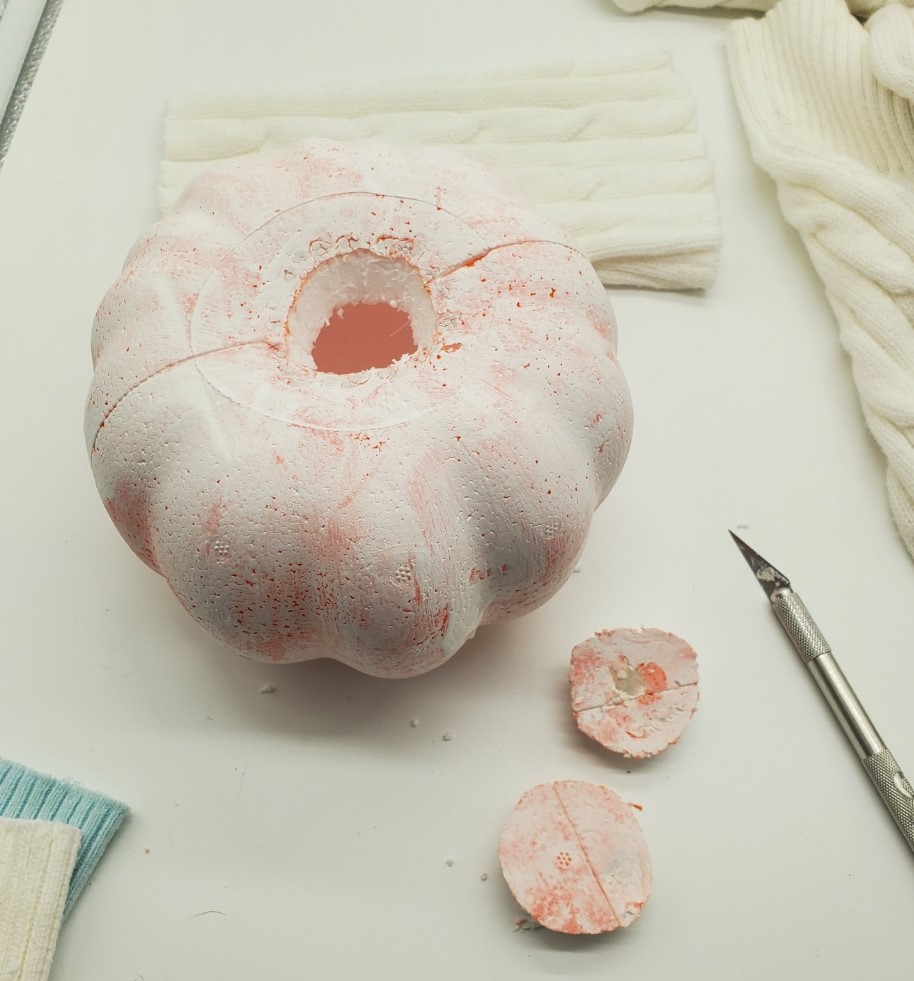
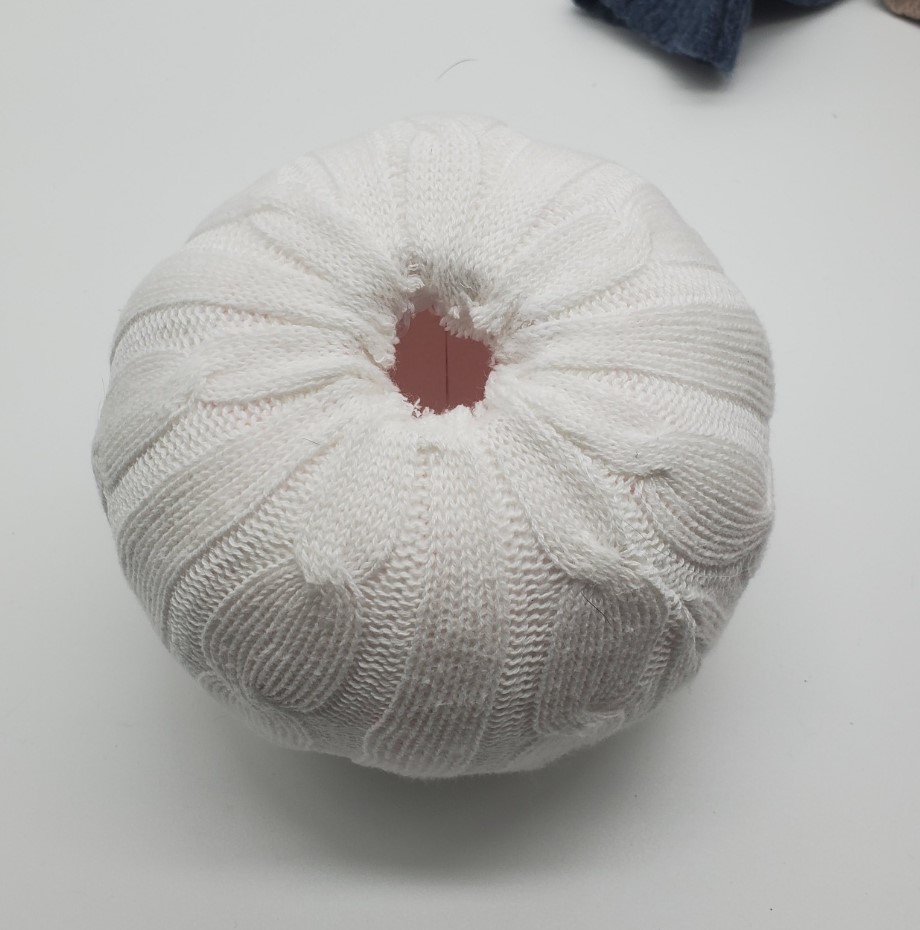
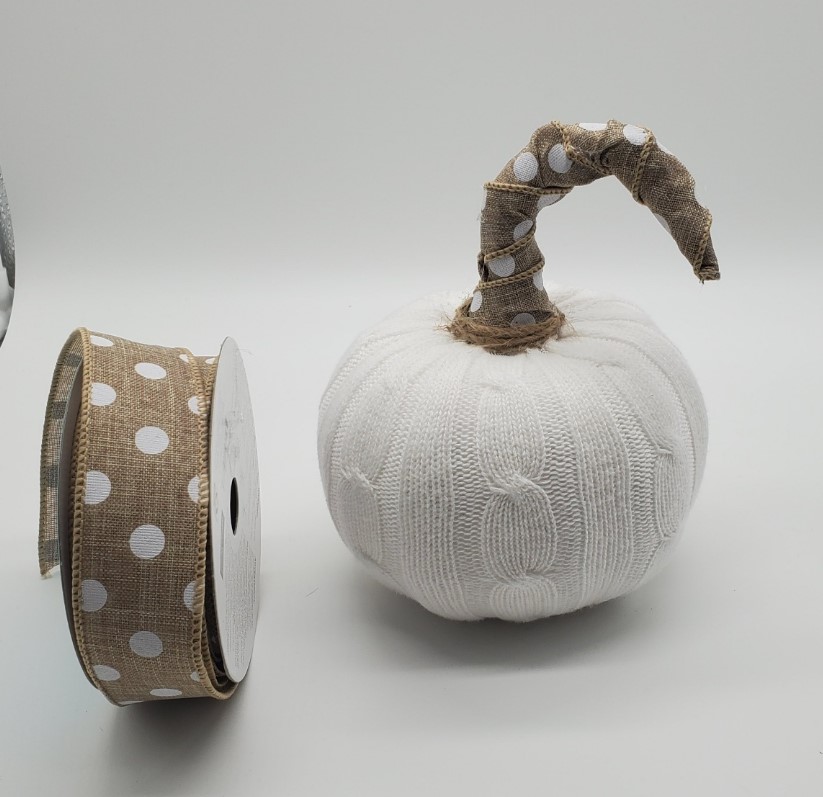
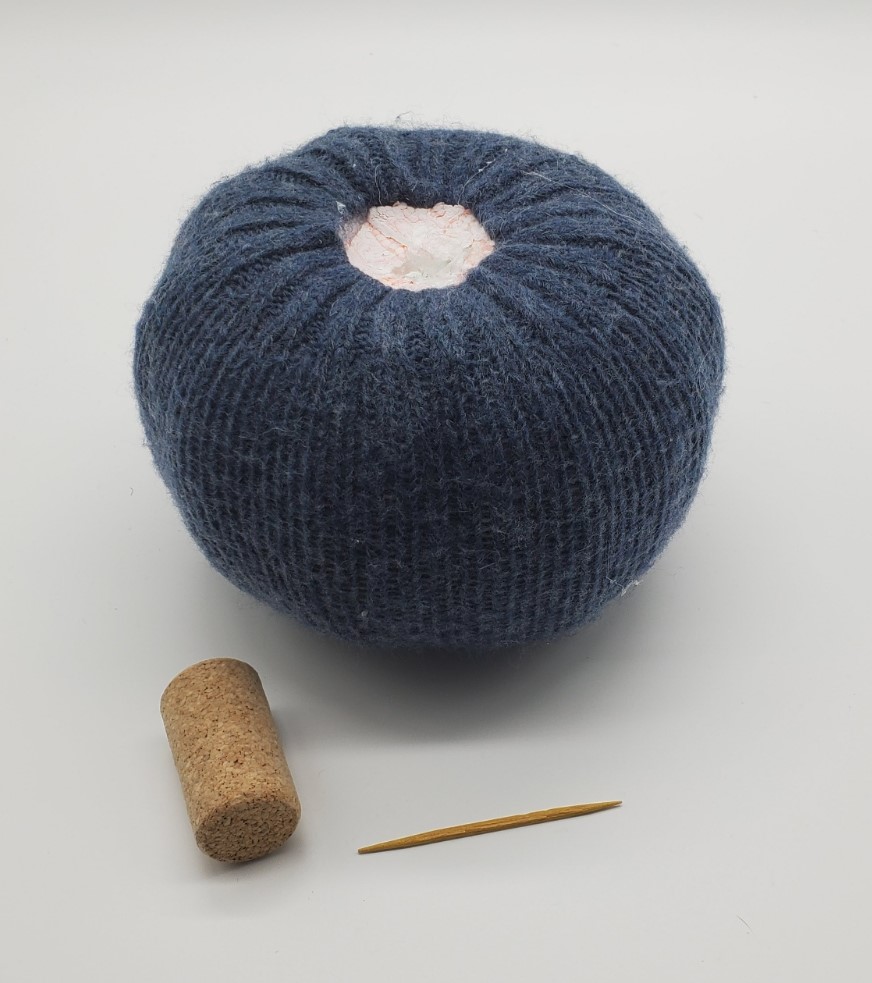
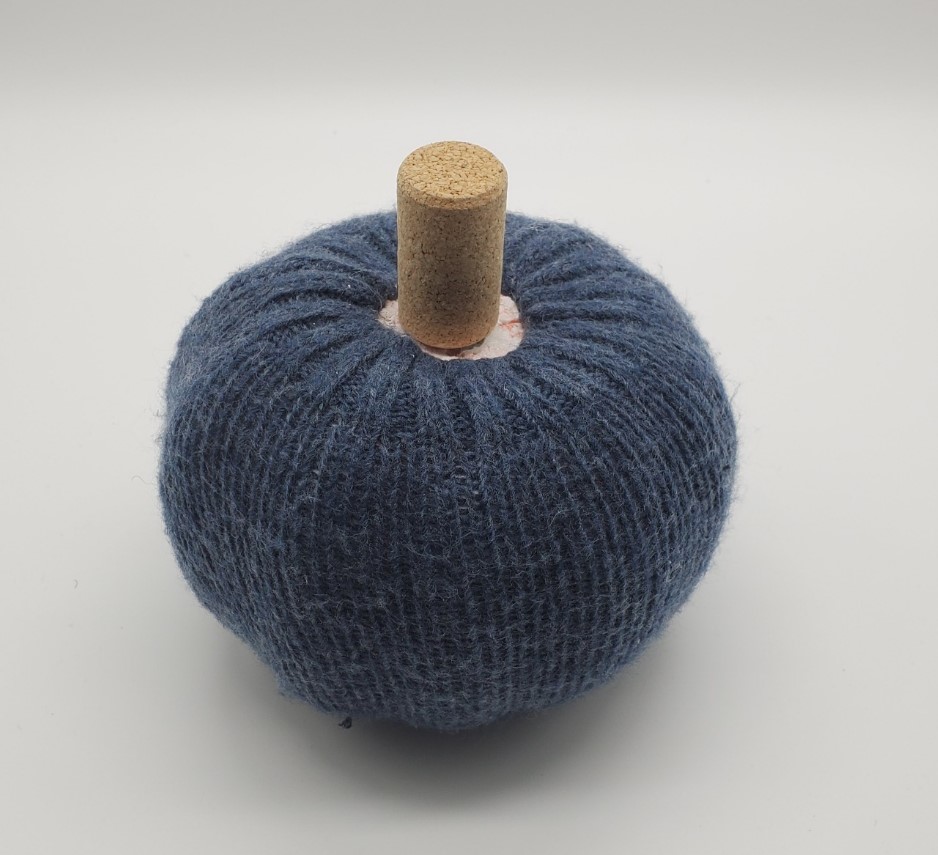
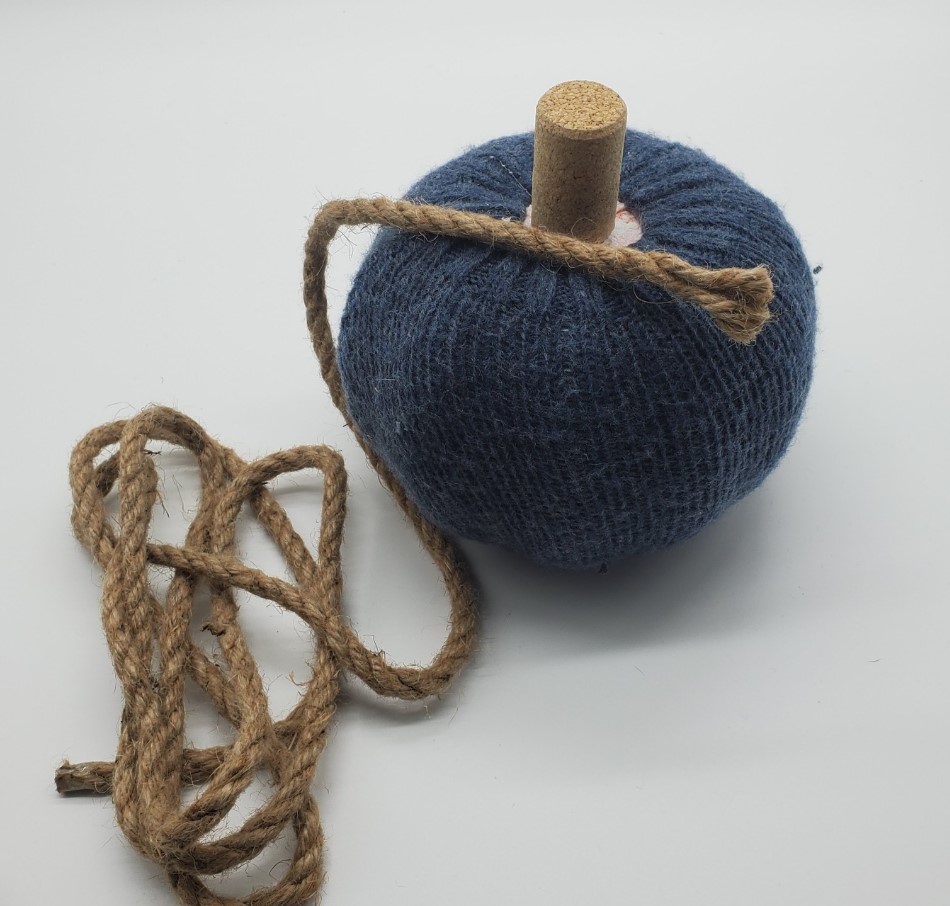
Supplies needed for the DIY Sweater Pumpkins came mainly from the Dollar Tree and the Thrift Store. See below what I purchased and how I prepared them.
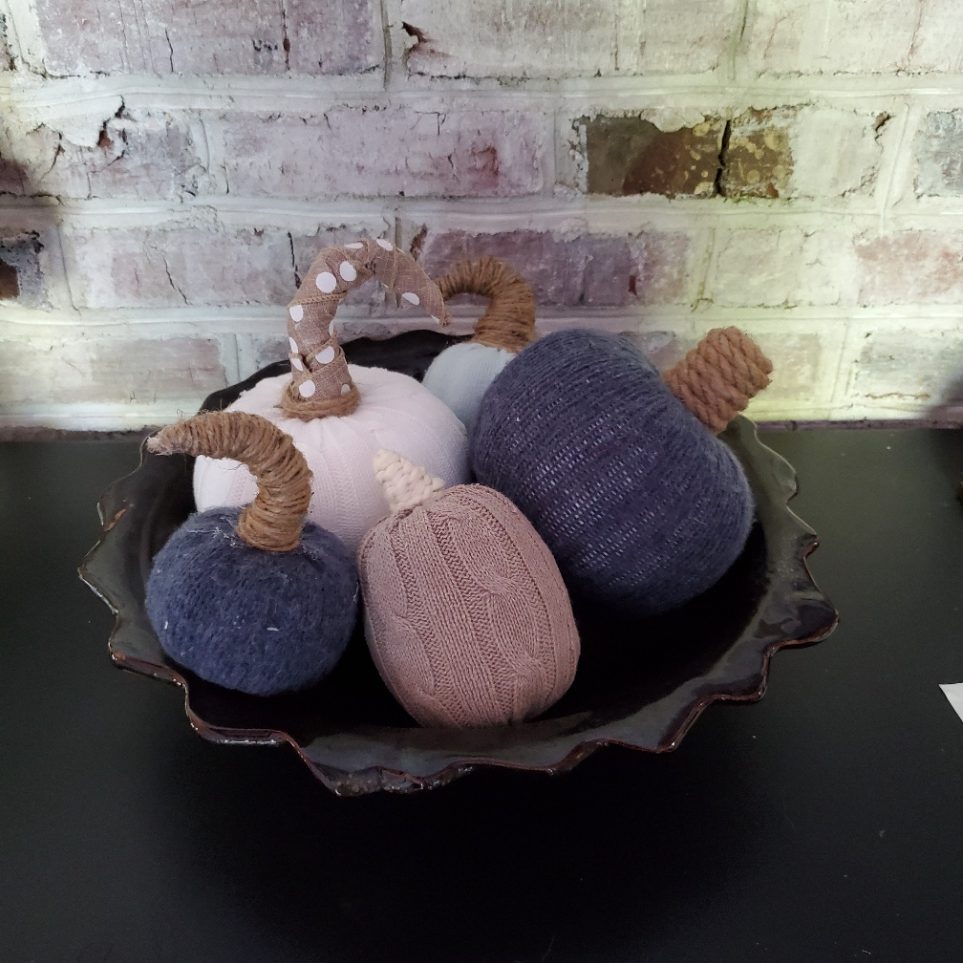
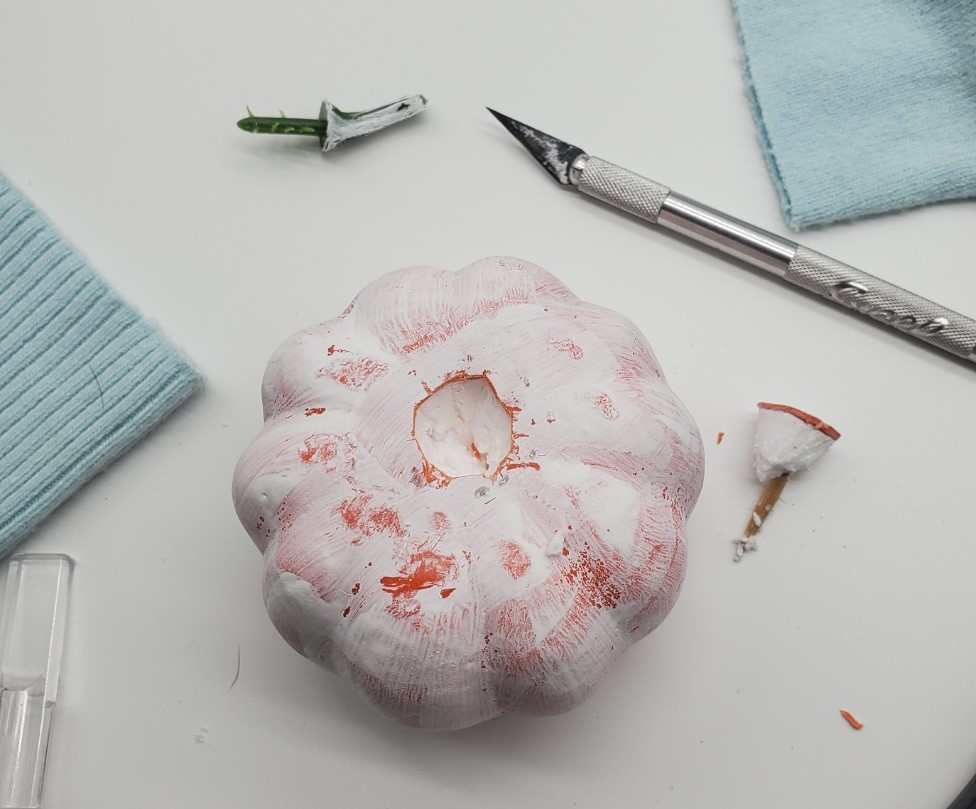
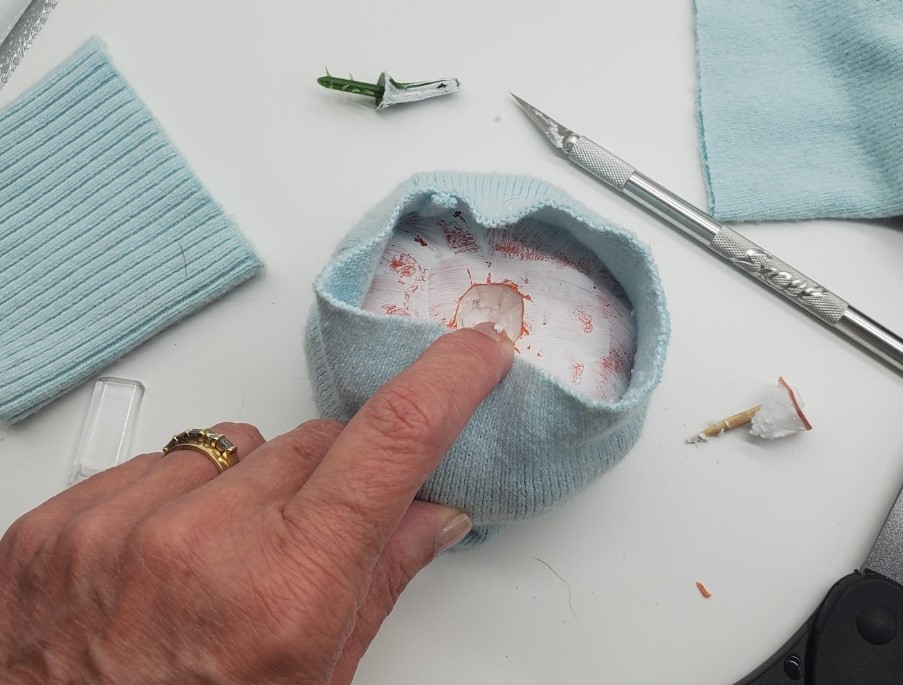
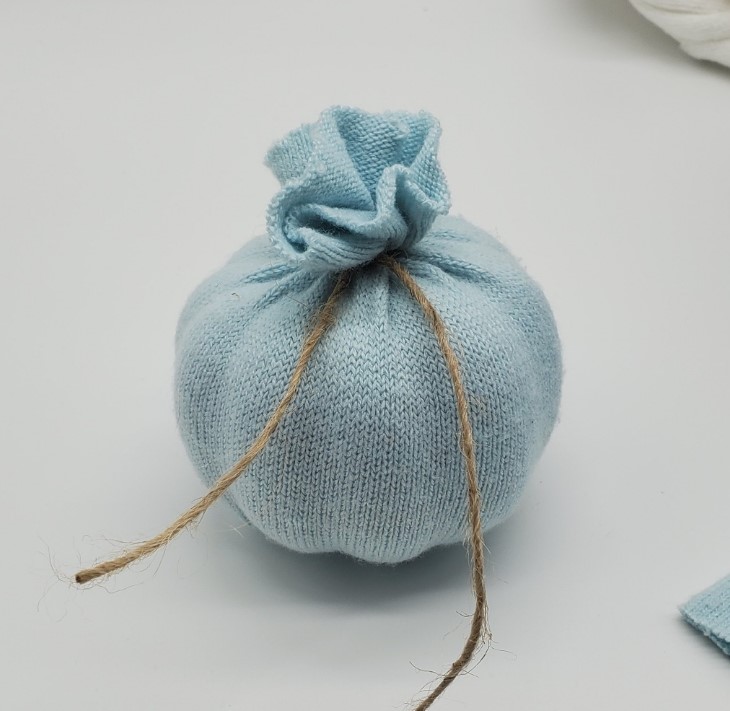
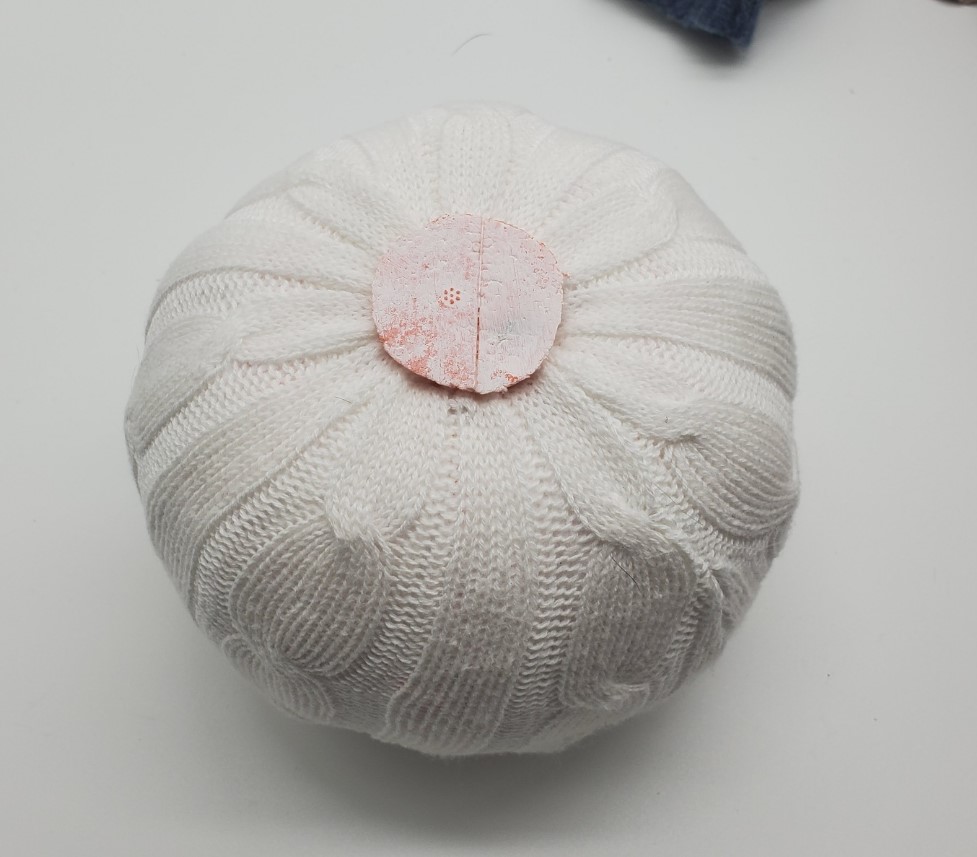
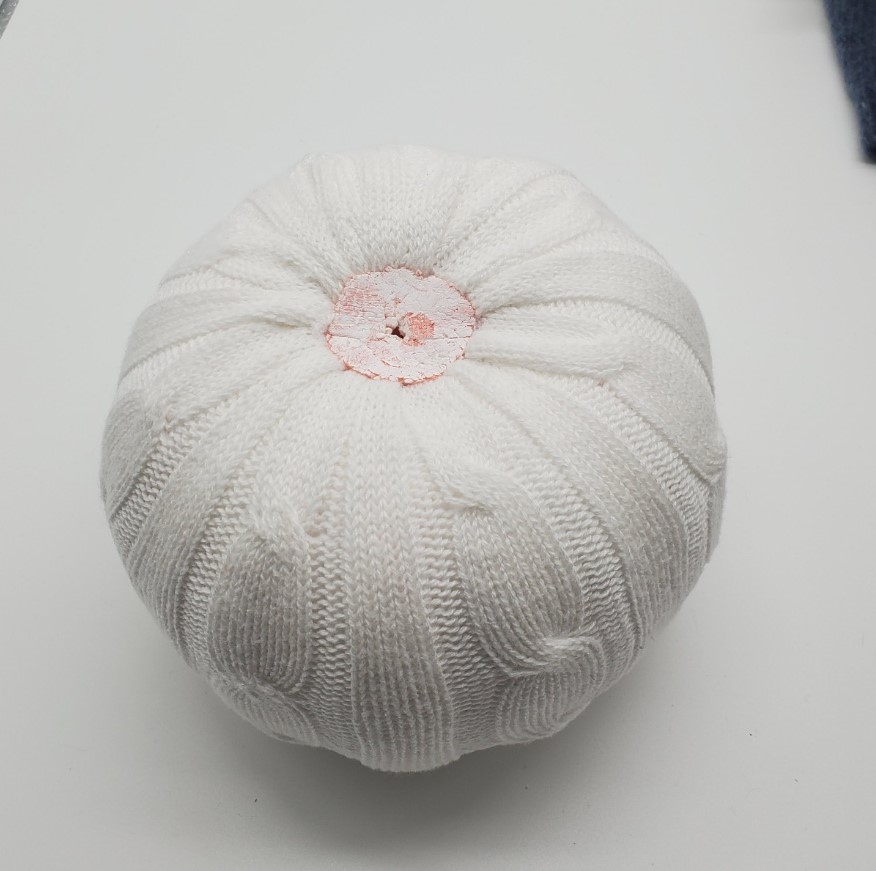
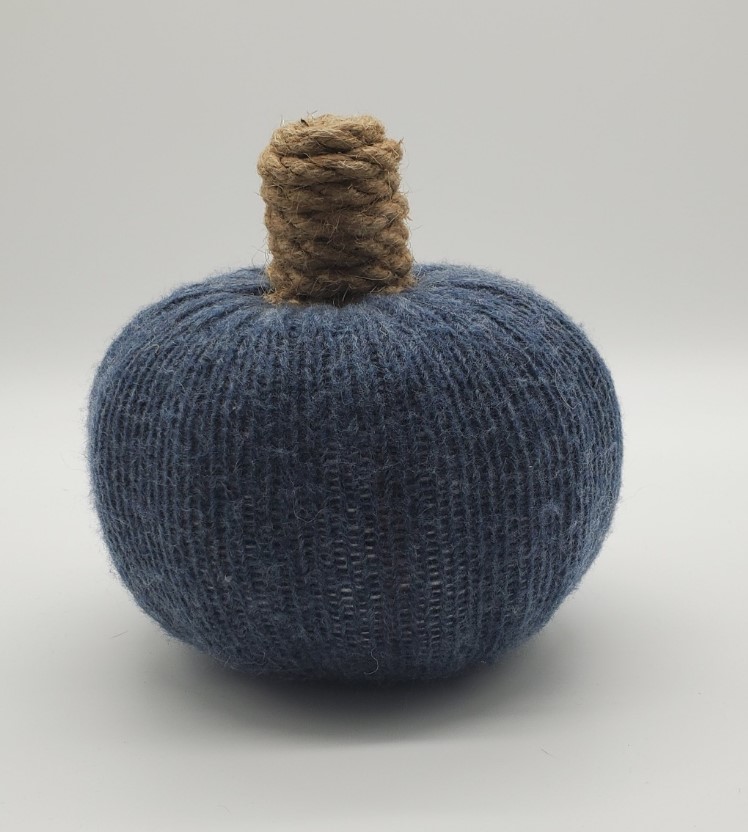
My Small DIY Sweater Pumpkins
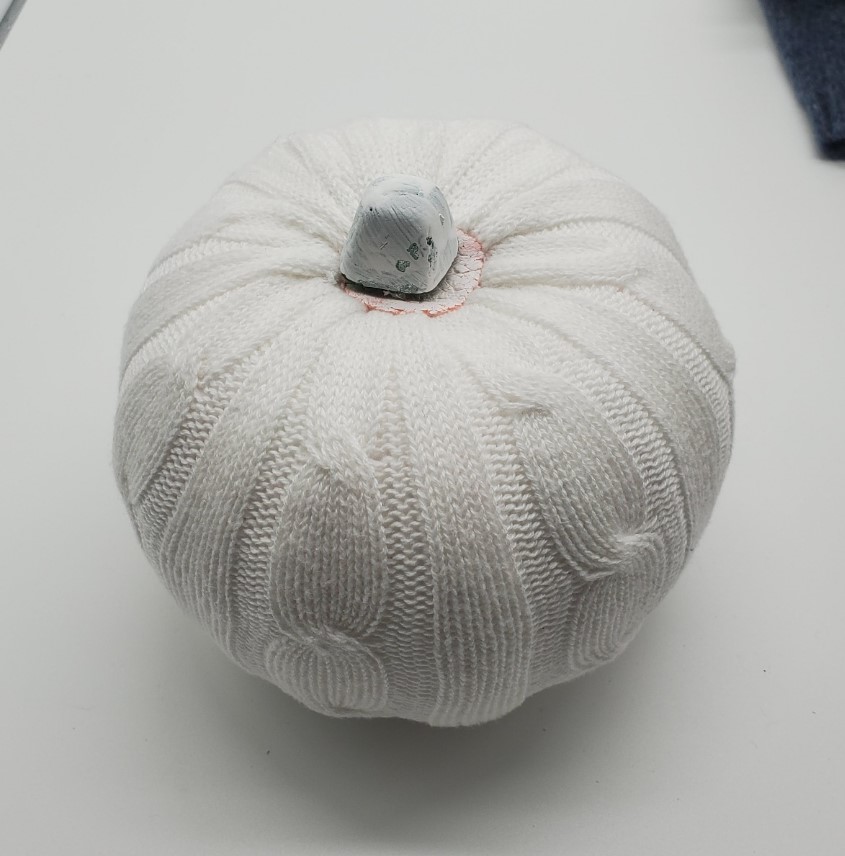
My Larger DIY Sweater Pumpkins
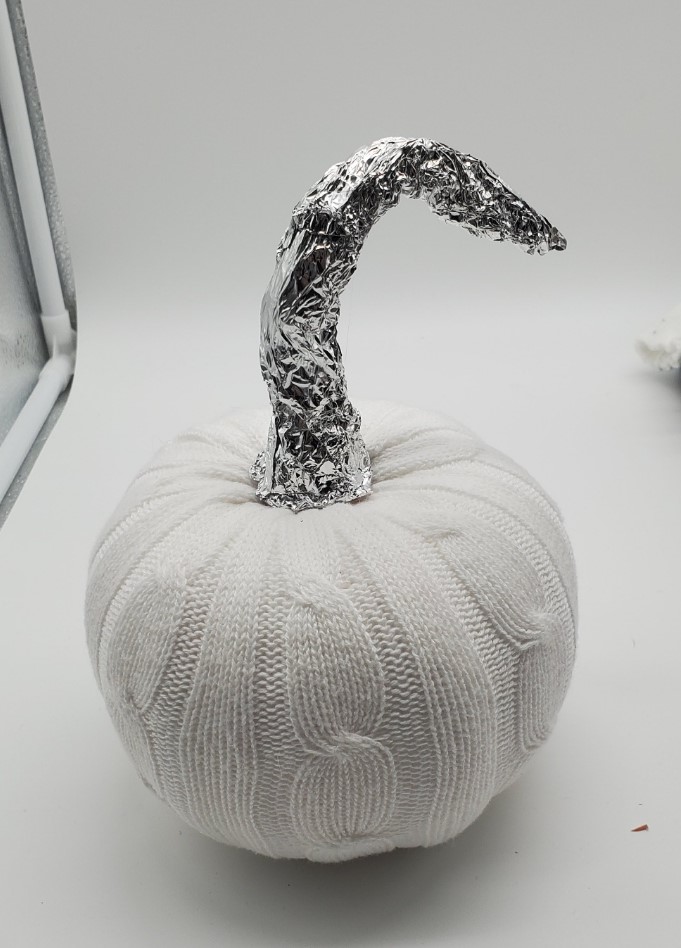
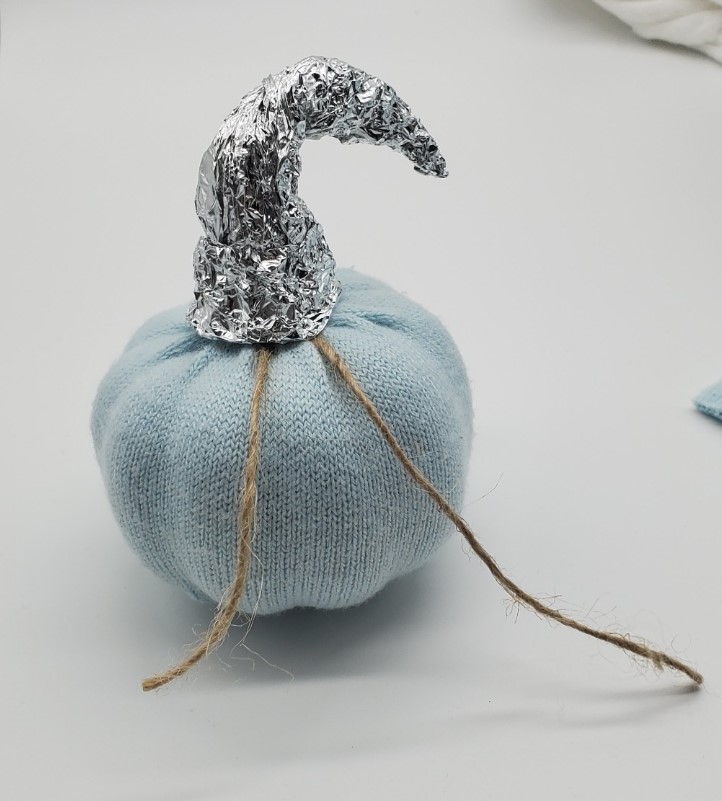
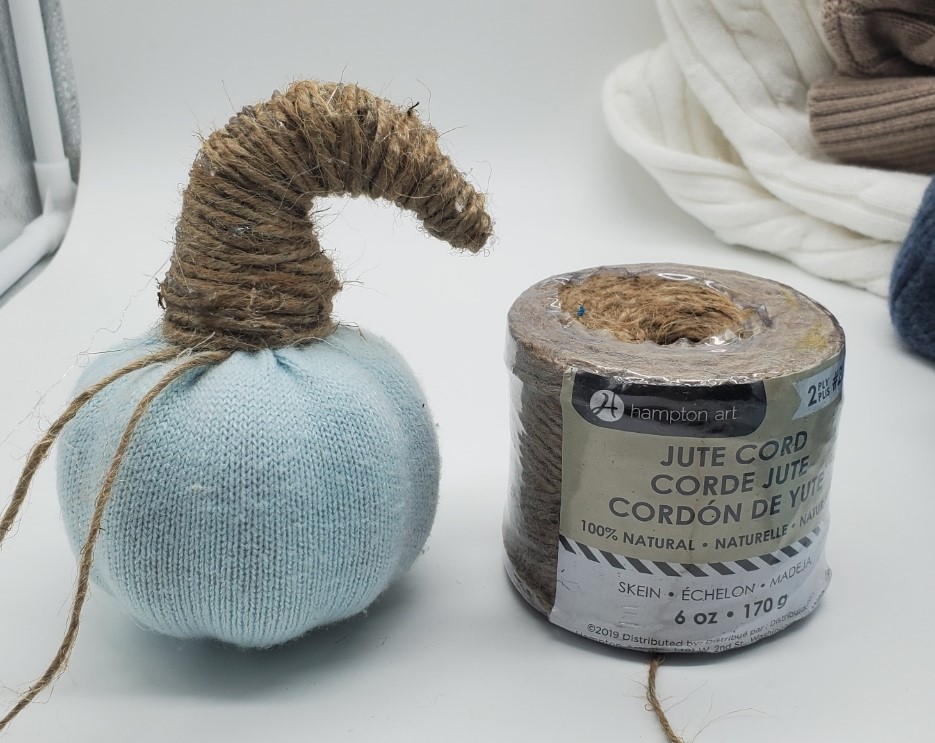
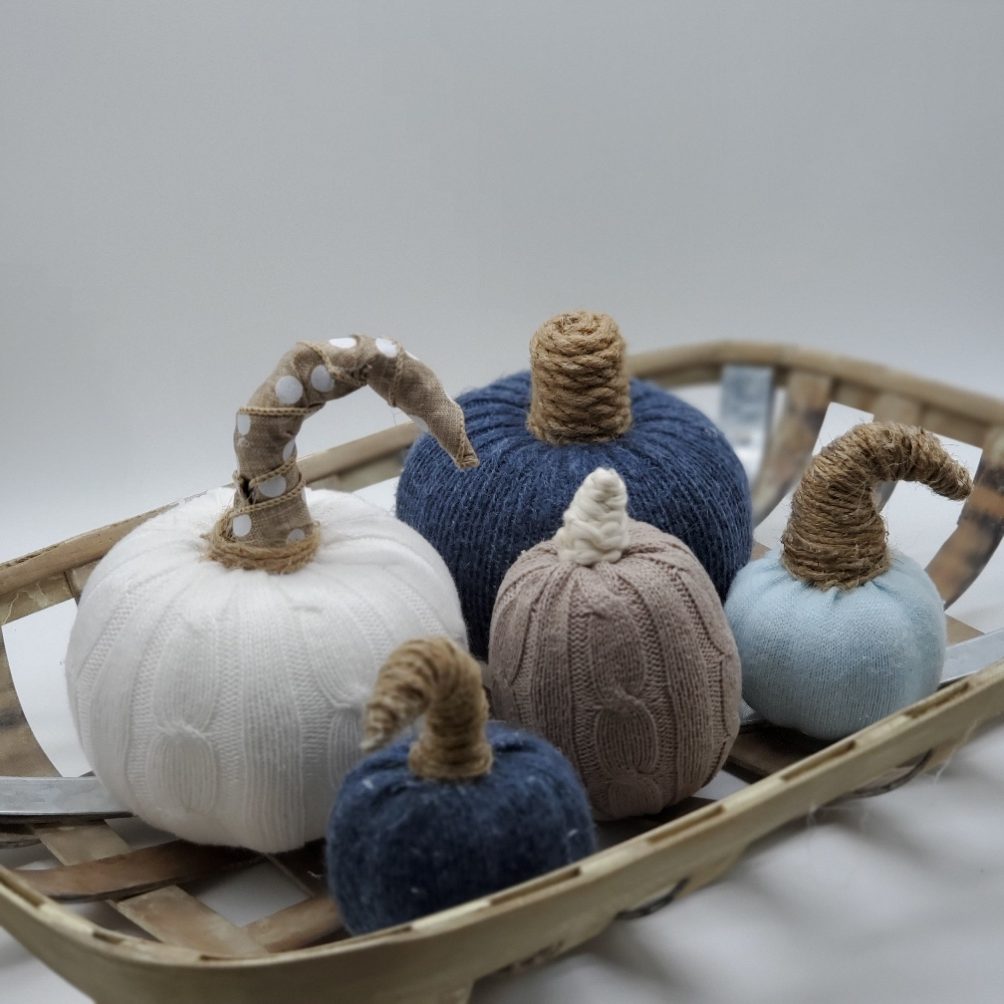
Another Stem Option
In Summary
I kept going and ended up making 5 pumpkins in about 1 hour. I guess I am ready for September to roll around.
If you are “itching” to do some Fall DIY, this is a cute one to do. Good Luck!