I love Fall! BUT this time of the year seems to always be a “rat race” for me. October has Halloween, November has Thanksgiving and December has Christmas. Bam, bam, bam….one right after another. I try to combine Halloween and Thanksgiving decor the best I can but this year I was lucky enough to be able to combine 4 events (i.e. Birthday, Halloween, Thanksgiving AND Christmas) with one of my DIY projects. I was able to use a Pumpkin Decor DIY for all 4 occasions.
Let me explain….it’s all about “Frozen”…the movie. What household does not know about this movie? My granddaughter, Aubrey, had her 4 year-old birthday in September. OF COURSE, her party theme was “Frozen”. I got on Pinterest and did what everyone else did…went WAY overboard with the “Frozen” theme for her party. The food was “Frozen”, the decor was “Frozen”….even the cleaning supplies (i.e. COVID party) were “Frozen”. I found a cute DIY table decor that was made with Pumpkins. See below how I made this.
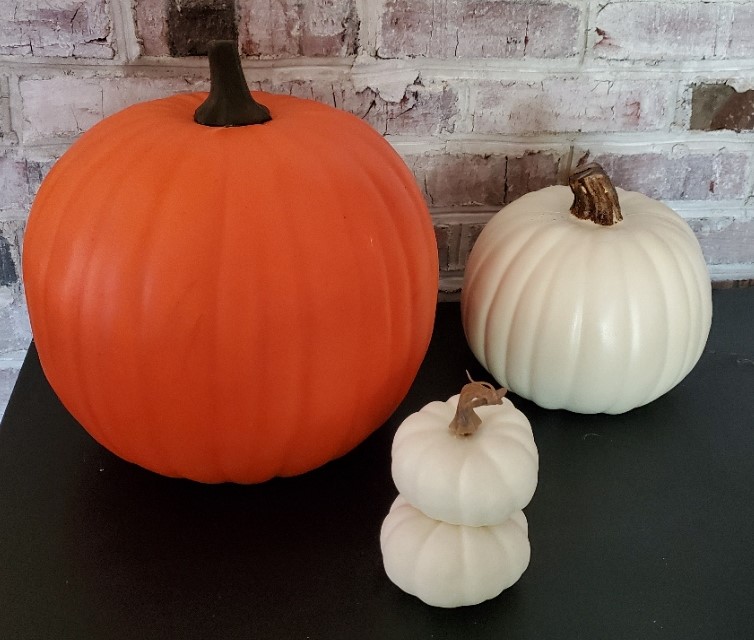
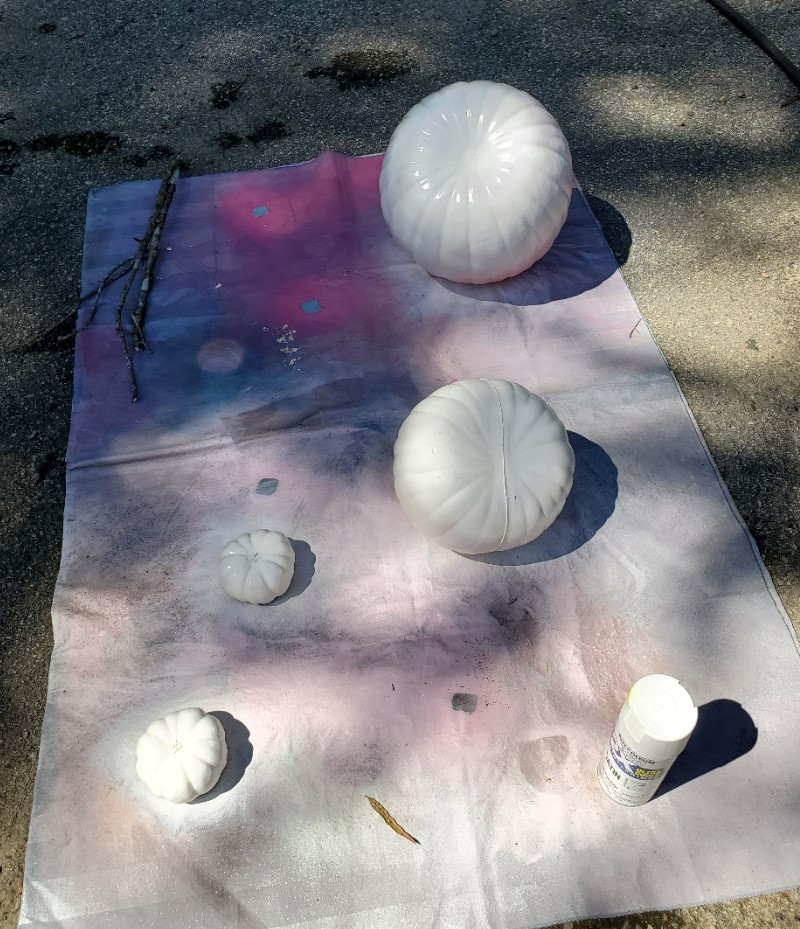
First, I started with 4 pumpkins. ONE Large, ONE Medium, and TWO Small.
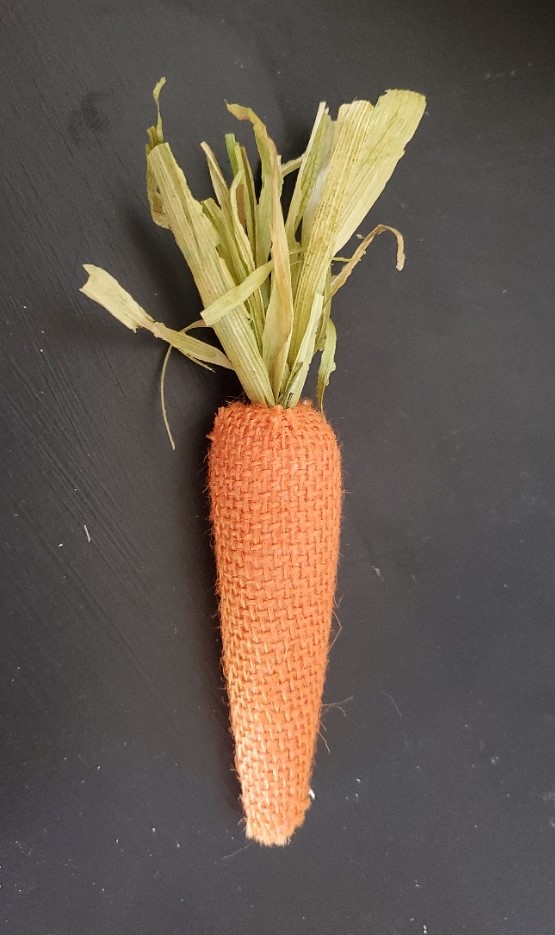
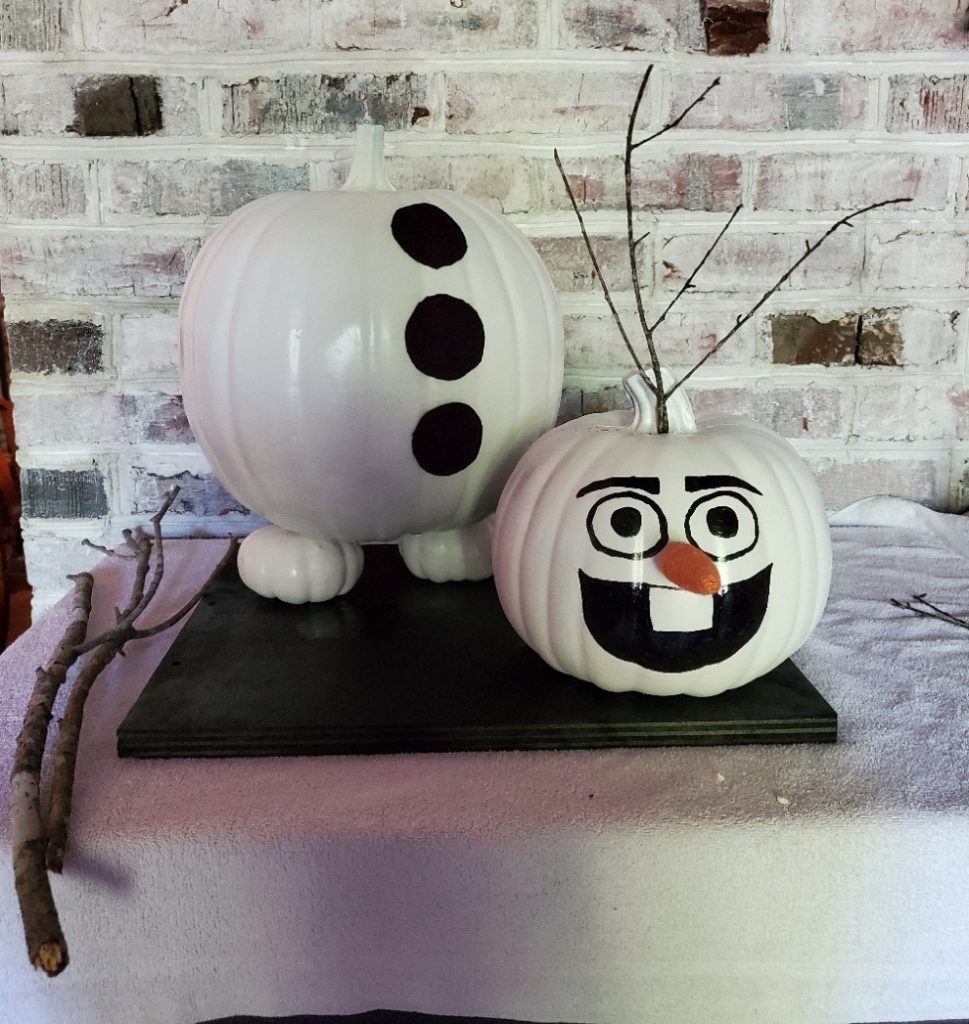
Every Snowman needs a carrot nose so I found a fabric carrot that I had in my Easter Decor.
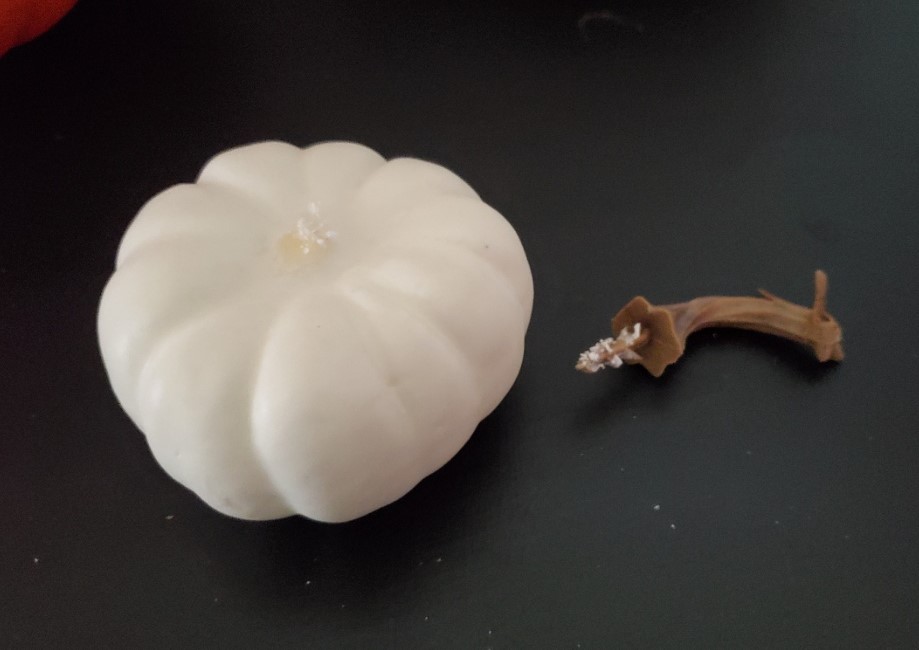
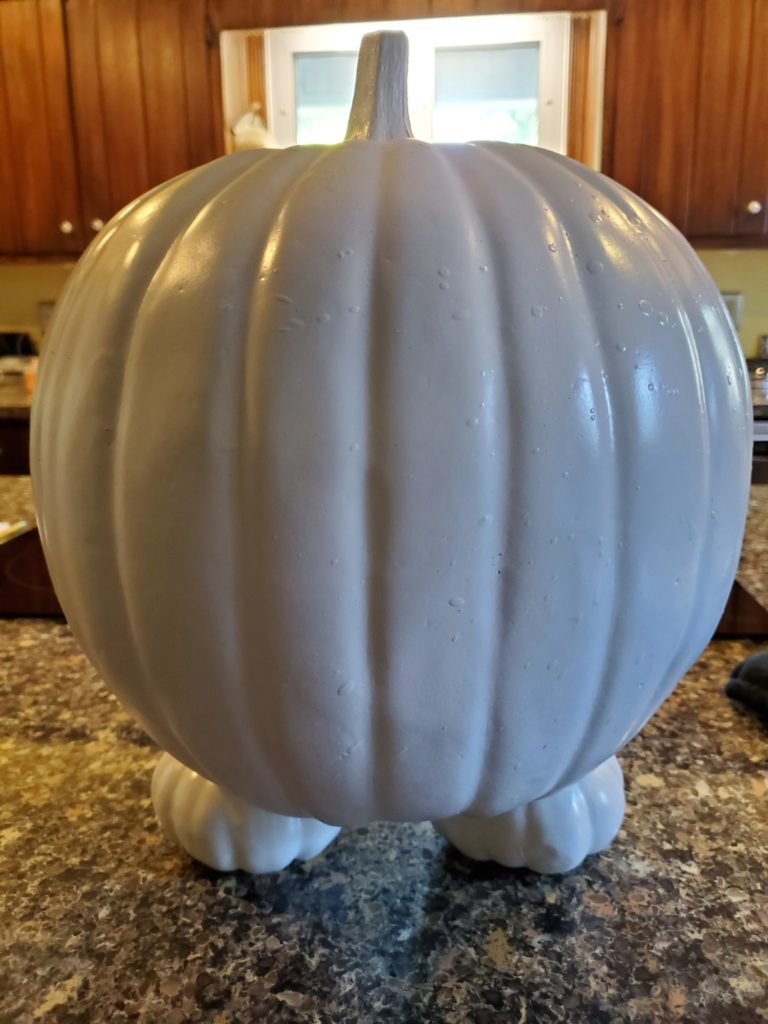
I “popped” the stems off of the two small pumpkins. They were going to be Olaf’s feet so I did not need the stems.I painted ALL FOUR pumpkins white with white spray paint. You will also notice in the TOP left of this photo I gathered some sticks from my yard to use for the sprig of hair on top of Olaf’s head and for his arms.
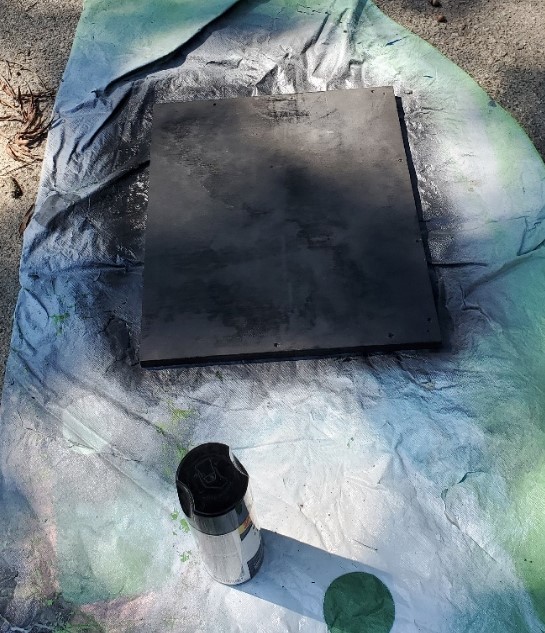
I had some scrap wood from a previous project and spray painted it black. This was going to be the base for my Olaf creation.
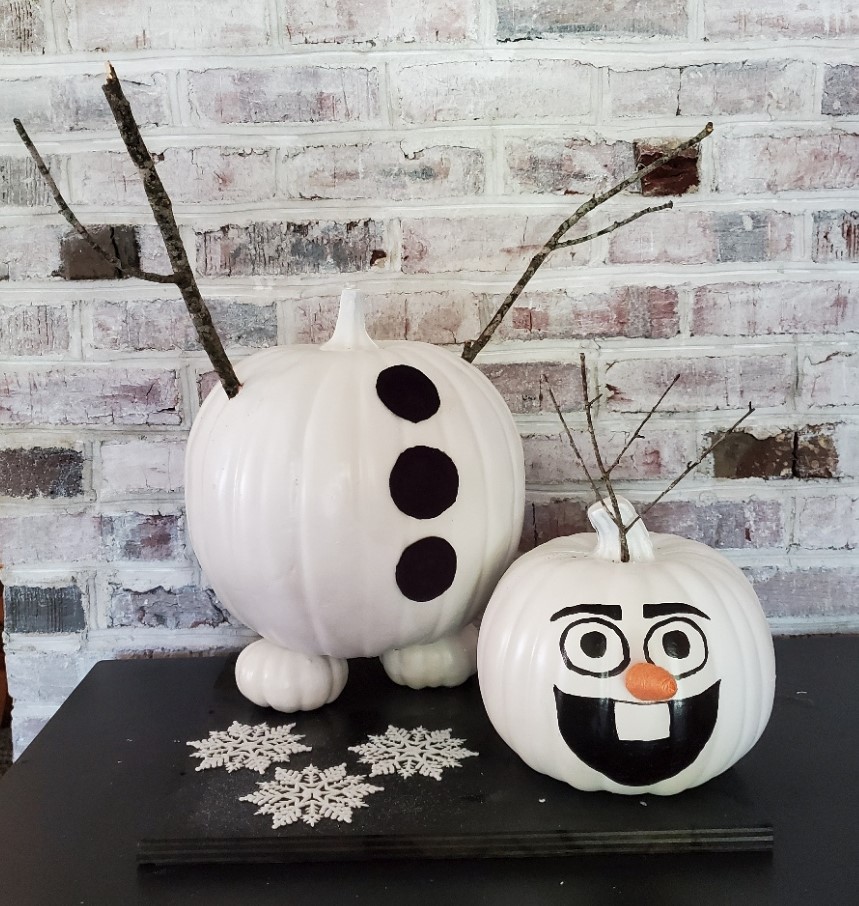
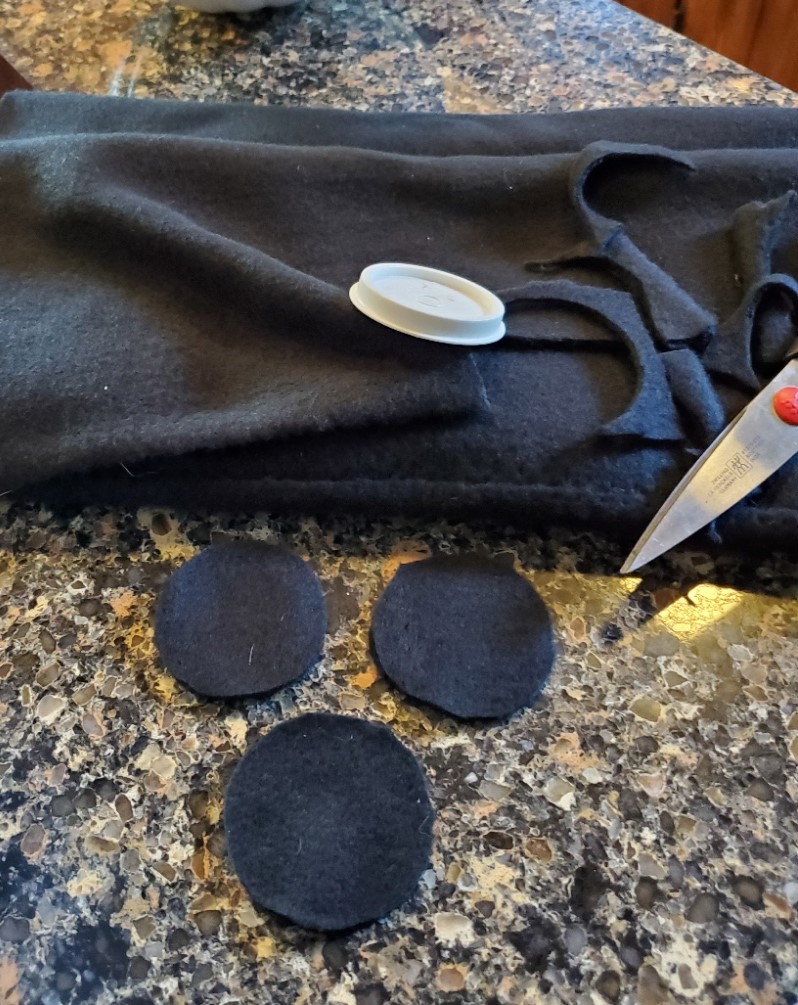
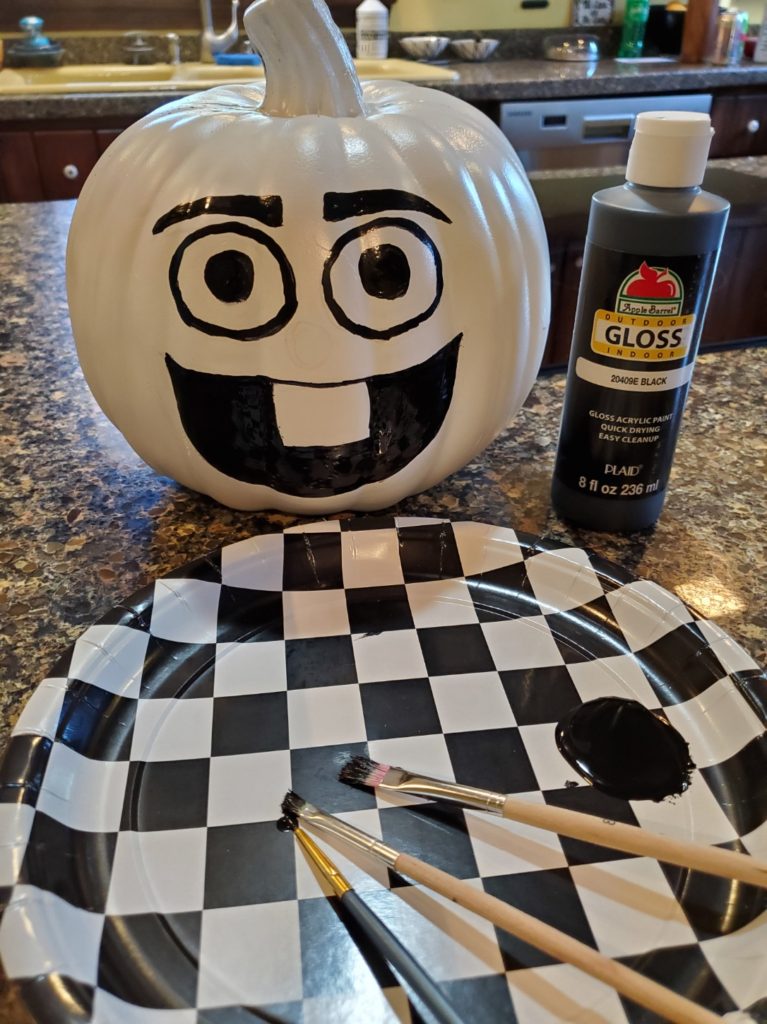
I cut 3 circles out of felt to use for Olaf’s buttons.I glued the small pumpkins to the base of the large pumpkin to be Olaf’s feet. Be sure to find the “sweet spot” to glue these legs so Olaf doesn’t “topple over”.I “free hand” painted Olaf’s face on the medium pumpkin. My personal opinion, his mouth is too wide. If I could do it again I would paint his mount more narrow. I think that is one of Olaf’s distinctive characteristics that I missed.I glued the body onto the base so it would stay secure and not “topple” over. Here you will see I took some sticks and just “poked” them into Olaf’s head. I also just punched a small hole in his face to insert the fabric carrot as his nose.Here is my final project where I poked holes in the body to insert his stick arms. I clipped Olaf’s hair sprigs a little shorter too. Then I added some snowflakes for final decor.
I used this for table decor at Aubrey’s birthday party and now it is sitting on my front porch. Thankfully it will be there for Halloween, Thanksgiving and Christmas. I got FOUR uses out of ONE project!!!! I’ll take that any day!!!


2 Comments
Tracy
Since a fun and creative idea!!! Especially love the fact that you get multiple uses from it!
Humble Cre-AYE-tions
Thank you, Tracy!!!