DIY Risers
I love these DIY Risers people are making. They are actually easier to make than you think.
Here I will show you the 2 things that I used and you can see the final results that I will be selling at my Pop Up Event.
Legs
This is where you can give your riser a totally different look. I happened to have these larger beads that are flat on one side. You can also use wood candle sticks or any other type of wood leg. I took some BROWN Rit dye and let the beads soak in the Rit dye mixture for about 1 hour to get this rich brown color. I also finished a few with some dark wood stain.

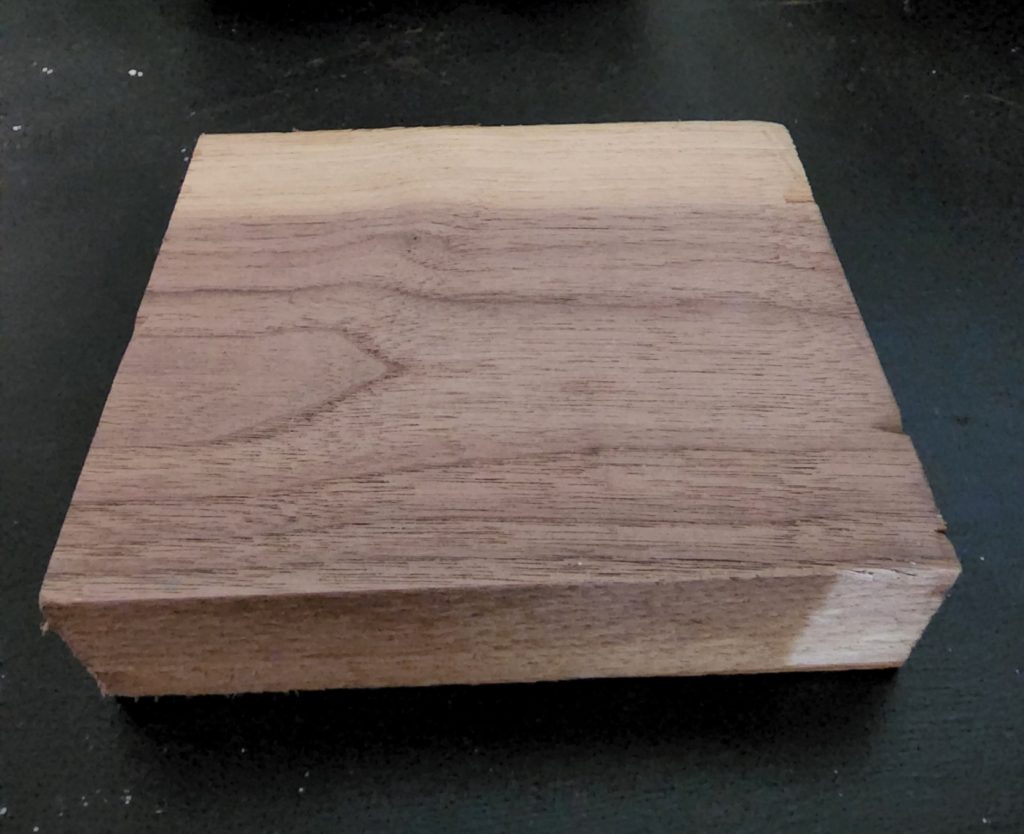
Top
I happen to have some scrap wood, just like this piece here. I sanded these wood pieces on the sides, top and bottom and either put a satin finish or a wood stain on them.
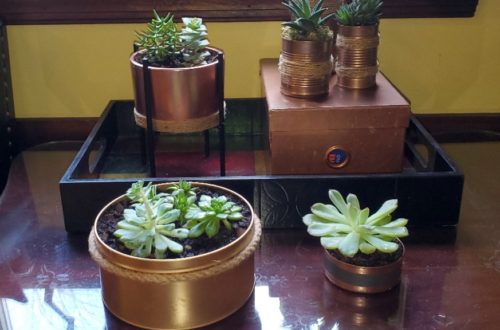
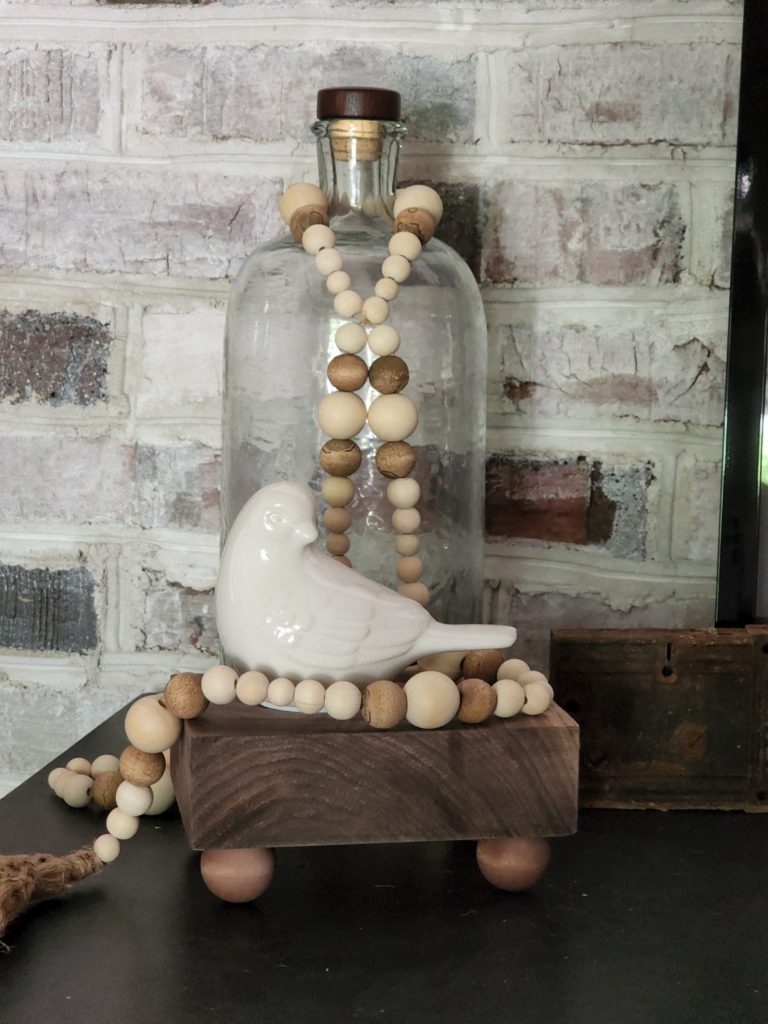
Then all you have to do is to glue the legs on to the wood top and you have a DIY Riser!!!! Here are some others that I made.
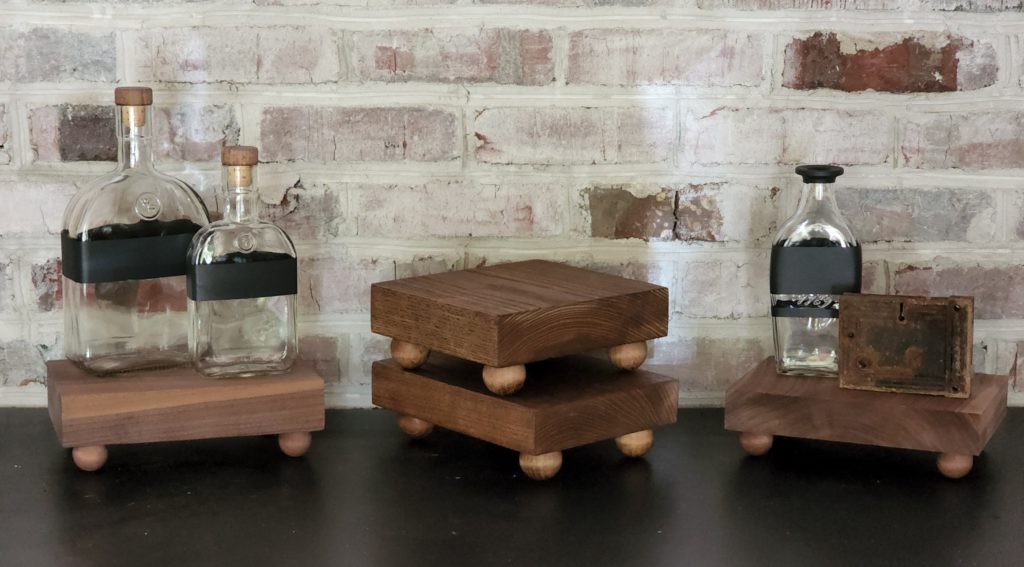
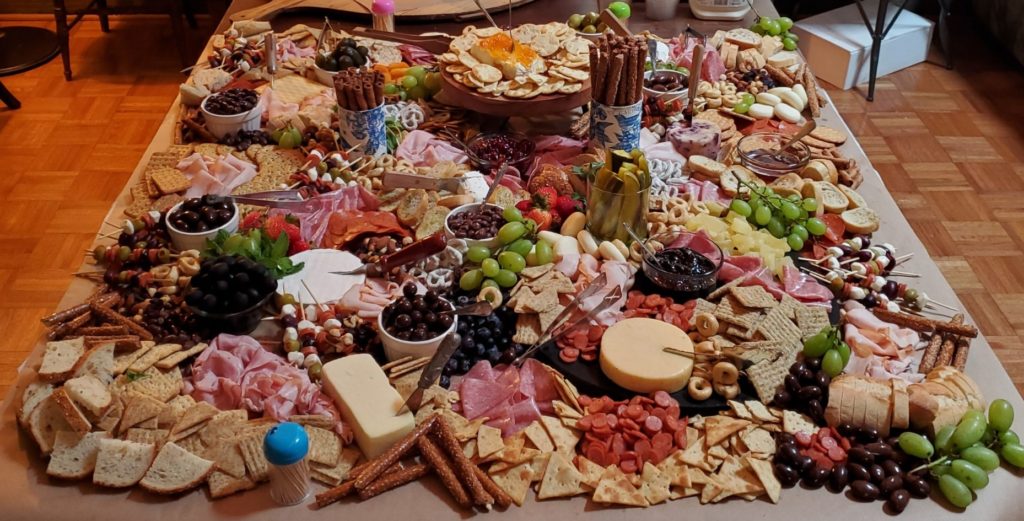
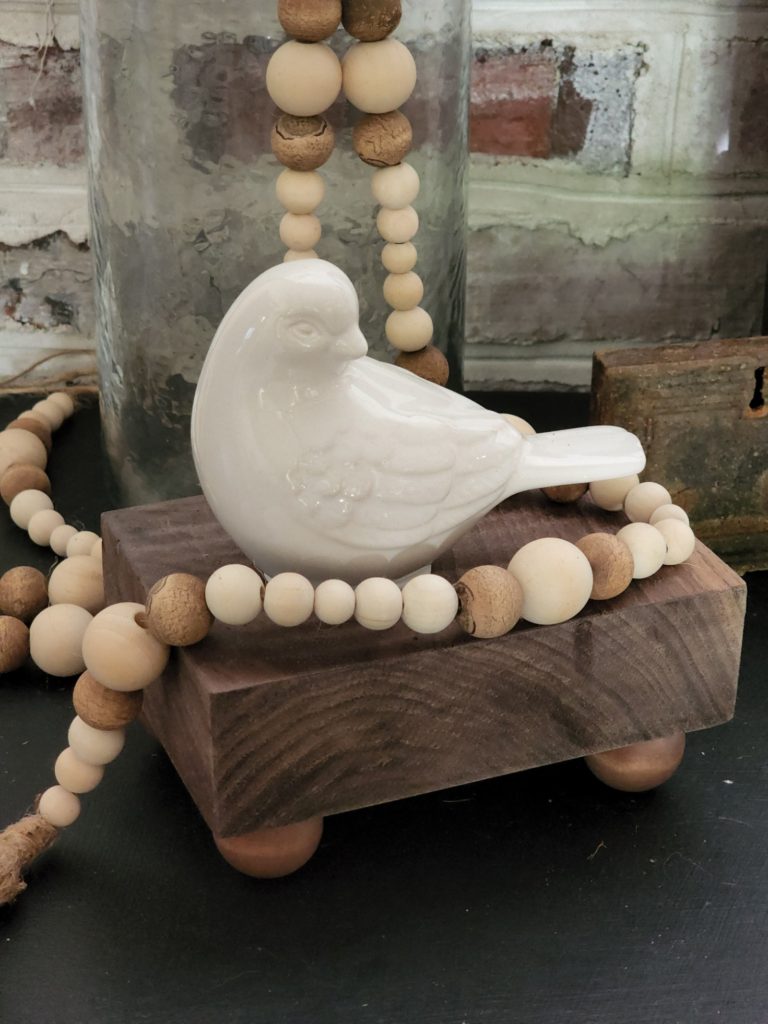
These are great to use for any decor (ie bottles, candles, small figurines, etc) and are great to use in a larger charcuterie table. I had a large charcuterie table one time and had a riser in the middle where I put some cheese, jelly and crackers (you can see it in the top part of the pic below).