
DIY Key Organization
I am still spending a lot of time at home. In doing so, I am still cleaning, purging, organizing and experimenting with new projects. One thing I did realize is that just because you organize something ONCE doesn’t mean it will stay forever organized! BUT if you do organize ONCE it is A LOT easier to reorganize when need be. For example, this weekend I cleaned out and reorganized my silverware drawer. I was dreading it at first but once I got into it I realized it took no time at all. All I did was just wash out the compartments they were in, purge some of the extra utensils that were thrown in there over time that we never used and put the “worthy” utensils right back where they were. I basically did not have to reinvent the wheel…..I already invented that wheel the first time I organized it.
One of my projects this weekend was to organize our keys that we had hanging on 3 hooks in our kitchen. I don’t know if you are like us but we have SO MANY keys and I am not quite sure what they all belong to. (I’m starting to wonder if I have my neighbors keys BUT it would have been from 3 homeowners ago….eek!). We have 3 exteriors doors to our home, an outdoor storage unit and a metal fence with a lock. THEN we have extra keys to my in-laws beach house, my daughter’s house, neighbor’s house, etc…..there are more. It got overwhelming to know what we had. SO I purged the keys and I now have a bowl full of “what-the-heck-are-these”.
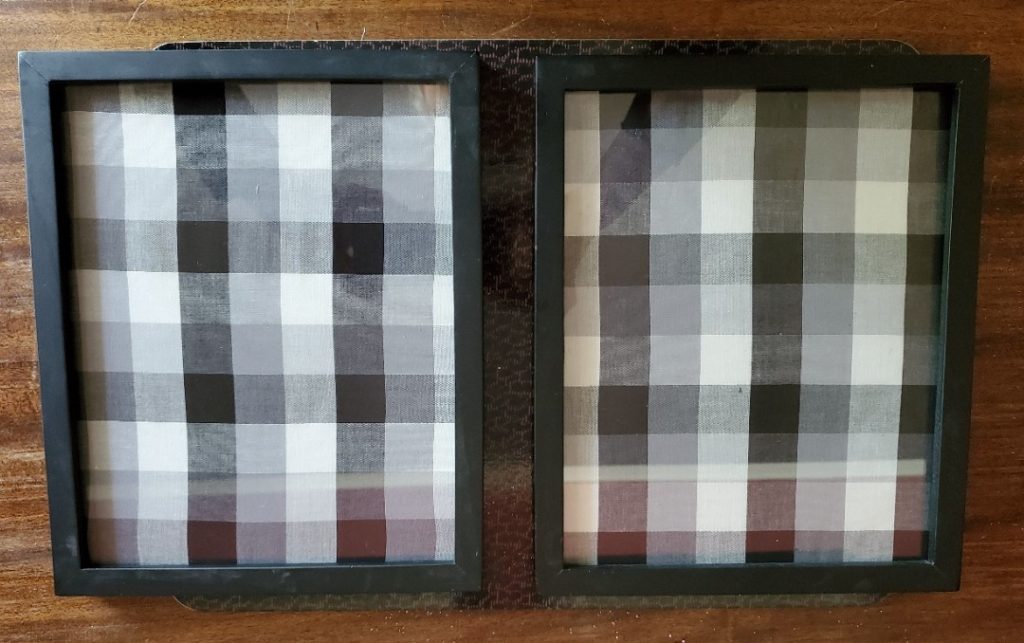
I wanted to organize my keys but try to stick to my decor. I have recently fallen in love with the black and while buffalo plaid SO I decided to incorporate that in my DIY Key Organizer.
See below some pics of how I made my key organizer.
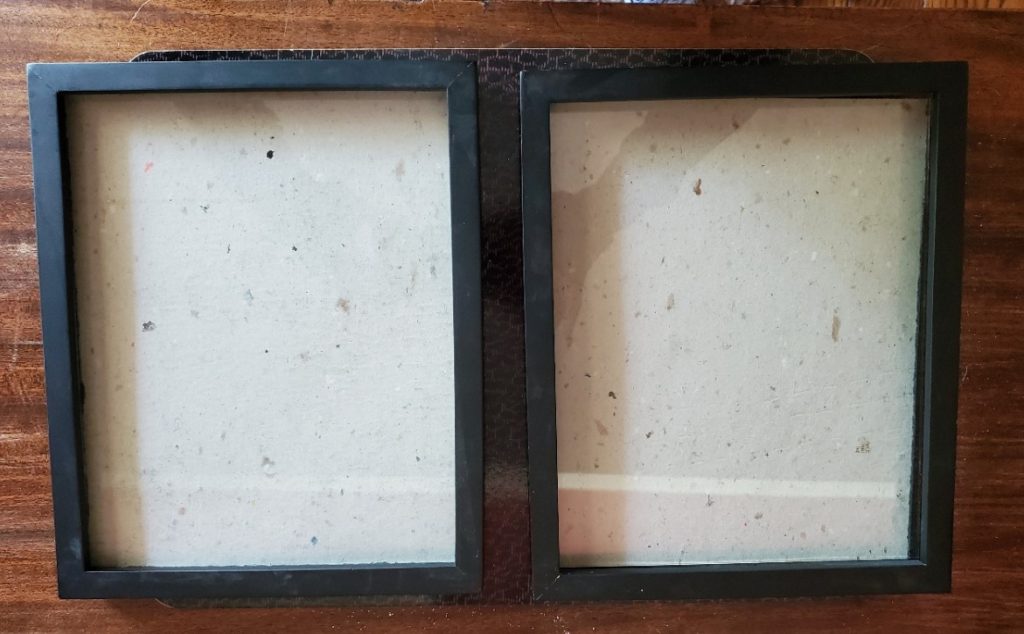
Start with a basic frame
Pick your favorite fabric
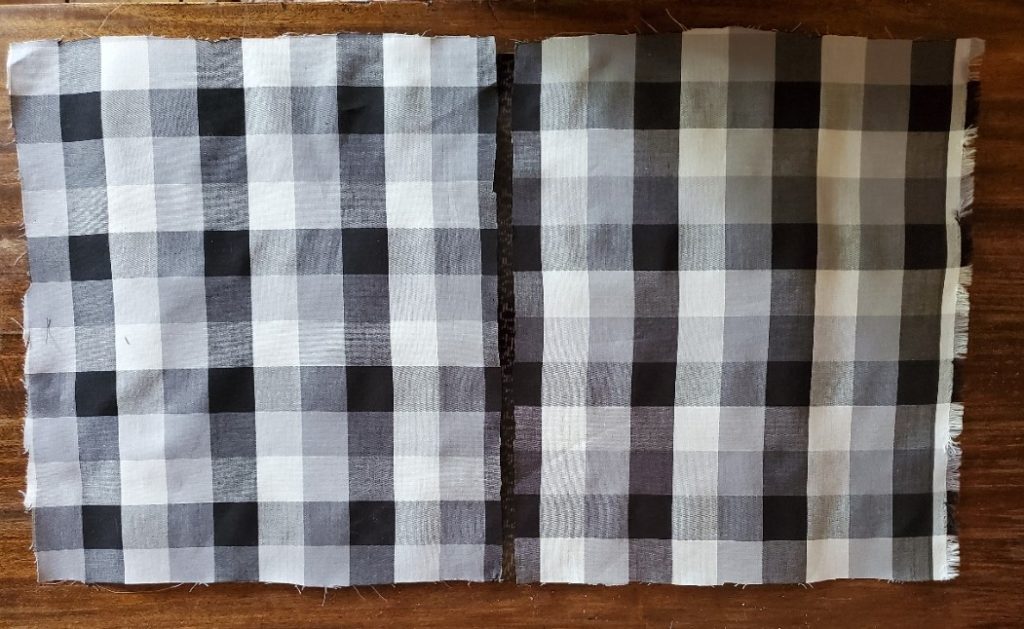
Cover back of frame with your fabric
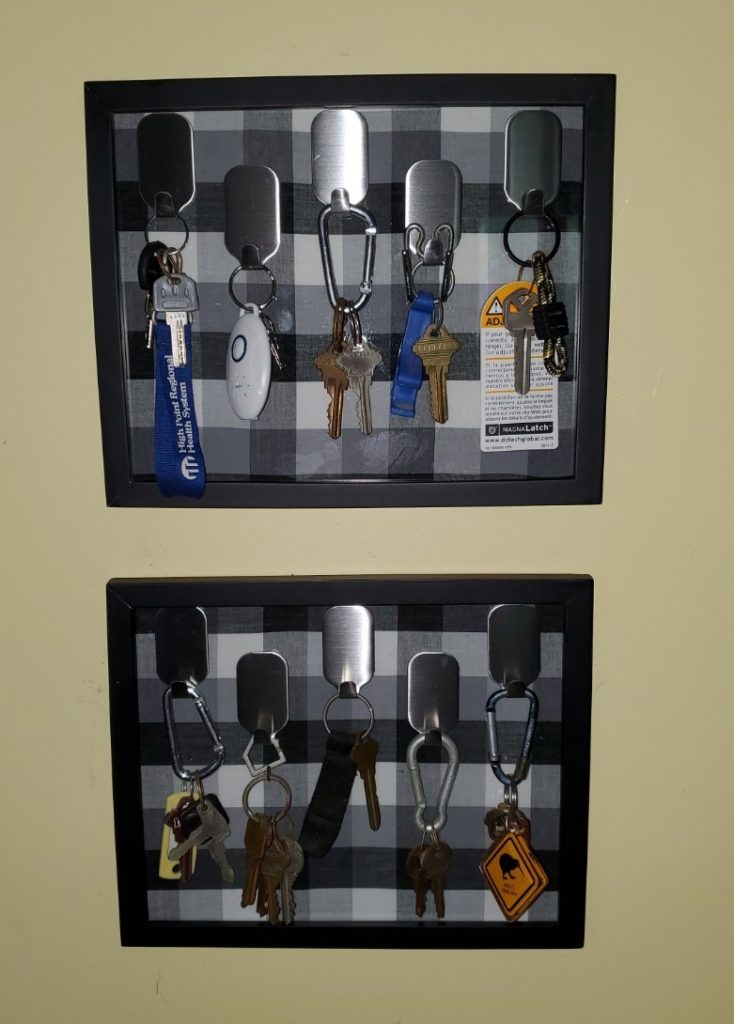
Adhere your choice of hanger to the glass of picture frame
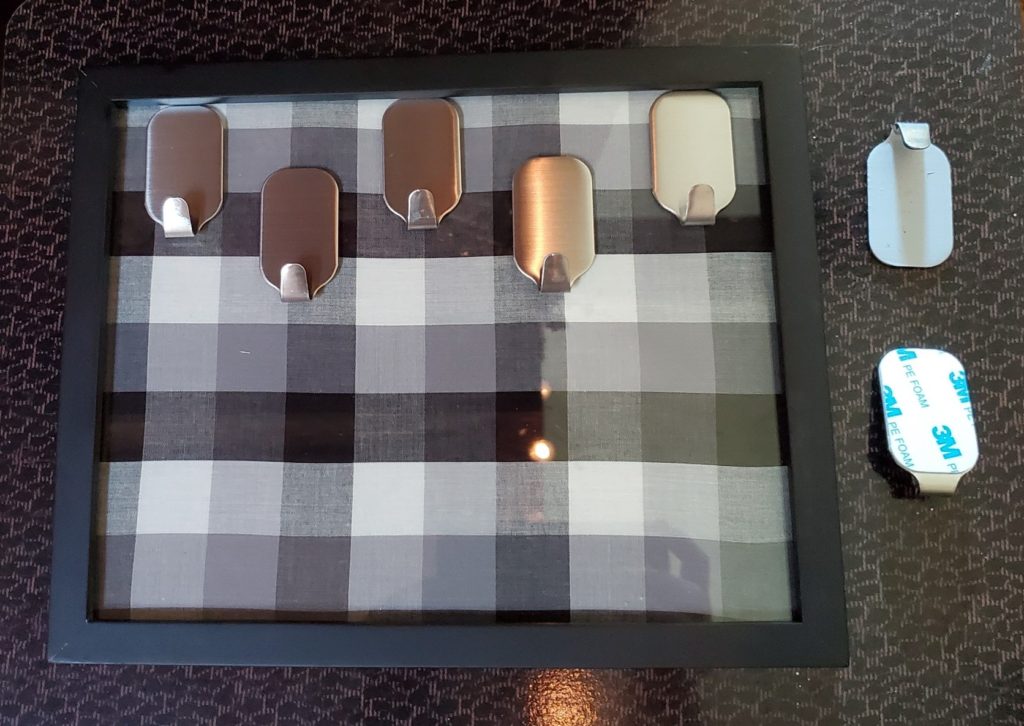
Display your DIY Key Organizer

Be sure to visit some of our other projects on our blog site Humble Cre-AYE-tions or visit us on Facebook.