Our Favorites,  Repurposes,  Uncategorized

DIY upgrade a Serving Tray

I like to try to “refurbish” what I already have. Very rarely do I purchase new items (unless it is something FANTASTIC and there is no way I can create it)! I feel like I have a lot of things that I redo, refurbish and/or upgrade. Recently I have seen some posts about different ways to DIY upgrade a serving tray. I have a few of them and there is one in particular that I really was not to crazy about. It was the perfect one to experiment with and I must say, it turned out really cute!

DIY upgrade serving tray

How I made my DIY upgrade Serving Tray

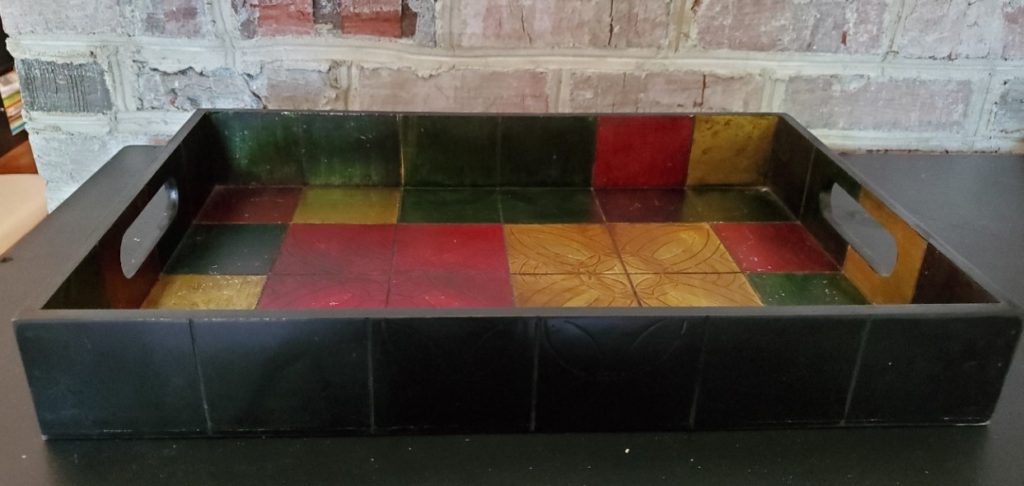
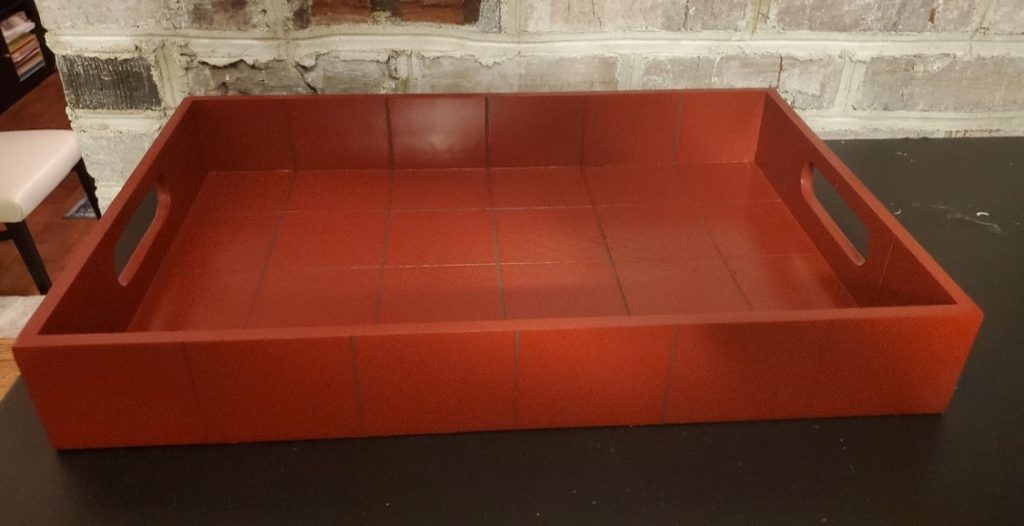
1. Start with an old Serving Tray
old serving tray
This is my old serving tray….a little….ummm…not my style.
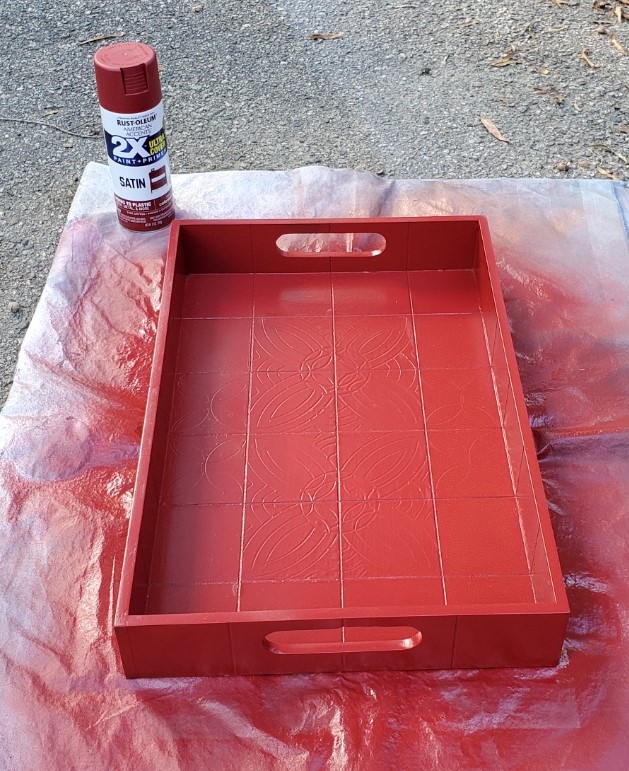
2. Chose your serving tray color
painted serving tray
I have been decorating with red in one area of my house. I decided to spray paint my tray red to go with that decor.
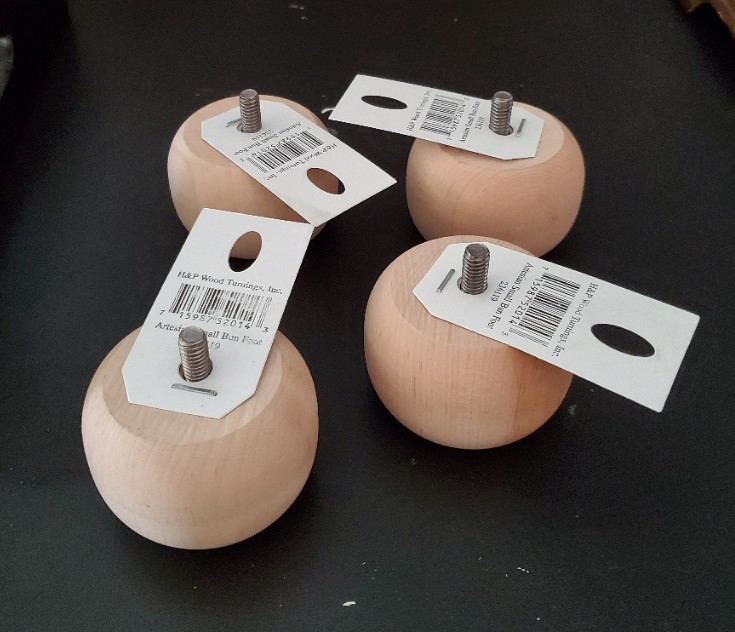
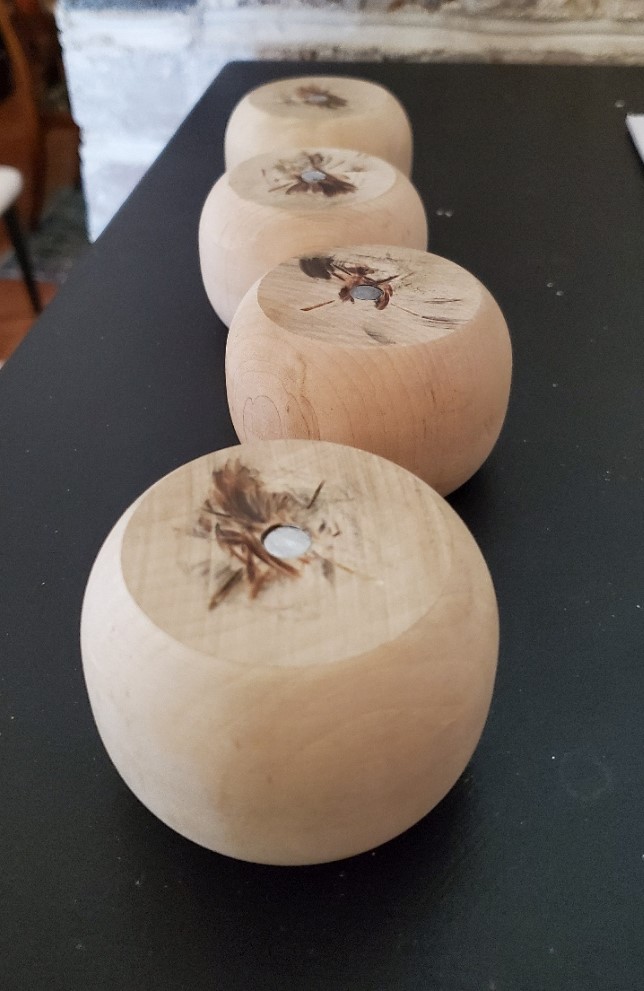
3. Select legs to go under your tray
wooden legs
I bought these legs at Lowe’s Home Improvement. You can chose small wooden unfinished candle holders or any other decor item that can be used as a leg.
wooden legs Dremel cut
I was NOT going to screw the legs on to my serving tray so I used a Dremel to cut off the screws that were on these legs. It cuts SO close and flush.
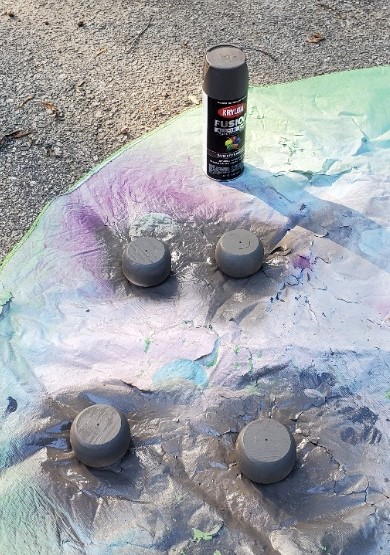
4. Select your color for your legs
painted wood legs
I spray painted an “Otter” shade to coordinate with my red tray.

5. Add any other decor to your tray (optional)
decor paint
I wanted to incorporate some of the “Otter” paint in my tray.
painted serving tray
My tray had some “grooved lines” so I just hand painted the otter paint into the grooved lines.
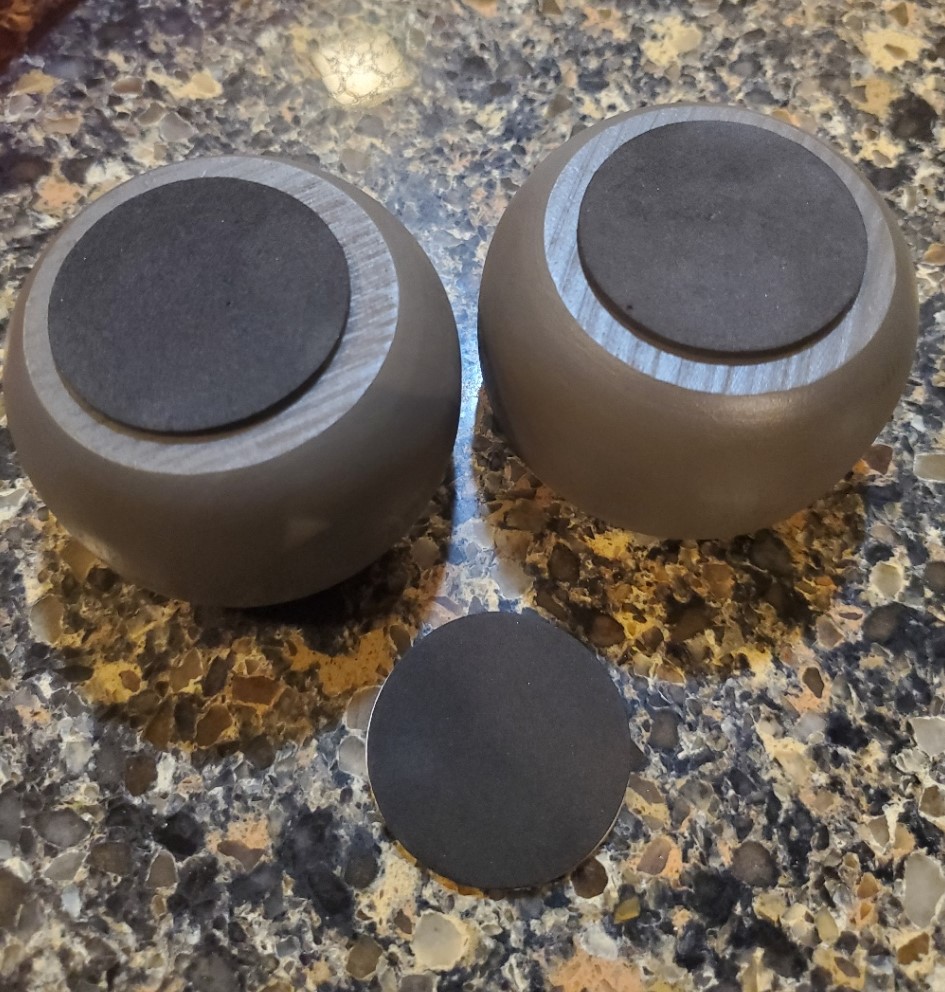
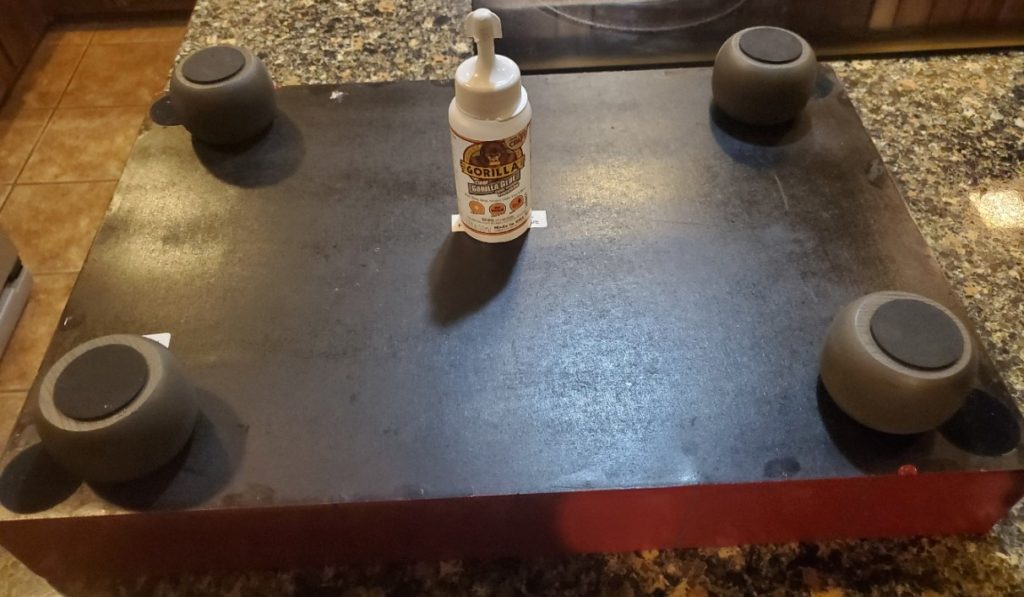
6. Prepare your legs for install
wooden legs with gripper pads
I stuck some round spongy gripping pads on the bottom of the legs (so they would not scratch the surface).
7. Glue the legs to the tray
glue legs to serving tray
I love Gorilla glue!!! I put a generous portion of Gorilla glue on each leg and glued them in place on the bottom of my tray.
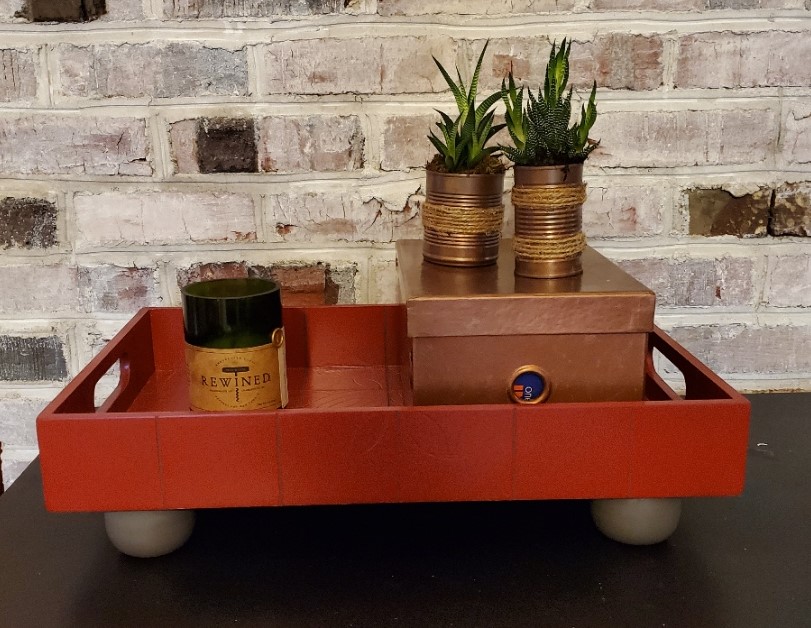
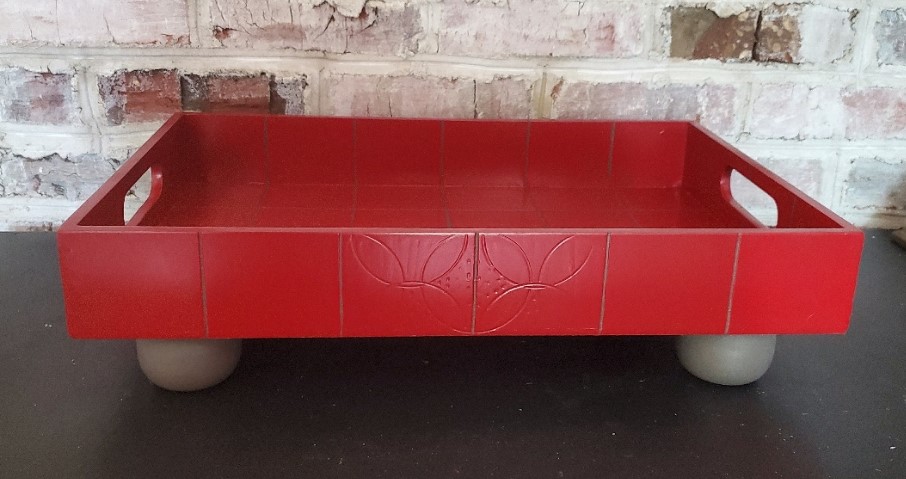
8. My NEW Serving Tray
DIY upgrade serving tray
Here is the final product! Now THAT’S more like it!!!

This was a really easy project. My only investment included wooden legs and some spray paints. I challenge you to find something in your house you can redo.

View other projects on my page.

Leave a Reply

Your email address will not be published. Required fields are marked *