DIY Doormats
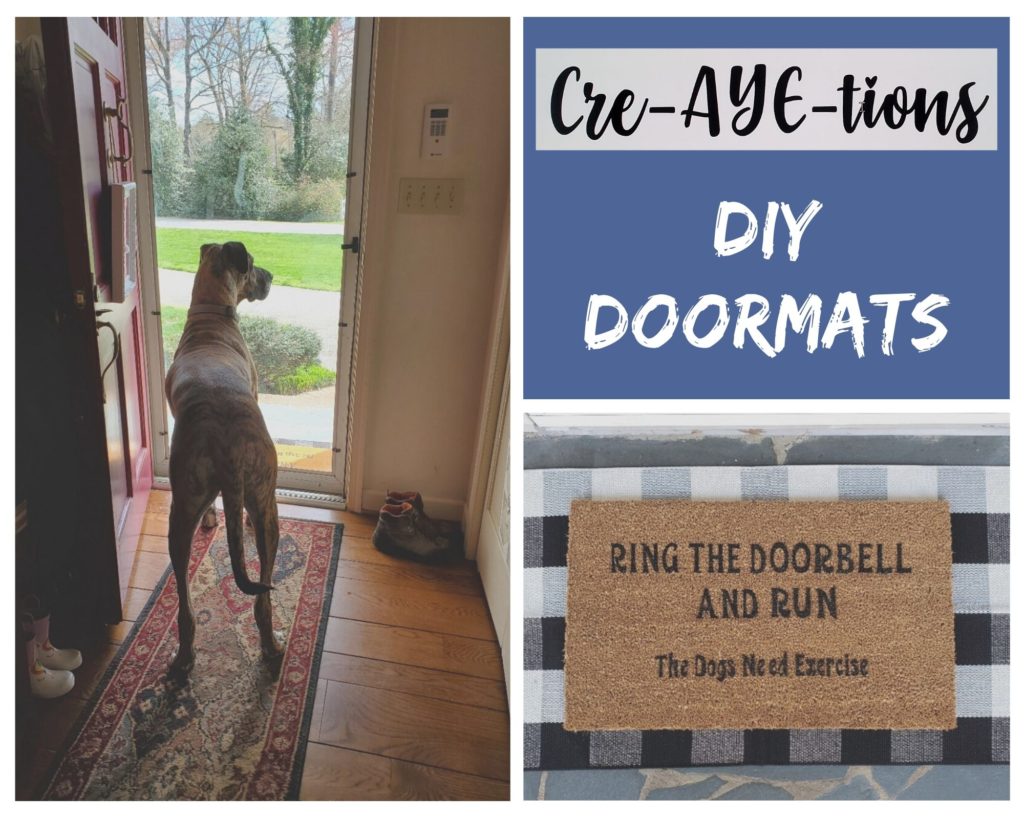
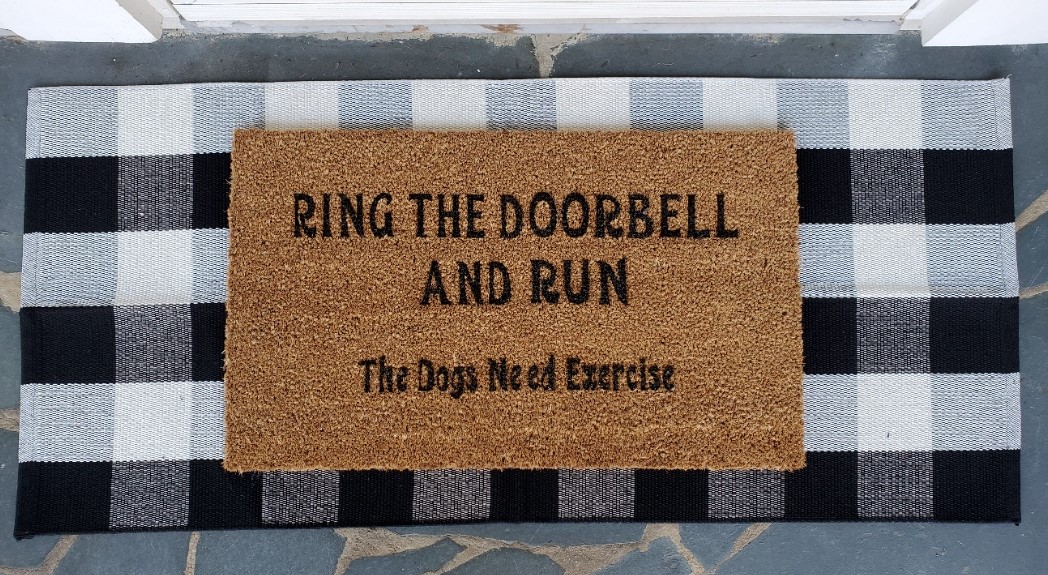
Personalized doormats are becoming the craze! I have seen some pretty cute and funny doormats on Social Media. I tried my hand at a couple of DIY Doormats and wanted to share them with you.
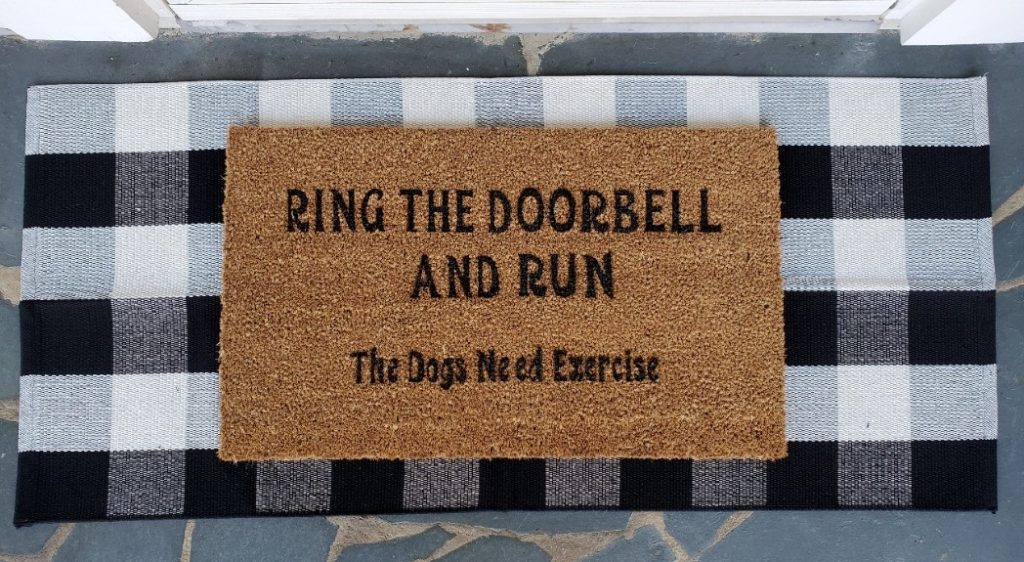
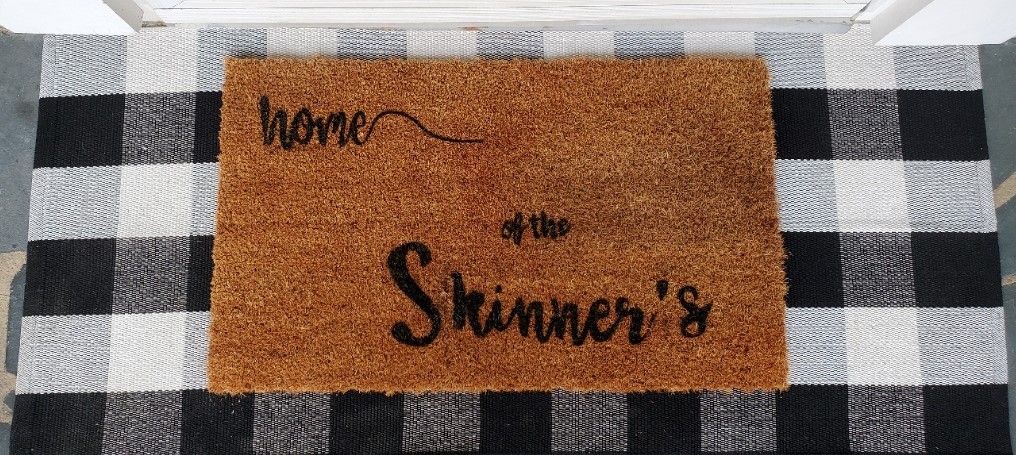
I did try 2 different methods on these doormats. BOTH methods required the use of my Cricut machine. On ONE doormat I used the vinyl adhesive cut out as a template. That was challenging in trying to make sure the large template didn’t all stick together in one big ball. Once adhesive vinyl was put in place, the rest was a breeze. On the SECOND doormat I used the iron on vinyl cut out as a template. It was a bit challenging in being able to keep the vinyl in place on the mat. I did apply a very small amount of heat from a heat gun to lightly keep it into place. Once it was put in place, the rest was also a breeze.
The spray paint I would recommend for this project is Rust-Oleum Leak Seal in black. It is a “waterproof flexible rubber coating”. What a perfect use on a door mat. After paint was dried I followed up with a coat of Rust-Oleum Leak Seal in clear coat over the entire mat. I feel like this gives it a good final seal.
If you are in the mood to tackle this project I highly recommend. OR if you would prefer we make one for you just let us know.
We can be reached via Facebook or email at creAYEtions1@gmail.com.