Our Favorites,  Uncategorized

DIY Valentine Decor

I usually don’t do any type of Valentine decoration but this year I had a lot of fun making some DIY Valentine decor and I wanted to share them with you. Here is a quick gallery of some of the items I have made. Instructions are further down this post.

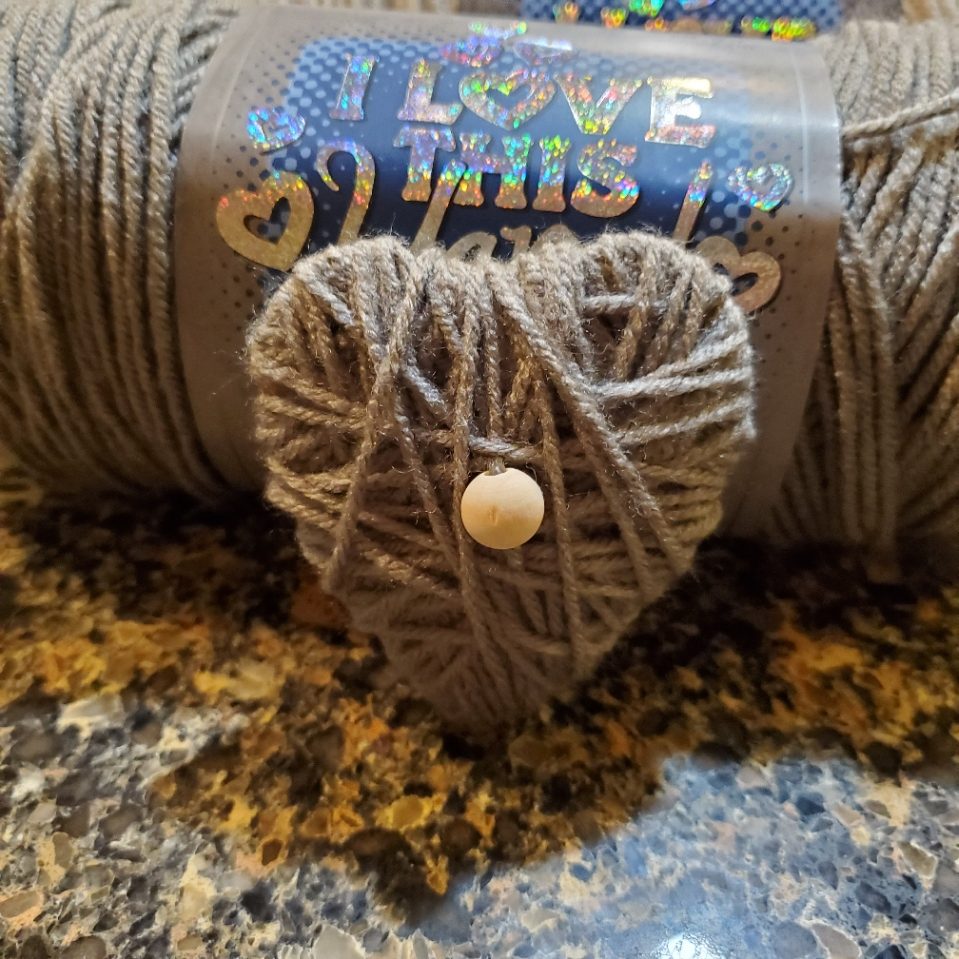
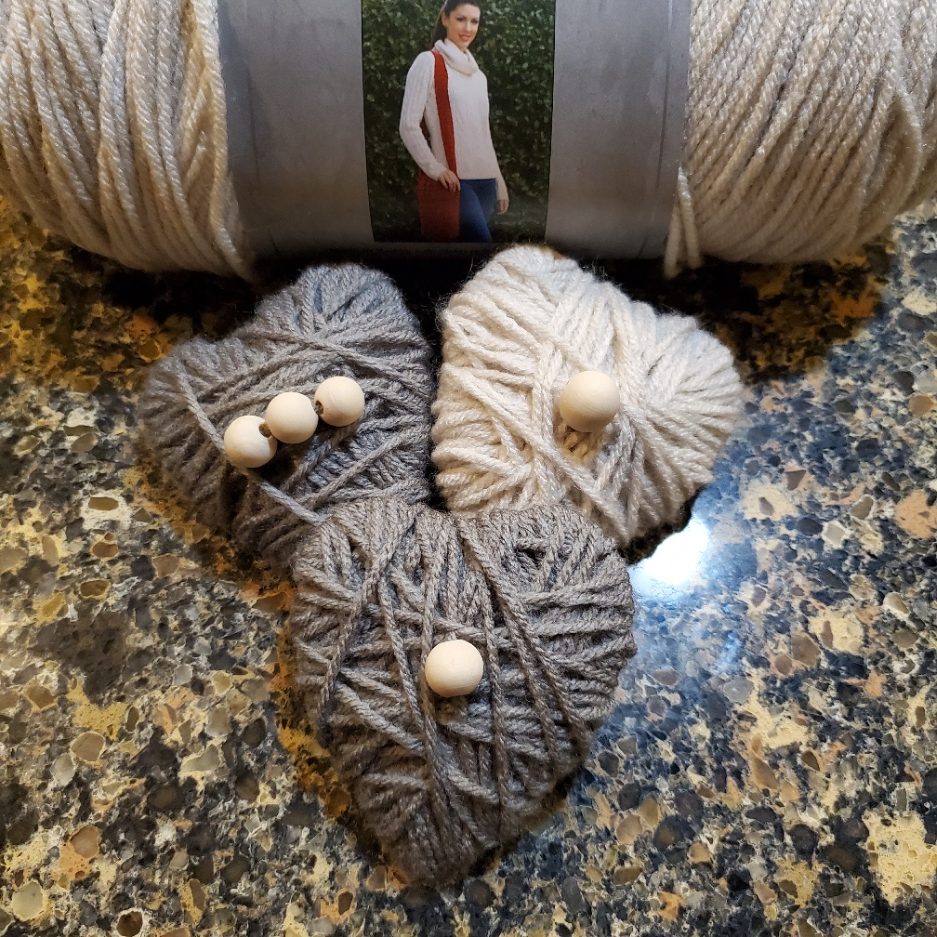
Yarn/Jute wrapped hearts (see step-by-step instructions further down this post)
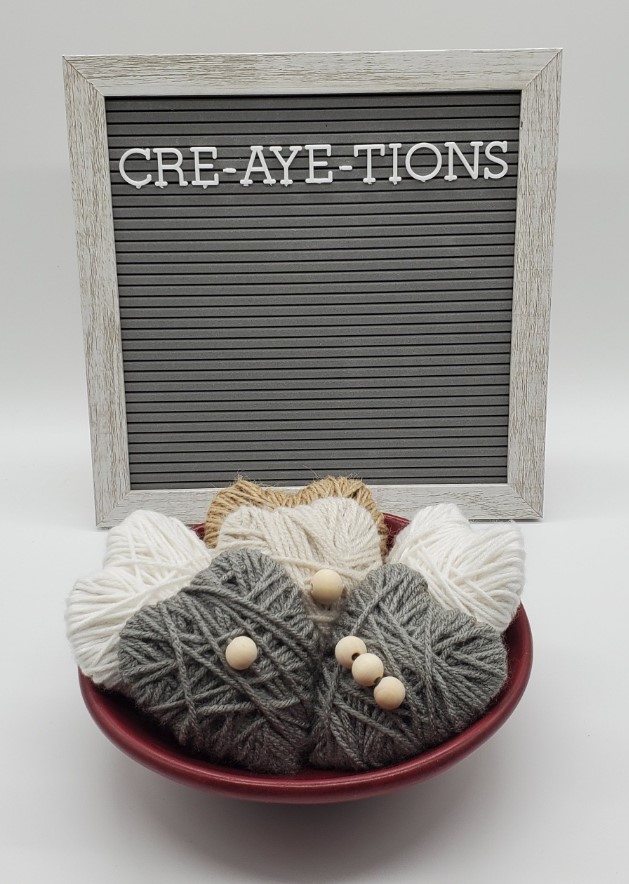
String yarn hearts
This was one of my favorites to make!

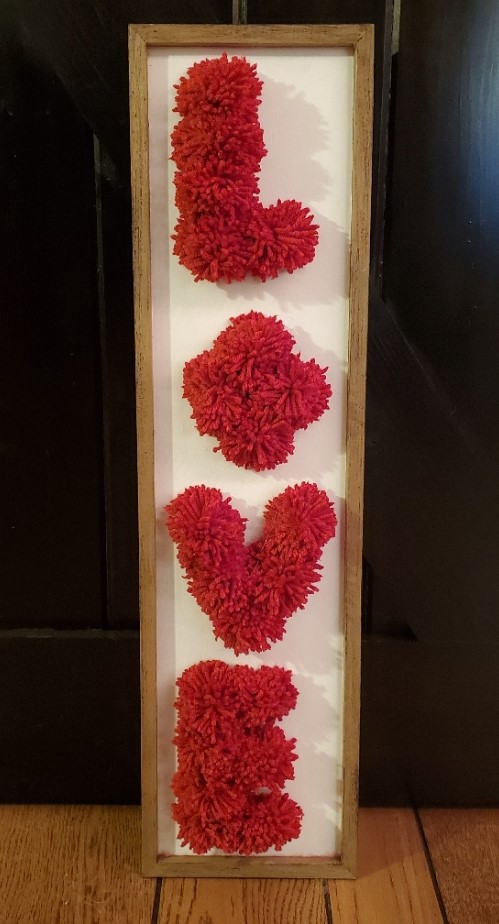
Pom Pom Decor (see step-by-step instructions further down this post)
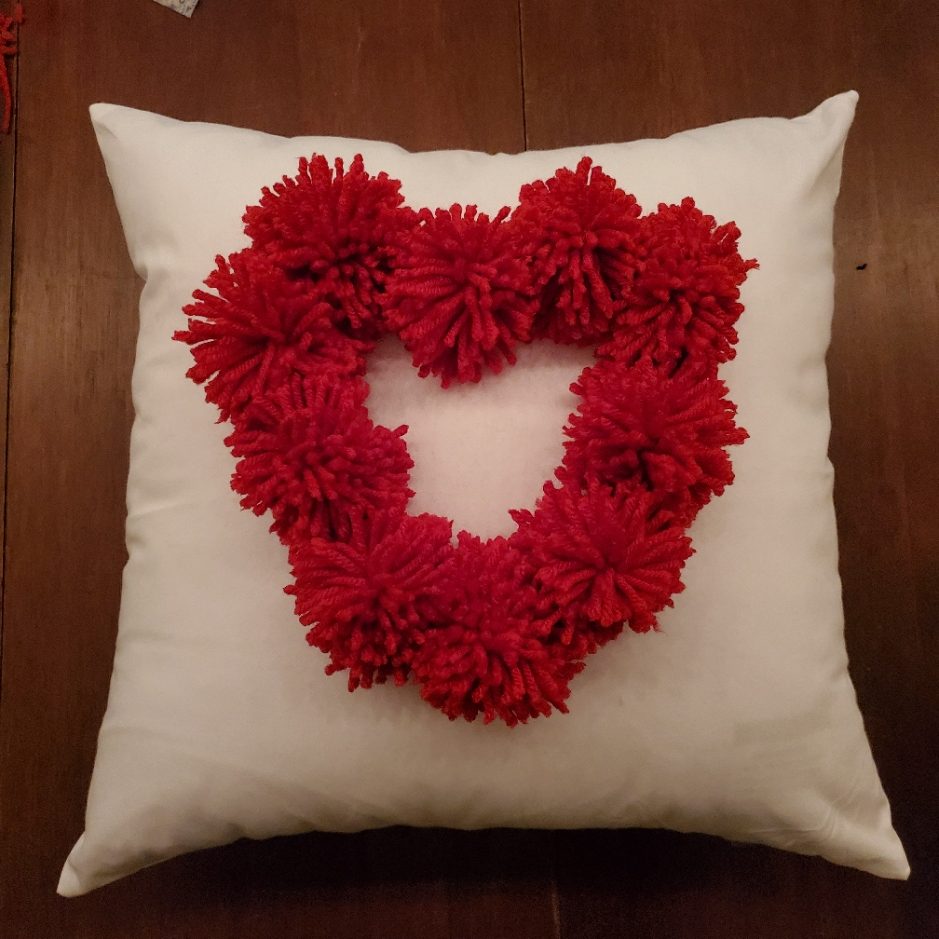
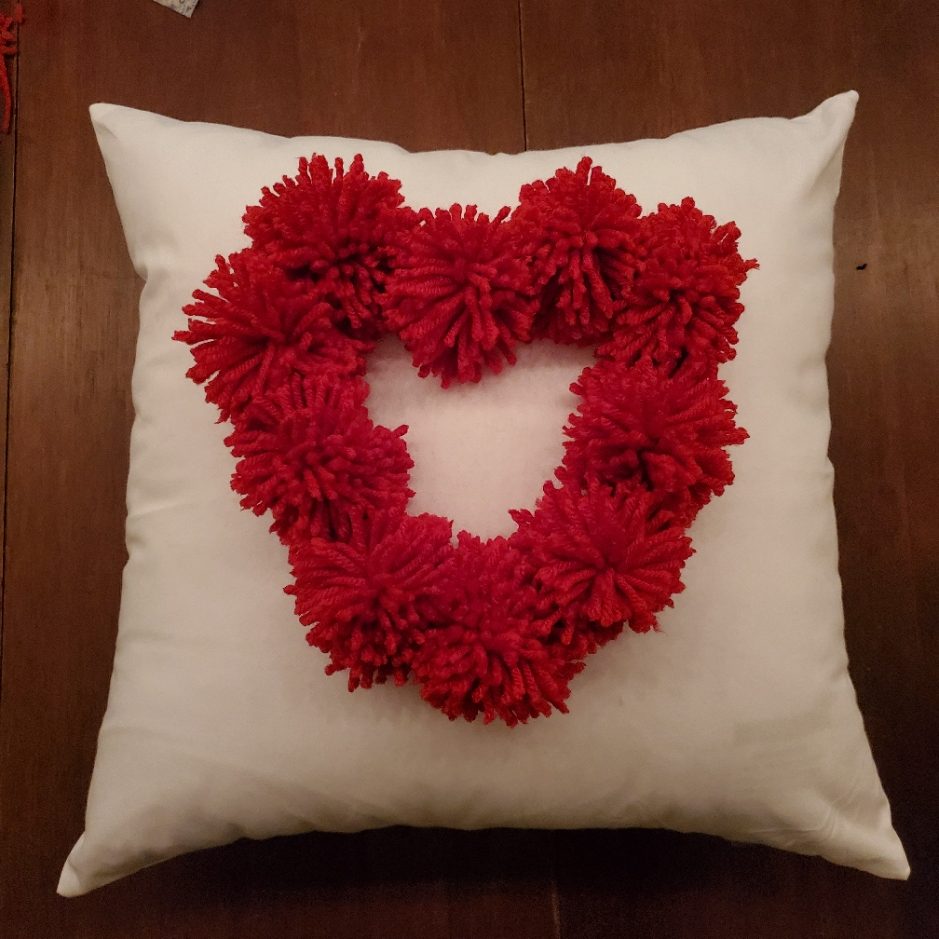
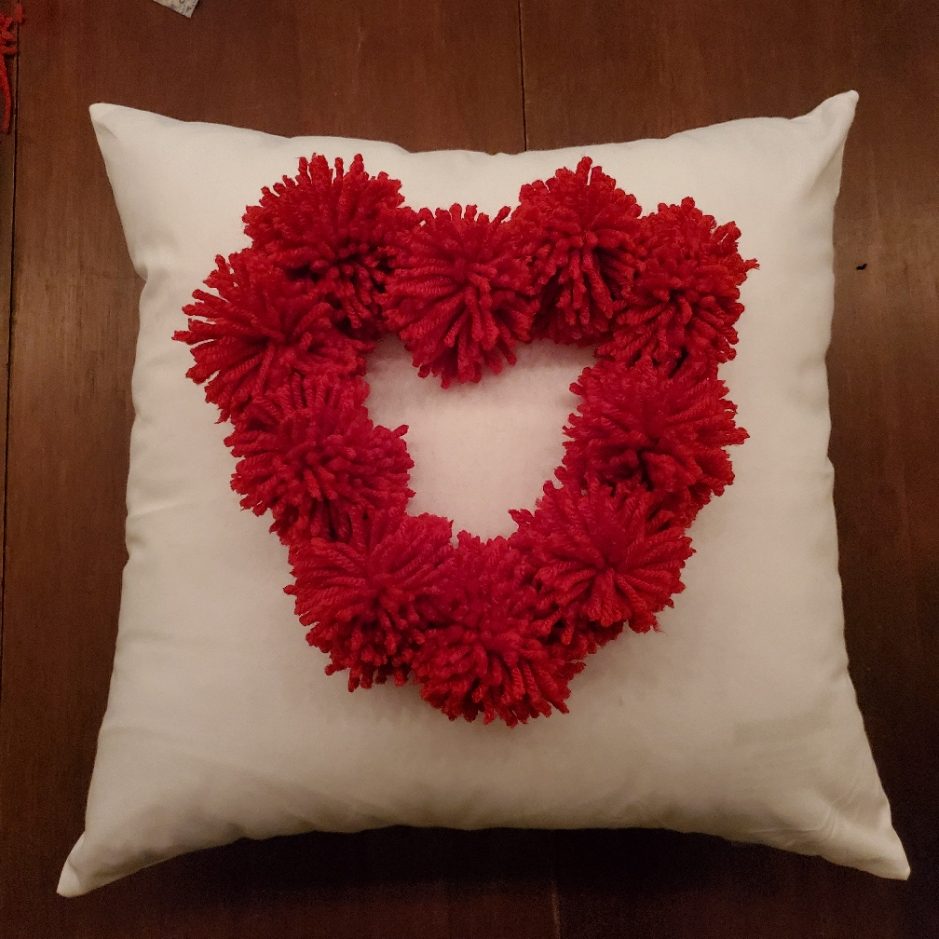
Pom Pom pillows
VERY easy one!
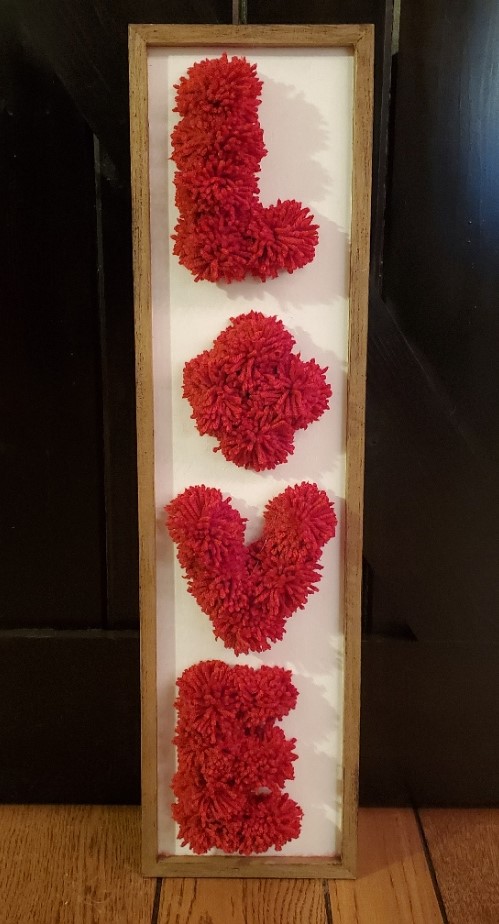
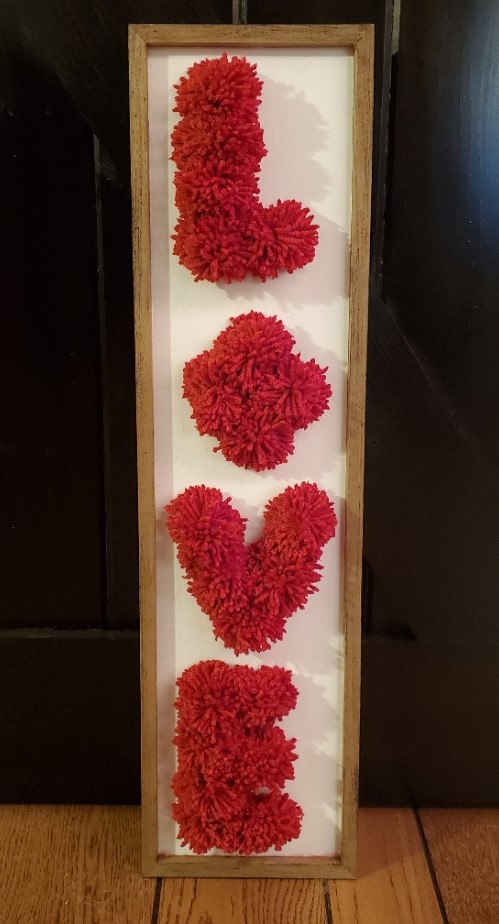
Pom Pom sign
Another easy one!!

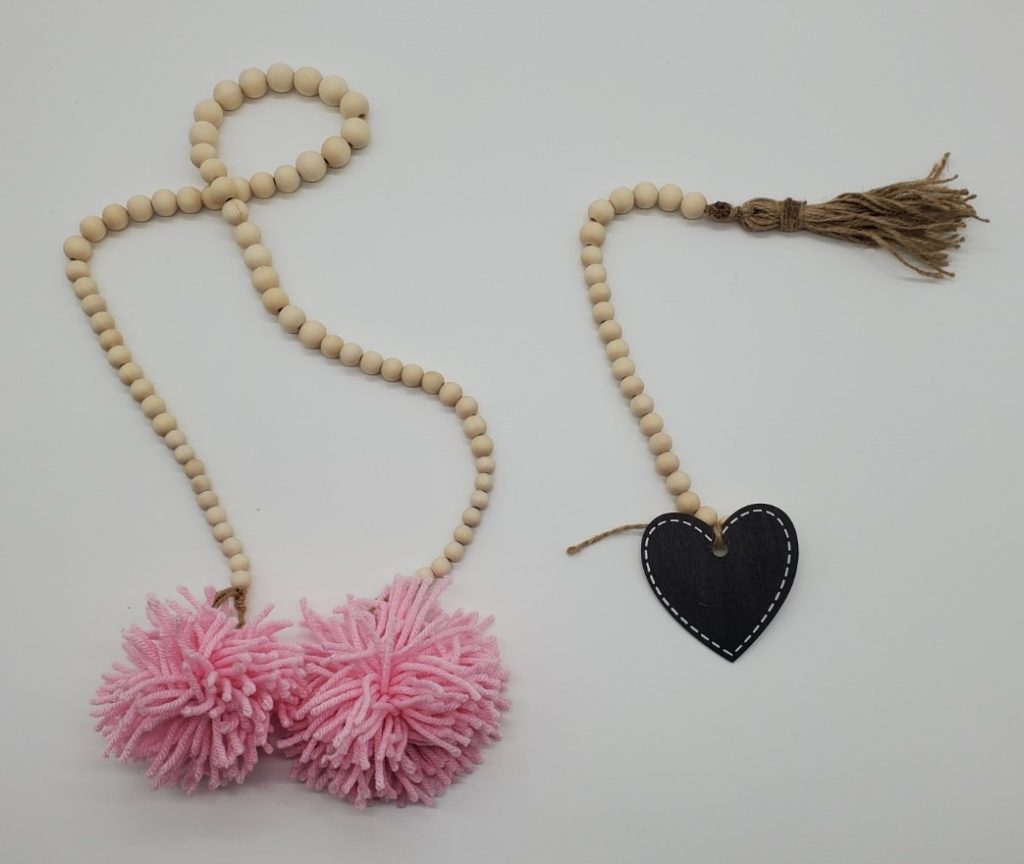
Beads (no step-by-step instructions)

Valentine beads
There is no step-by-step instructions on these. I purchased beads from Amazon and added my own pom poms or other decor to the ends. VERY EASY!

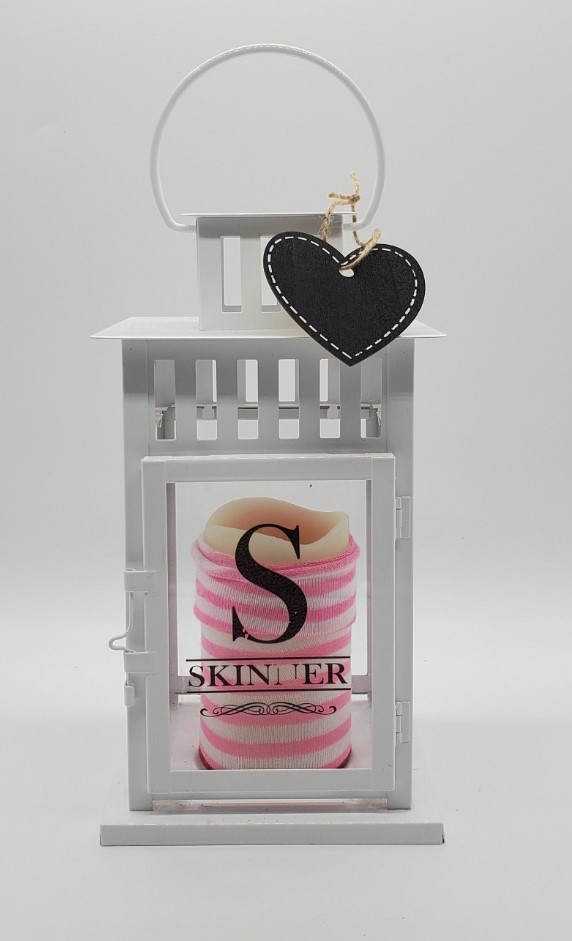
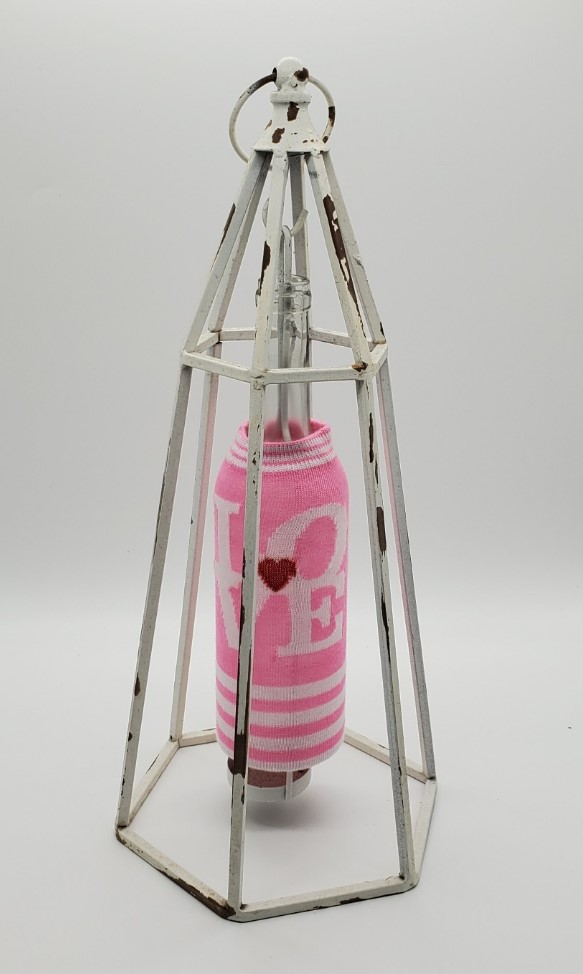
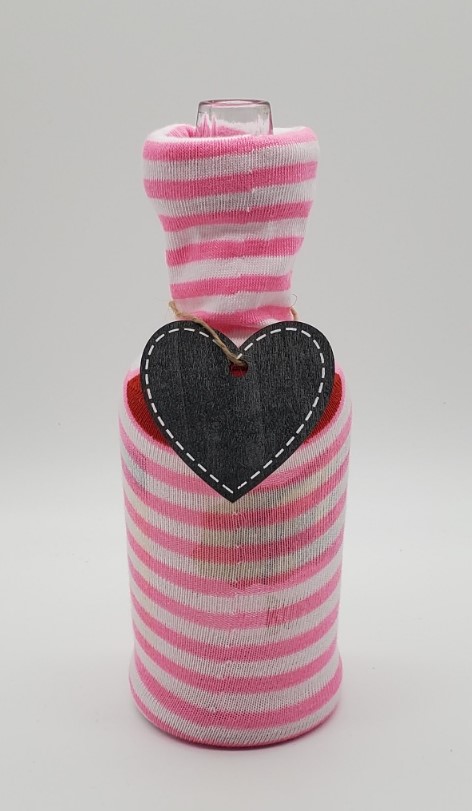
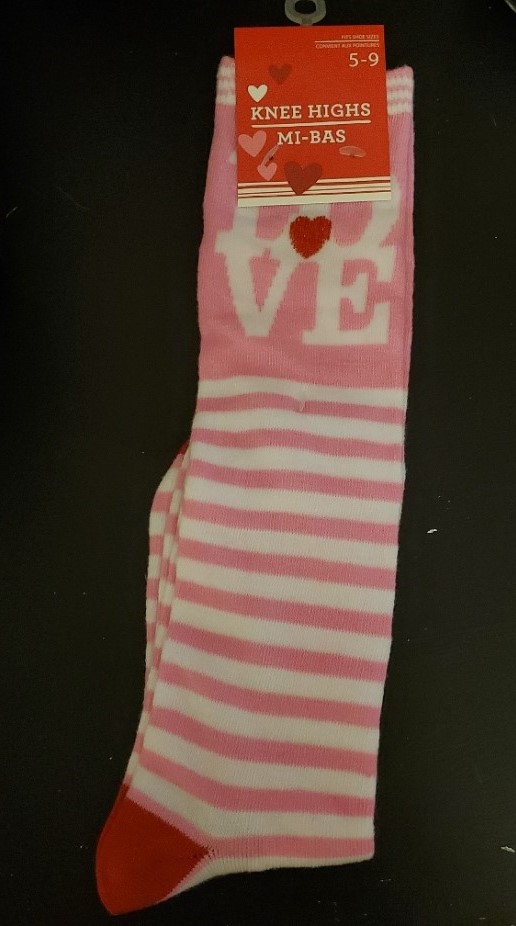
Sock Decor (no step-by-step instructions)

Use a Valentine sock to dress up any candles you may have.
Another Valentine sock used to dress up.
Here I used a Valentine sock to dress up a liquor bottle. I added a heart tag and now it is used for a Valentine vase decor.
There will be no step-by-step instructions on how to put a sock around a candle. I did want to show you a pair of socks that I used. I purchased all of my socks at Dollar Tree.

Framed Valentine Decor (no step-by-step instructions)

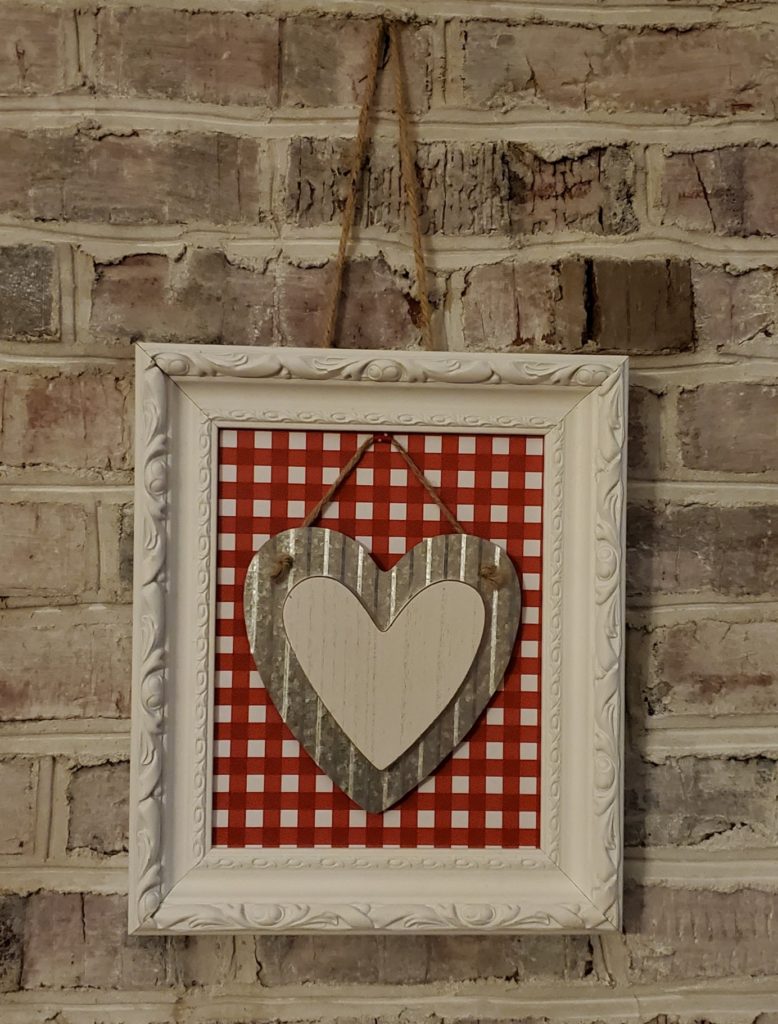
Framed Valentine Decor
This is a “go to” frame that I use over and over again. Here I took some scrap book paper to create the background and found this heart decor at Hobby Lobby.

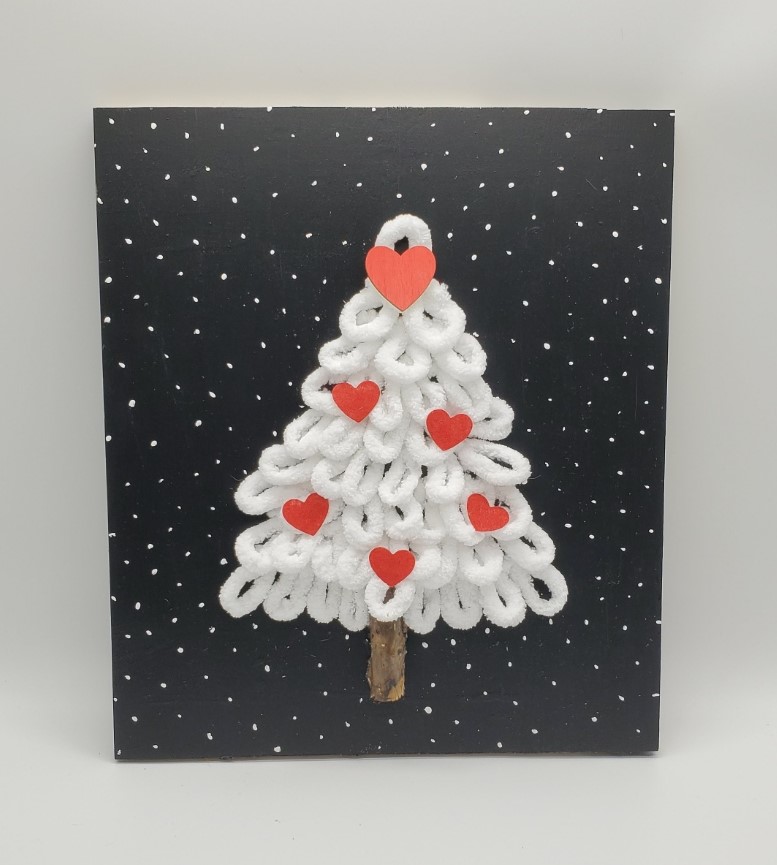
Loop Yarn Tree Decor (see step-by-step instructions further down this post)
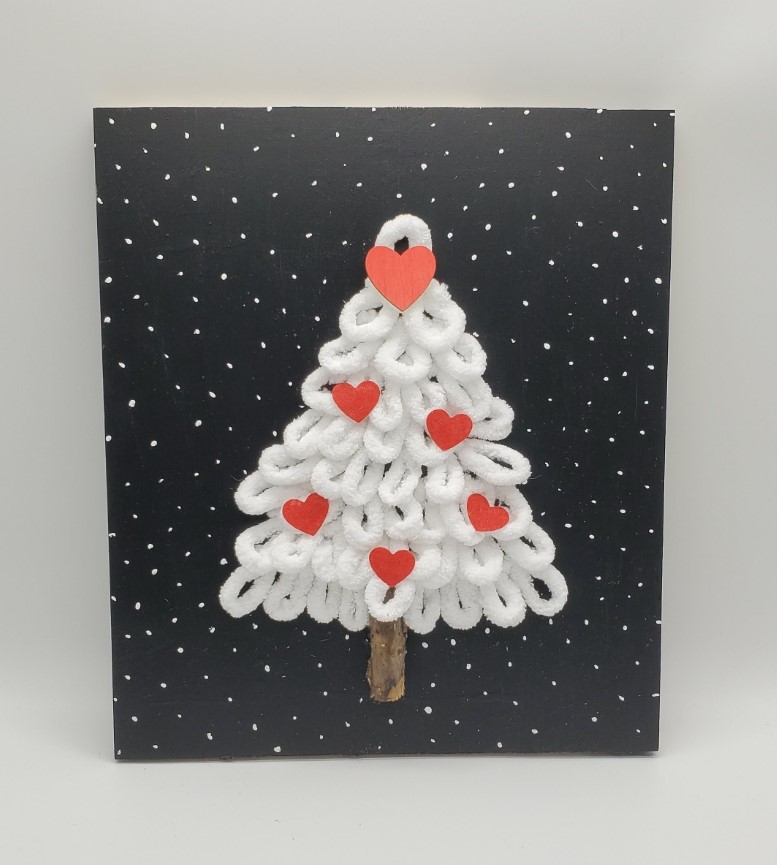
I first made this tree decor just for the Winter season. I lightly adhered some hearts and turned it into a Valentine Decor.

Valentine Gnomes (no step-by-step instructions….see link to instructions)
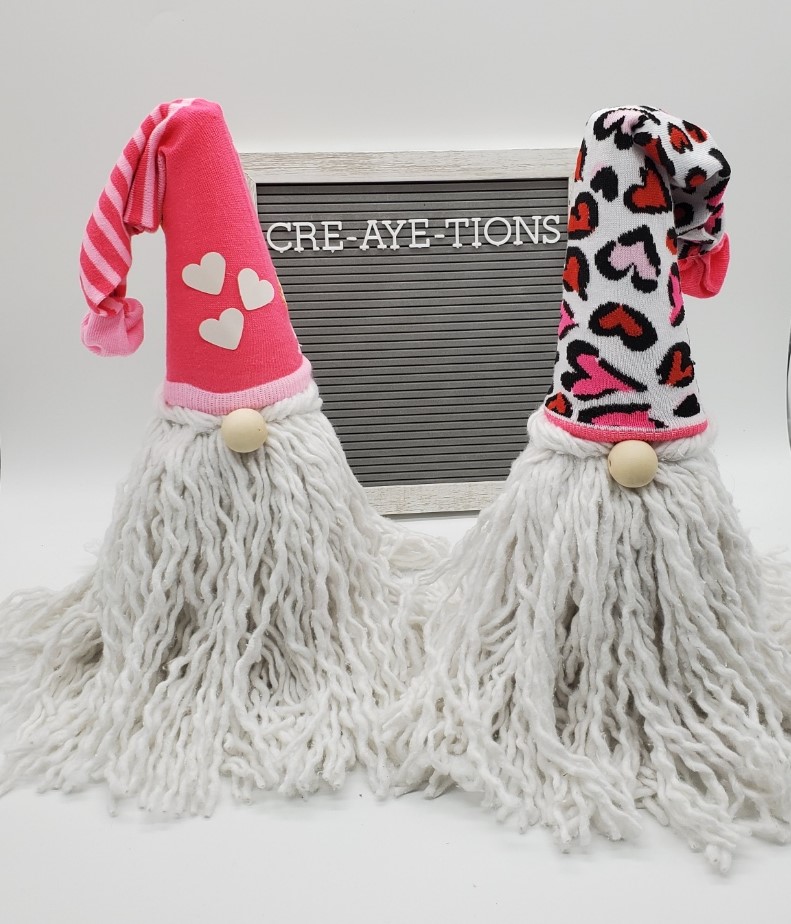
Here are my Christmas gnomes recycled for Valentines! Just change the hat to go along with the holiday. (We will see these again for St. Patrick’s Day). See how we made these gnomes in this link.

Step-By-Step Instructions

Yarn/Jute wrapped hearts
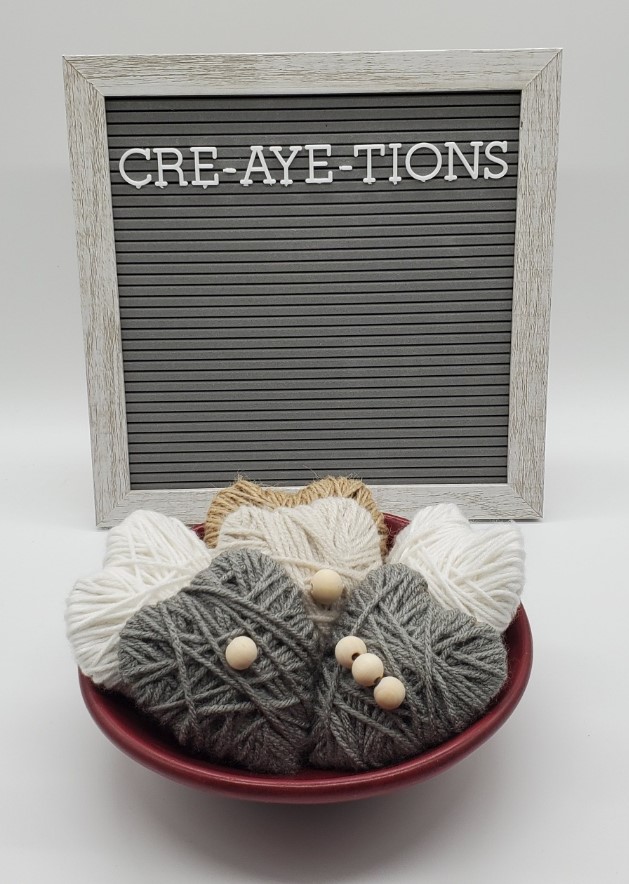
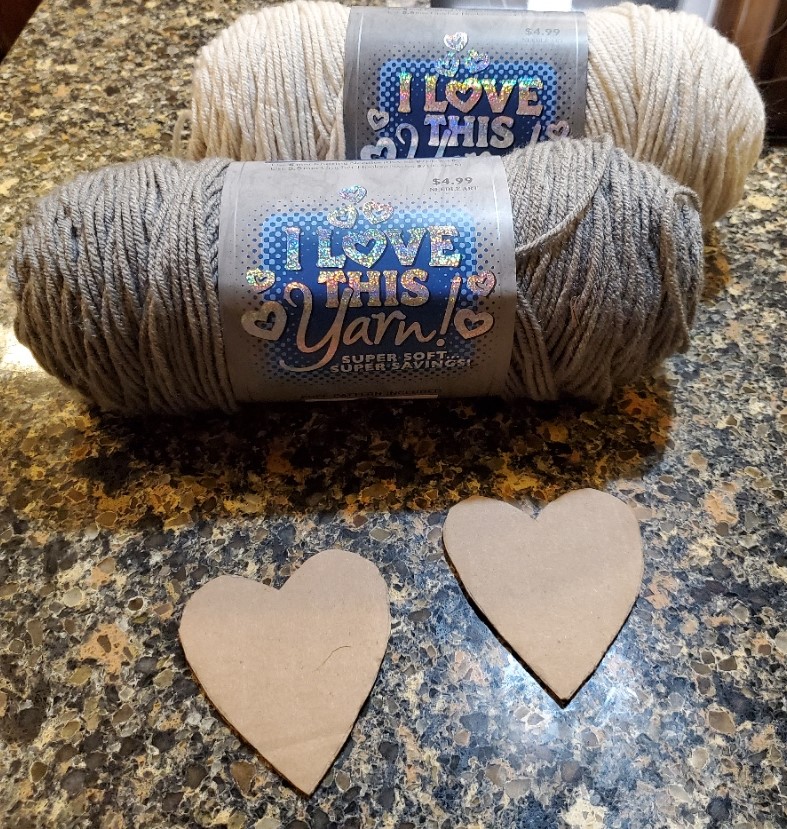
I got addicted to these “wrapped hearts”! I experimented with various size yarns. Jute also worked great!
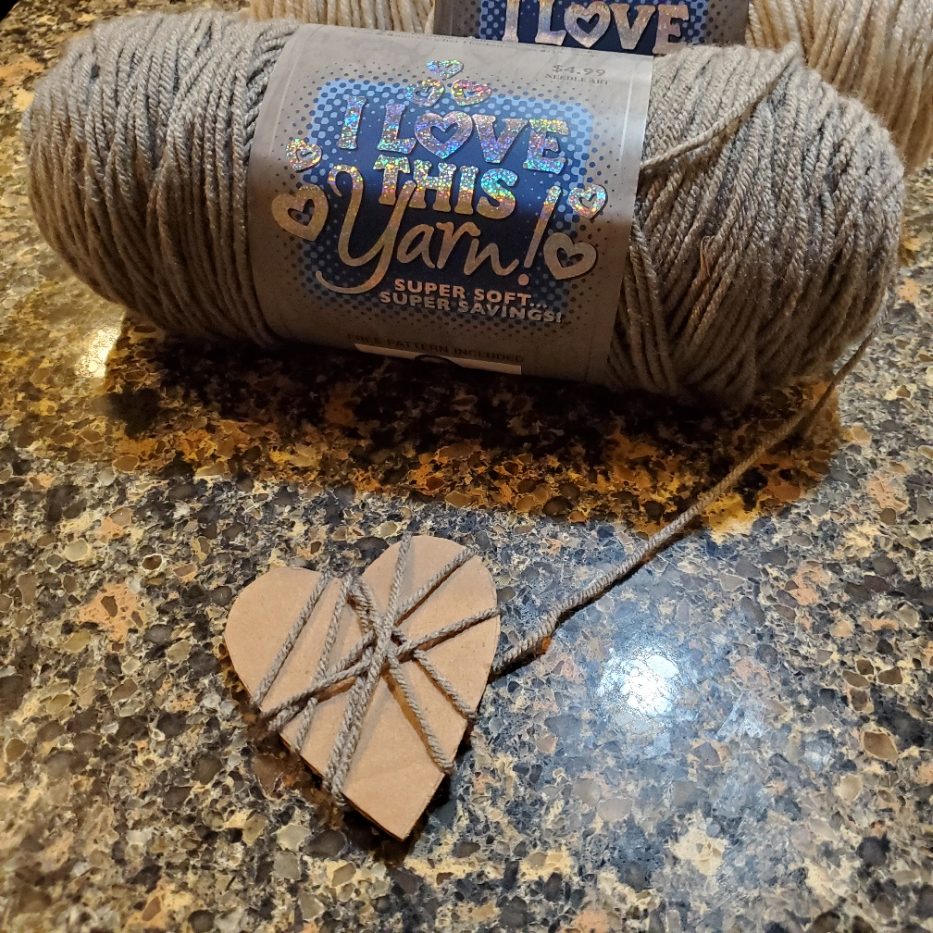
Cut out some cardboard heart shapes. I used the flap lids from some of the various Amazon boxes we have received over time.
Just randomly start wrapping the yarn around the heart shape.
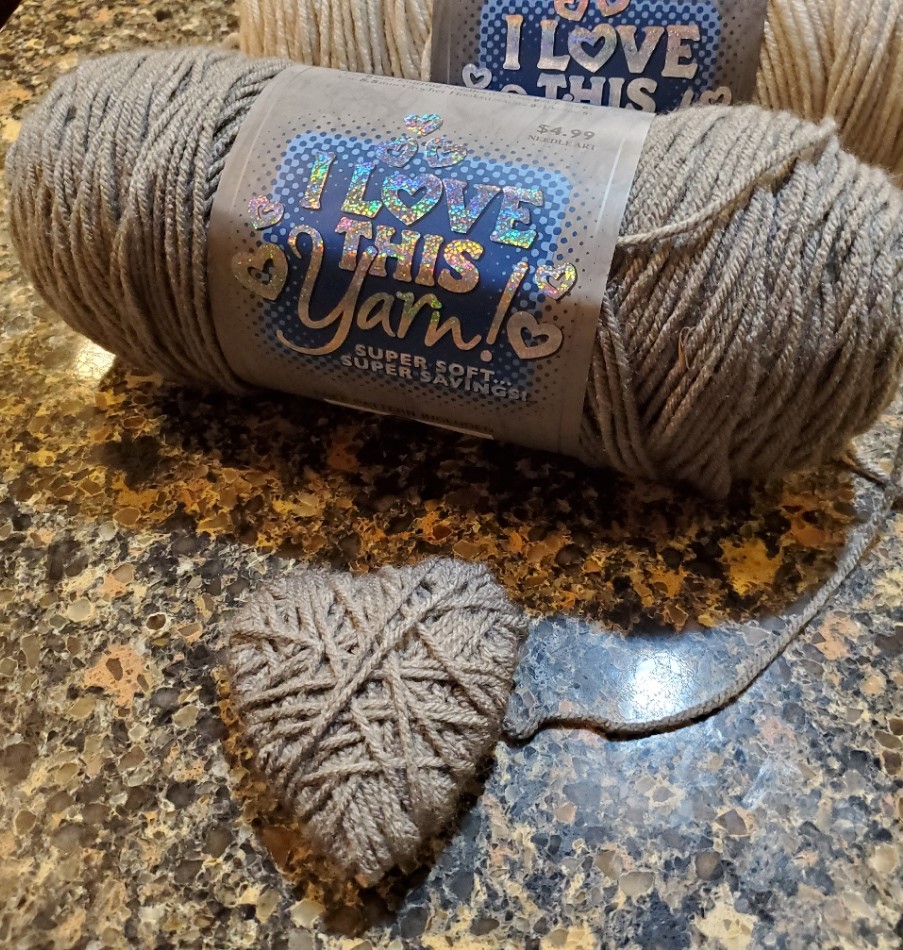
Continue until all of the cardboard is covered.
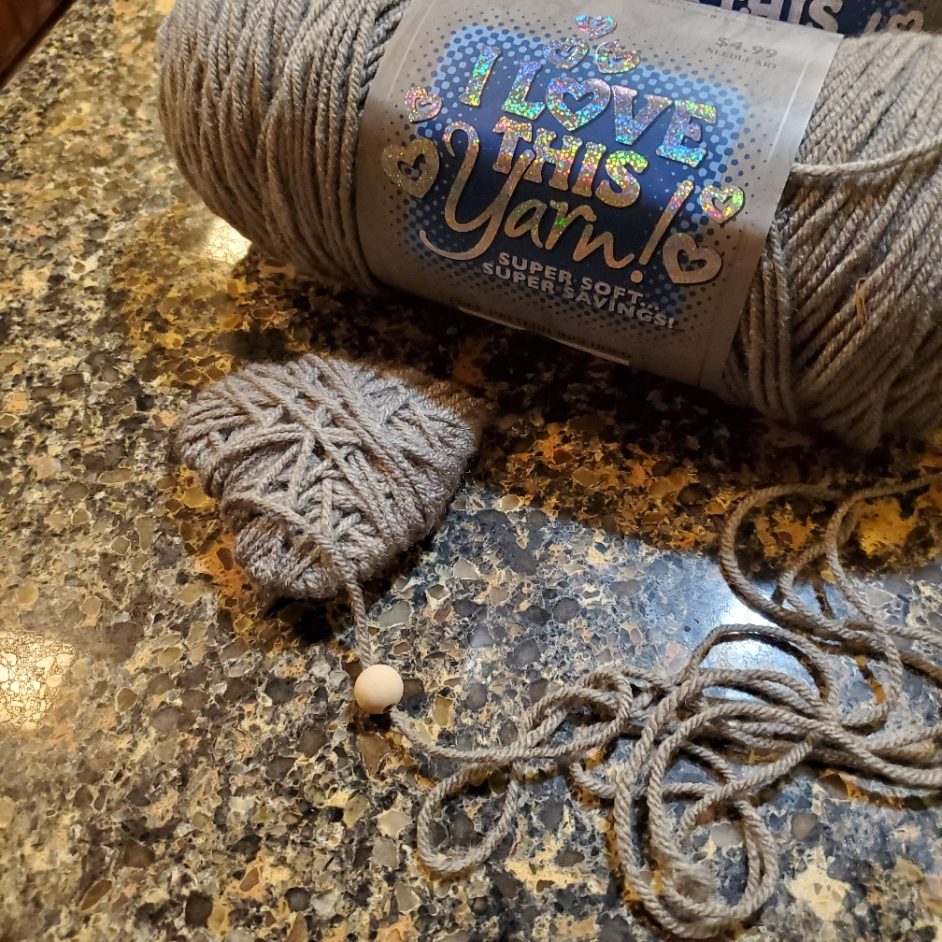
I decided to add some wood beads to a few of my hearts. I just precut my yarn about 2 feet before the end and added a wood bead. This gave me more yarn to continue wrapping after I added the bead.
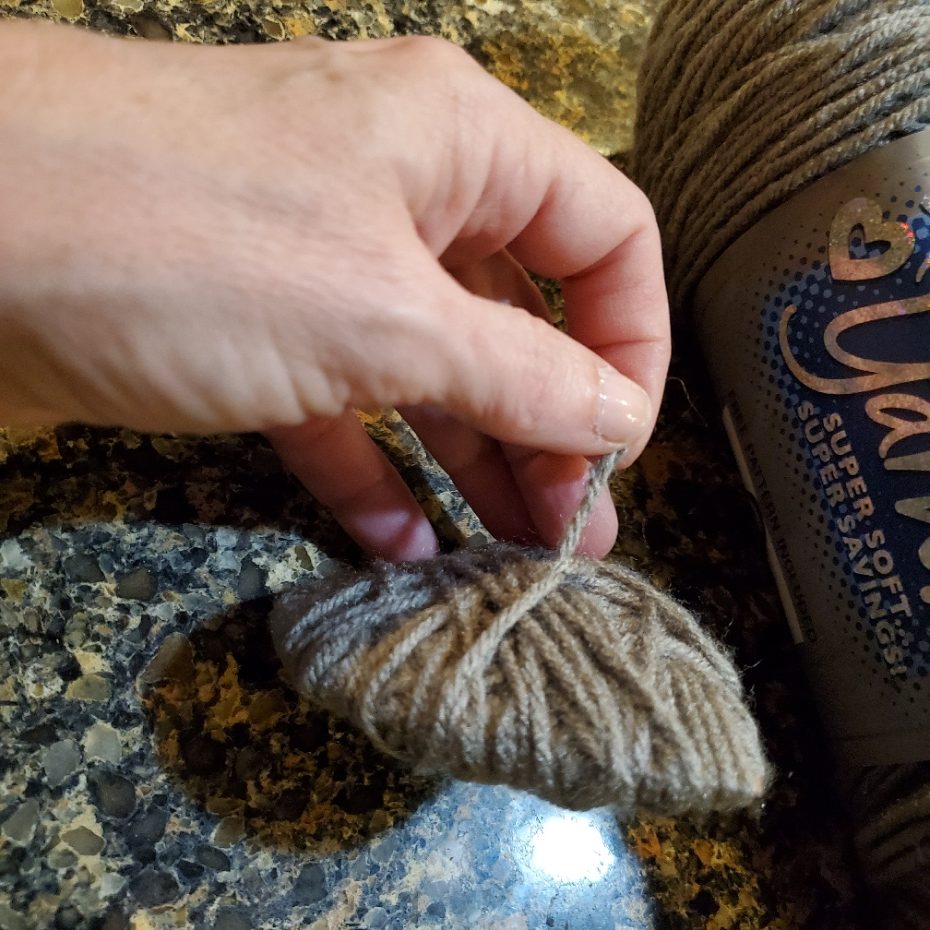
When you get to the end of the yarn just randomly tie it off in the back of the heart.
Here is how my FIRST heart turned out!
Here are a few more with the beads I added.

Pom Pom Decor

I have to admit before I did these projects I did not like pom poms. BUT once I got in to this I got hooked. I was watching a movie and before I knew it I was cranking out TONS of pom poms. (I have the jute string burn marks on the outside of my pinkies to prove it….I pulled the jute tie so tight that I rubbed sores on my pinkies and didn’t even realize it!!!!)

As a reminder here are the 2 Pom Pom decors I created.
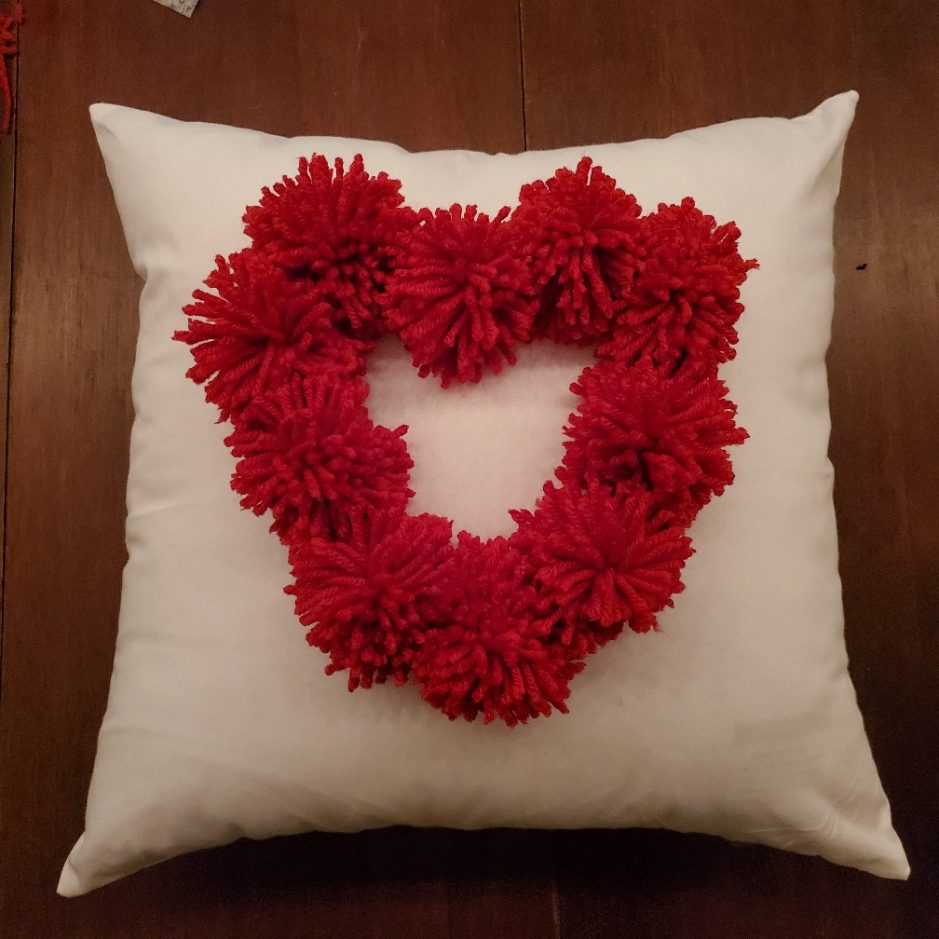
There are Pom pom making gadgets out there. I admit I am going to invest in them. BUT before I made that decision to invest in such gadgets I just made these pom poms with every day household items.
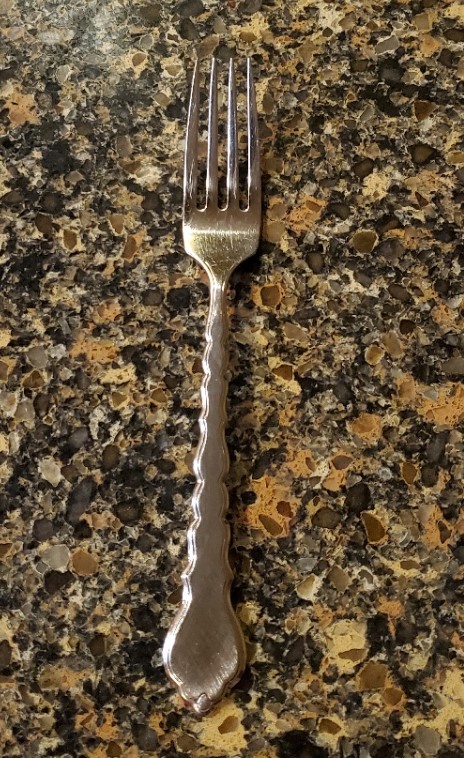
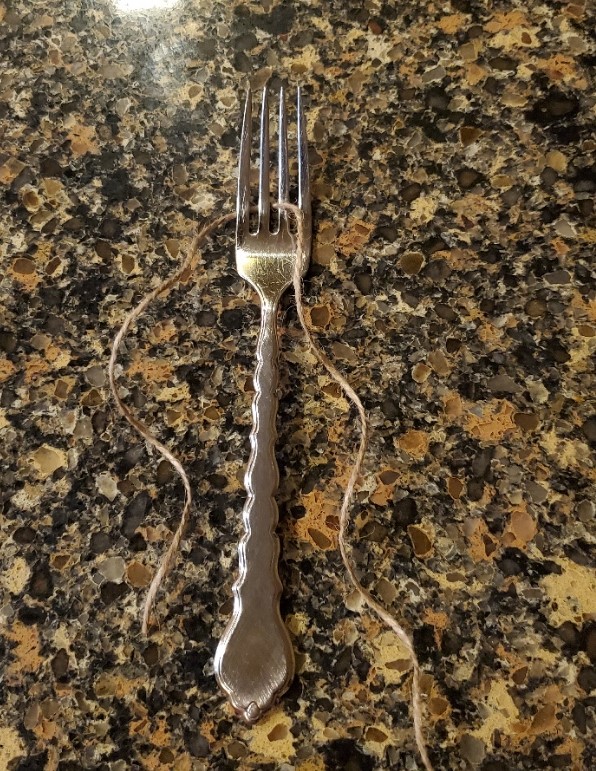
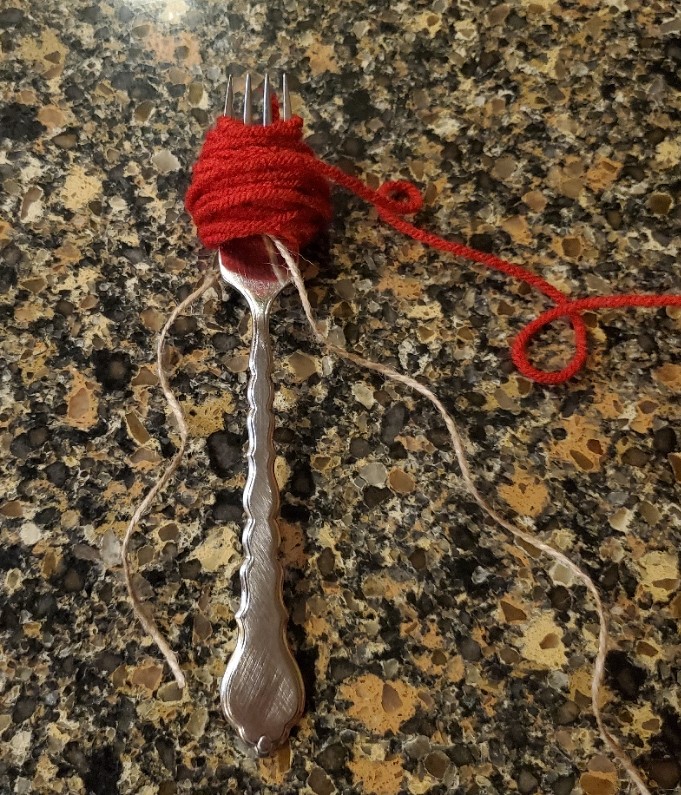
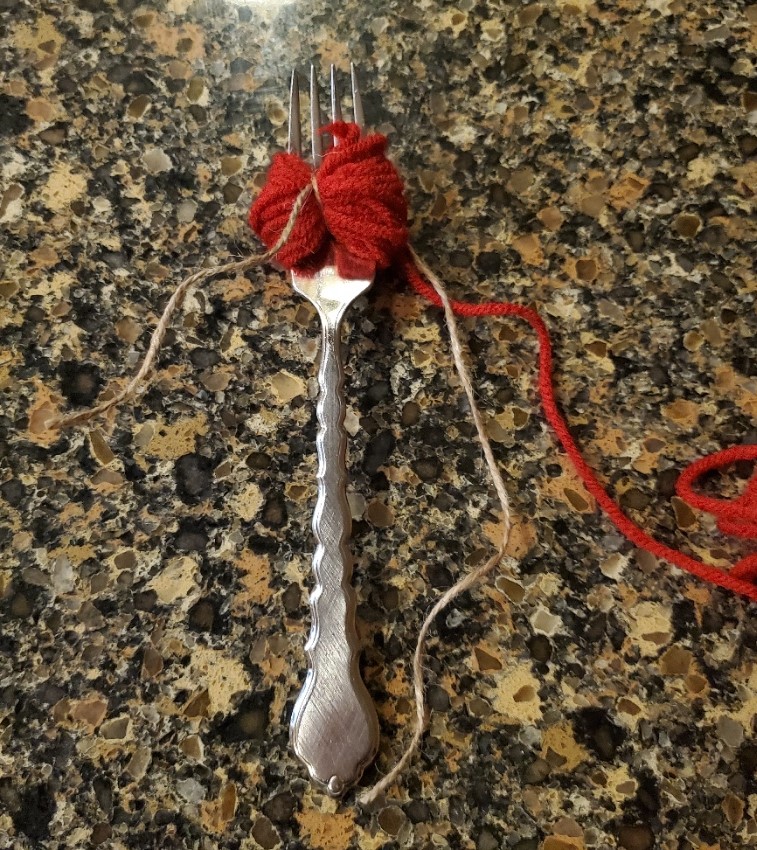
YES…this is a fork. This is the BEST way to learn how to make a pom pom. After you master the fork then you can do these same steps below using 2 fingers to make larger pom poms.
Thread a piece of jute string through the middle prong of the fork. Many DIY pom pom tutorials use yarn here. This will be the tie for the center of your pom pom so you will pull it really tight (there is where I got the pinkie sores). Sometimes yarn will break…..this jute string is so much stronger and will not break when you pull tight.
Start wrapping your yarn around the fork. The more yarn you wrap the fuller your pom pom will be. Just to give you a guideline…in this tutorial I wrapped the yarn around 75 times. To make my Pom pom decor pillow and sign I wrapped the yarn 125 times (around my fingers because they are larger pom poms)
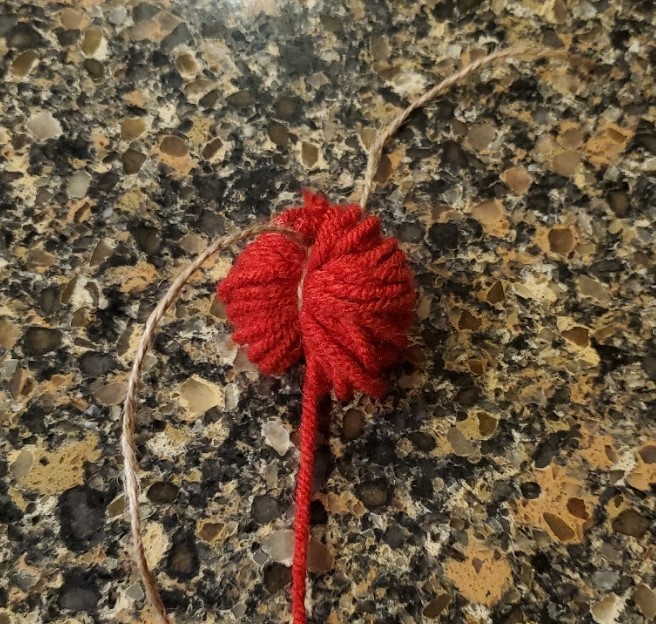
When finished wrapping yarn pull the jute string UP to tie the center of the pom pom you are going to cut.
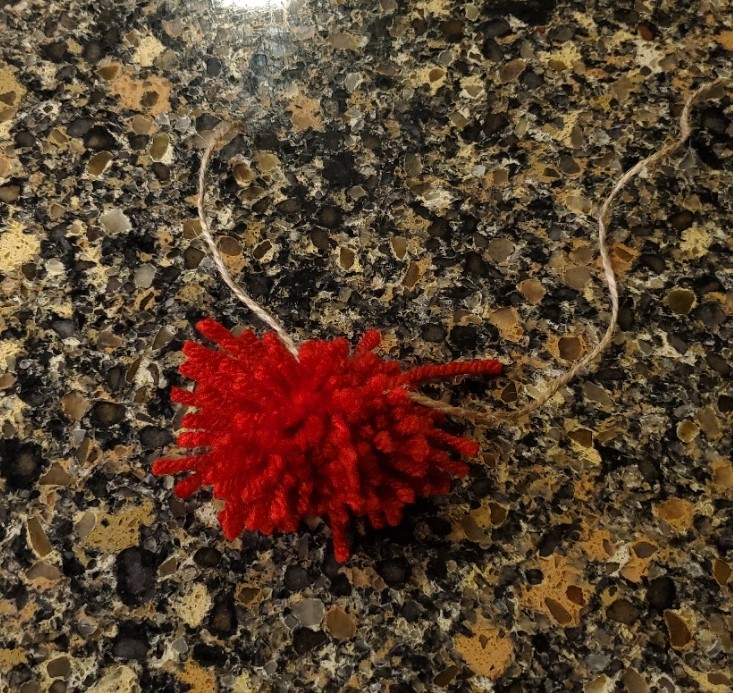
Pull the yarn ball off of the fork. This is what you should see.
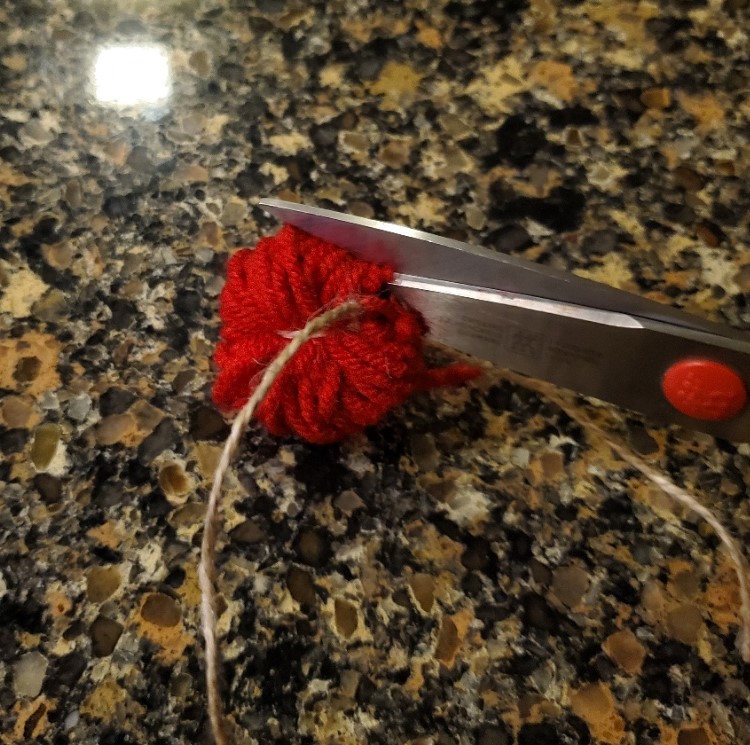
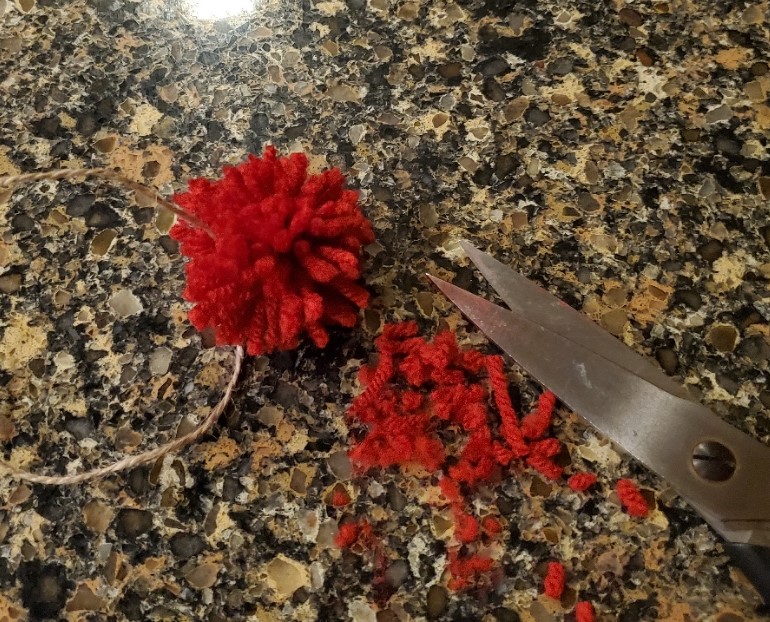
Cut the loops of the yarn.
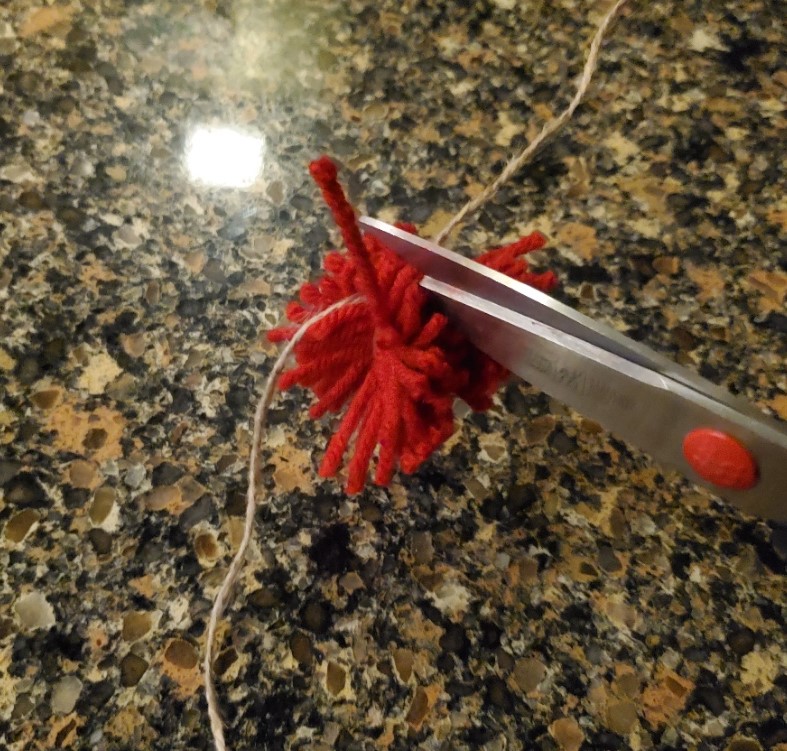
Keep cutting all the way around……
You will end up wit a jagged pom pom.
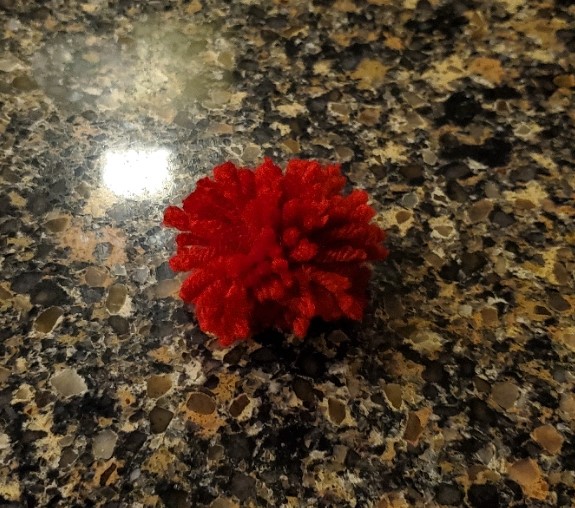
Trim around your pom pom until you get the round shape and size you want.
After trimming here is the final product!!!
I used Surebonder hot glue sticks to glue the pom poms on a BLANK white pillow. Surebonder hot glue is for fabric!!! I purchased the white pillow covers on Amazon.
I just used normal hot glue to adhere the pom poms to a blank farm sign that I purchased at Hobby Lobby.

Loop Yarn Tree Decor

This craft was a last minute hind-sight. I created this loop yarn tree as a “winter decor”. But when I lightly adhered hearts I realized it could be a seasonal decor. (We may see this again St. Patrick’s day). There is a BLOOPER at the bottom of this project…..so be sure to see that!!!!
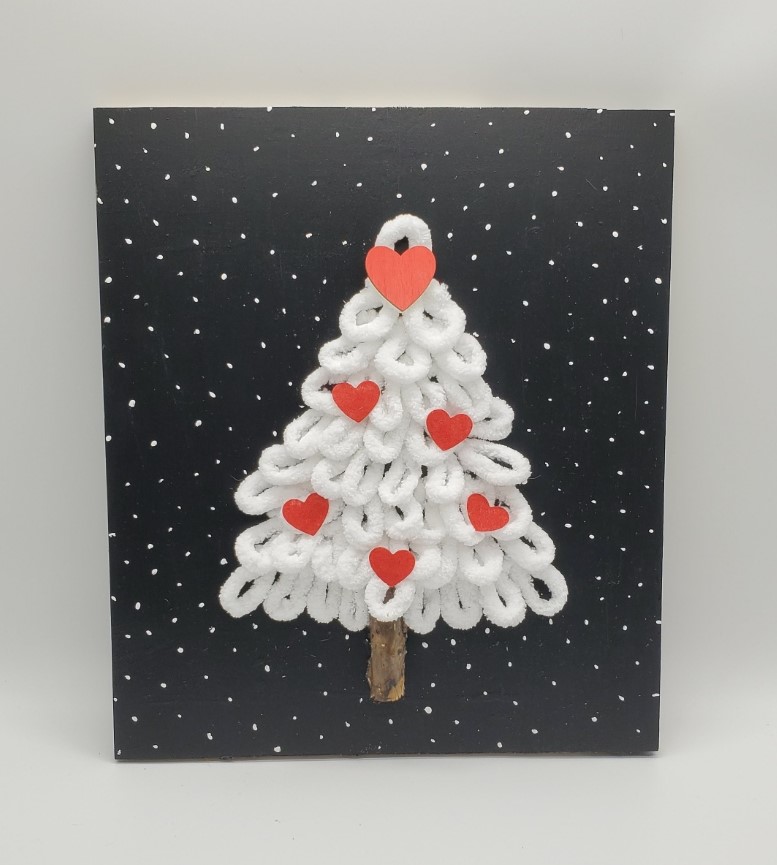
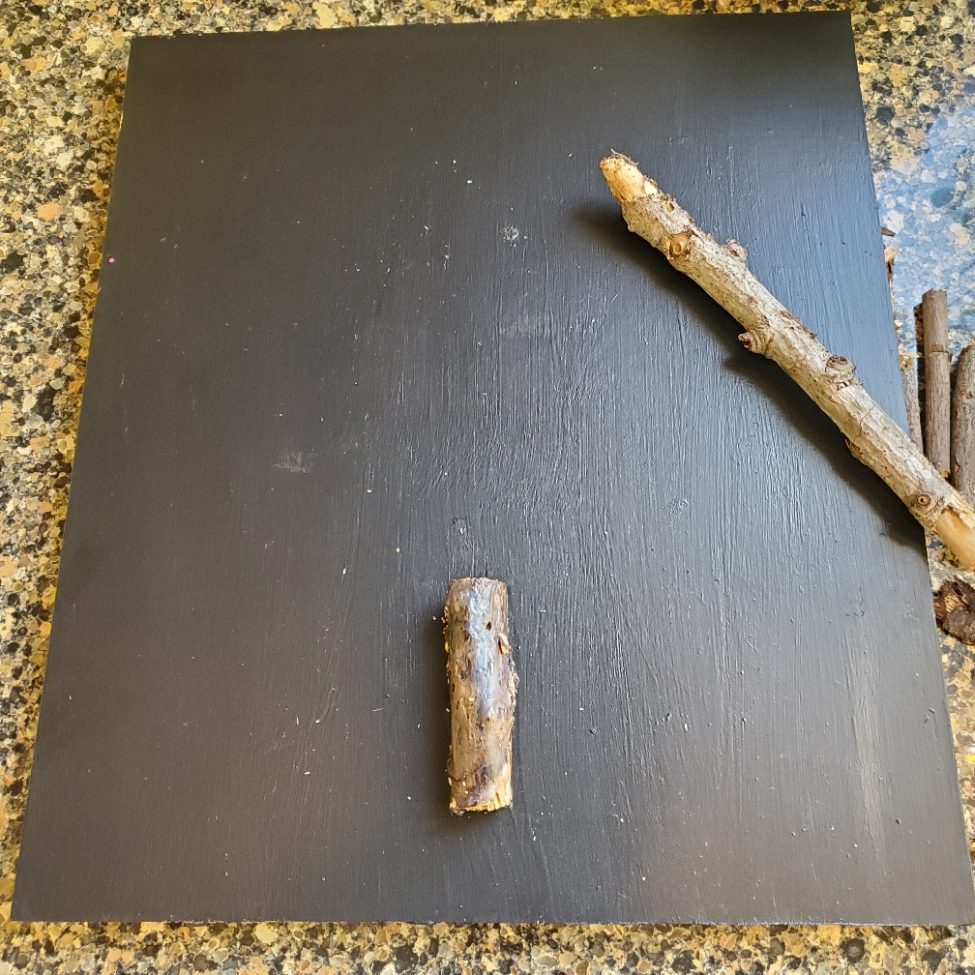
I took a scrap wood panel and painted it black. Here you will see some random sticks that I found in my yard.
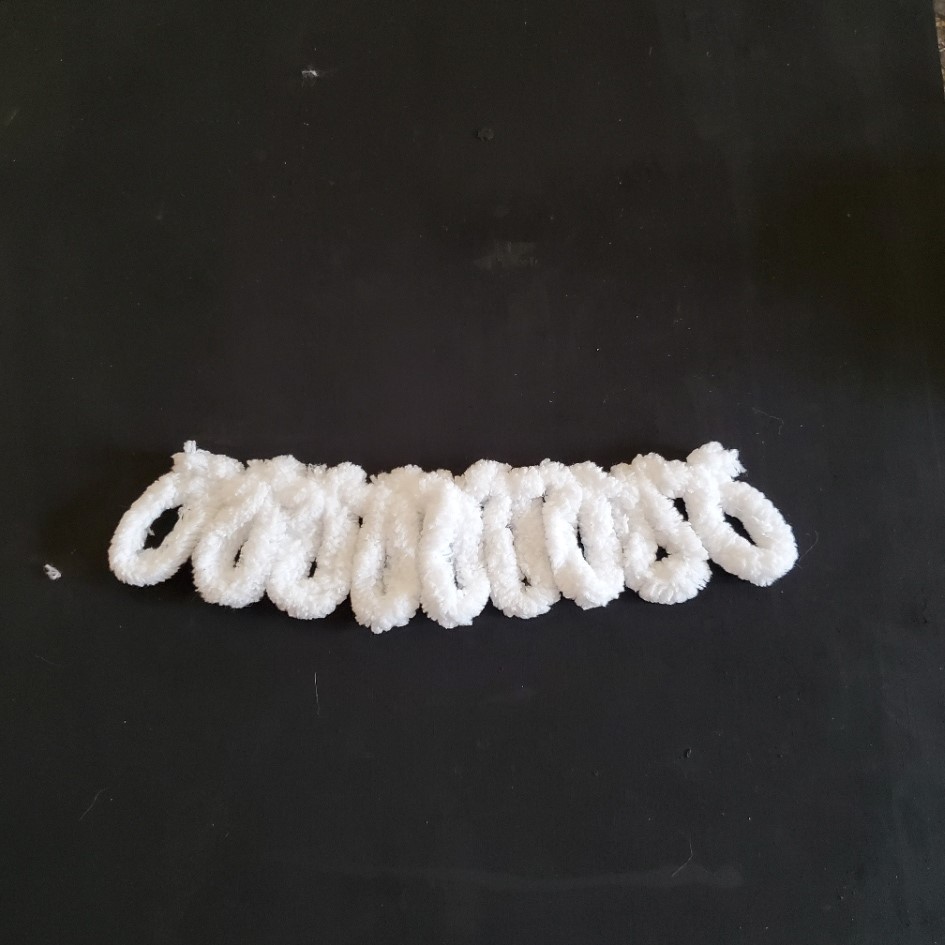
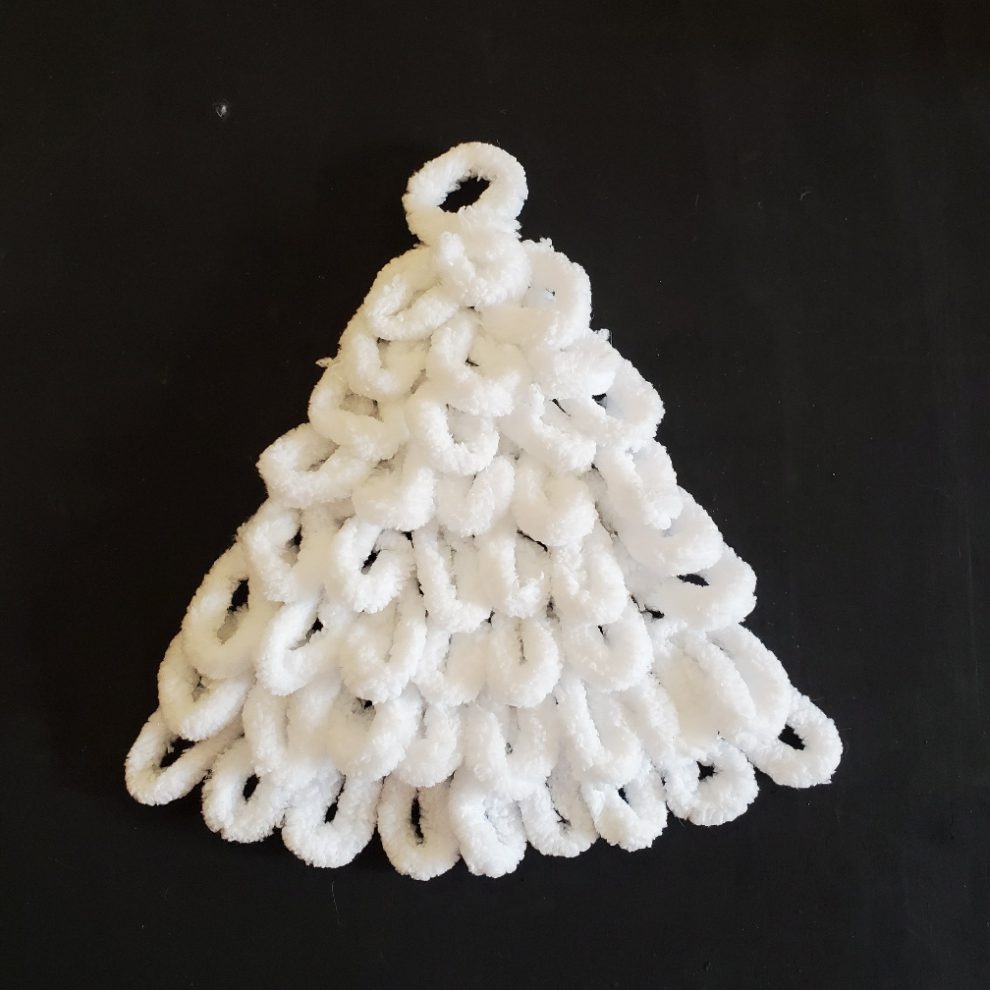
Here is a pic of my FIRST row of my tree. This is called LOOP YARN. I found it at Hobby Lobby and it is also available on Amazon. Just cut different lengths of this yarn and starting hot gluing in rows,
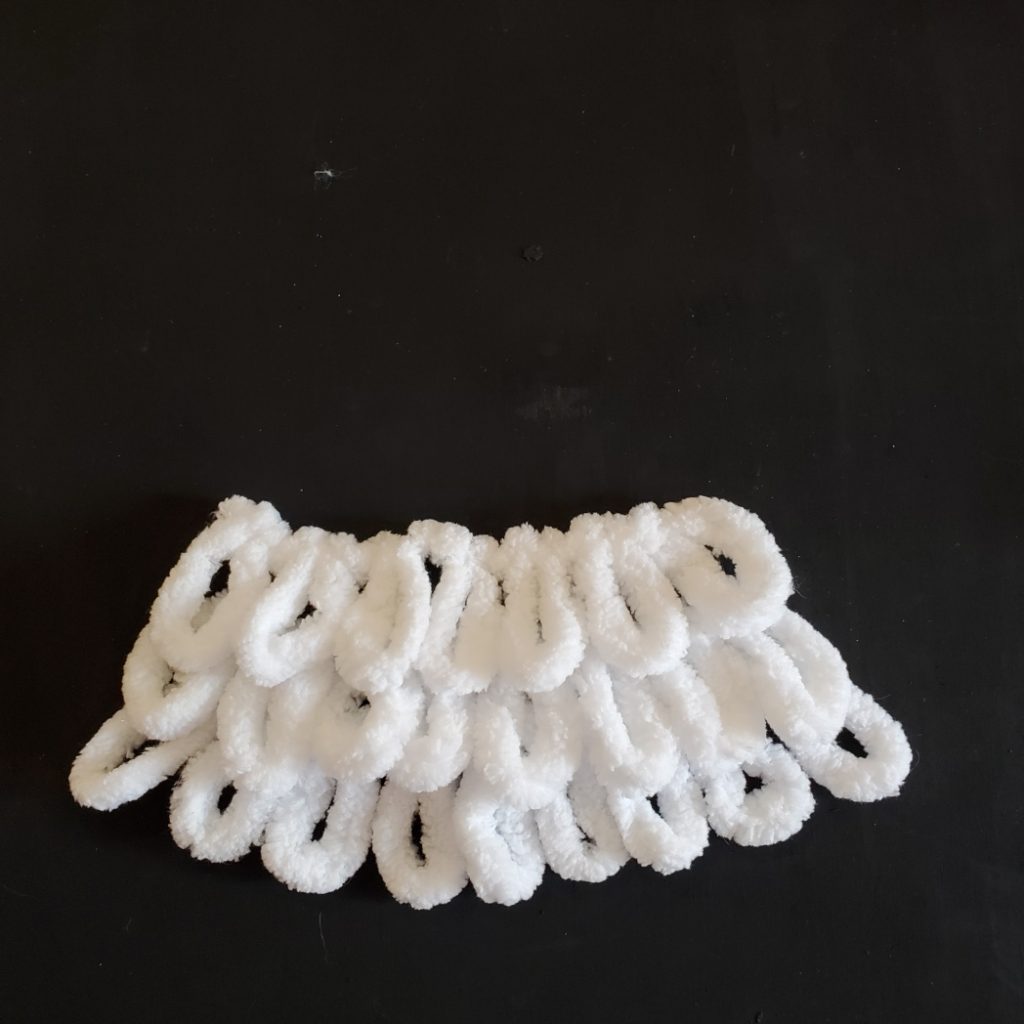
Here are 3 rows completed.
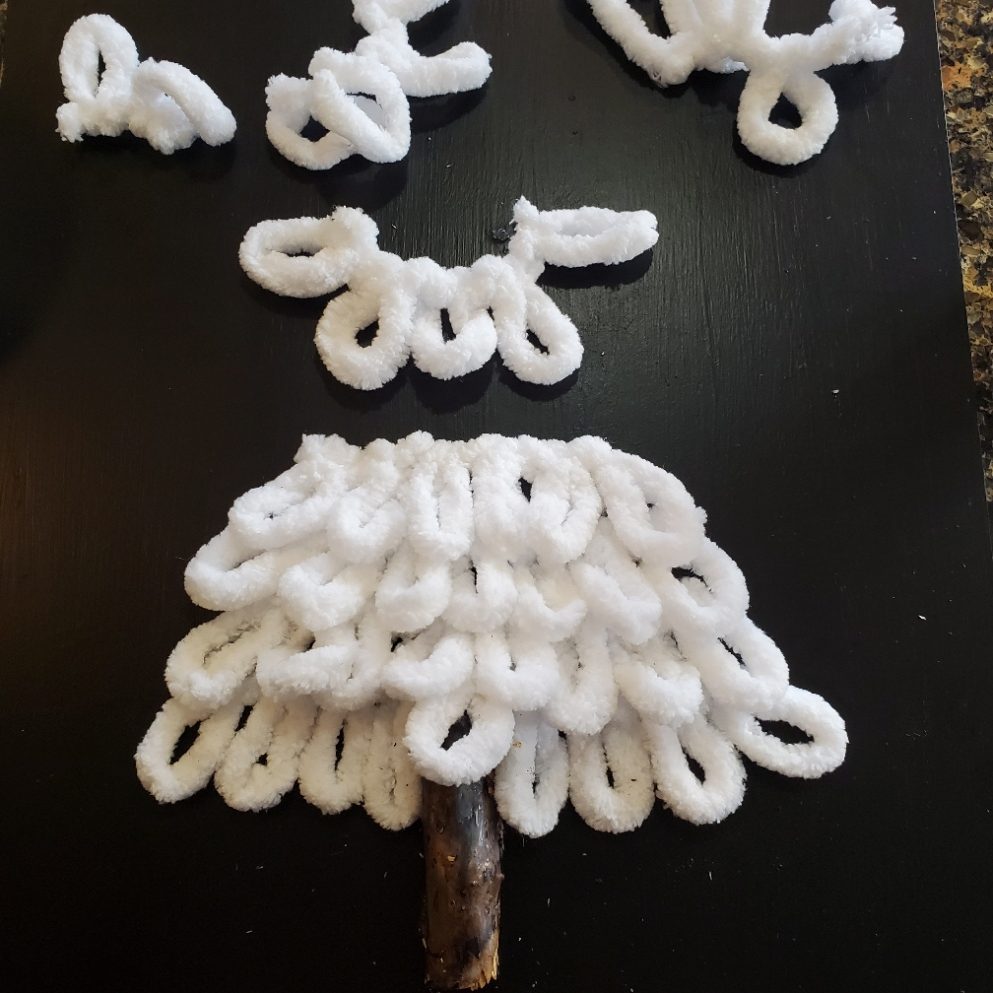
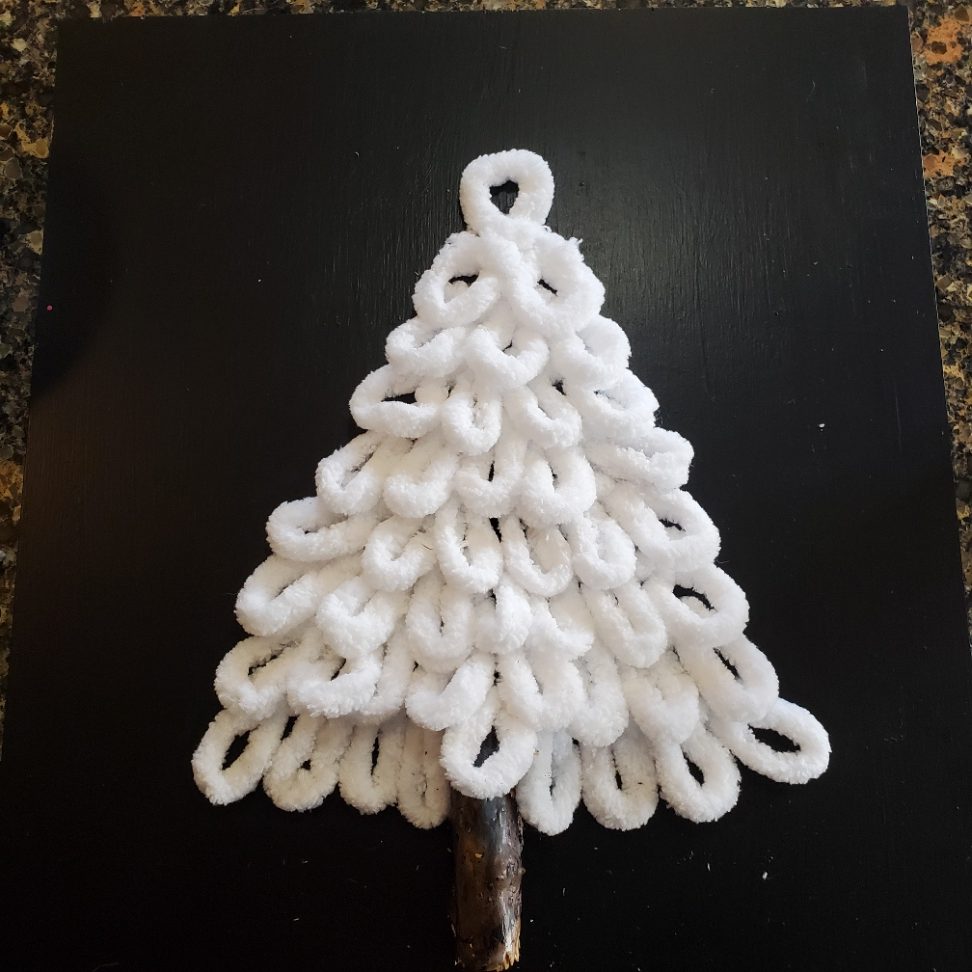
I tested one of my sticks as a tree trunk to see how it would look as I continue gluing rows.
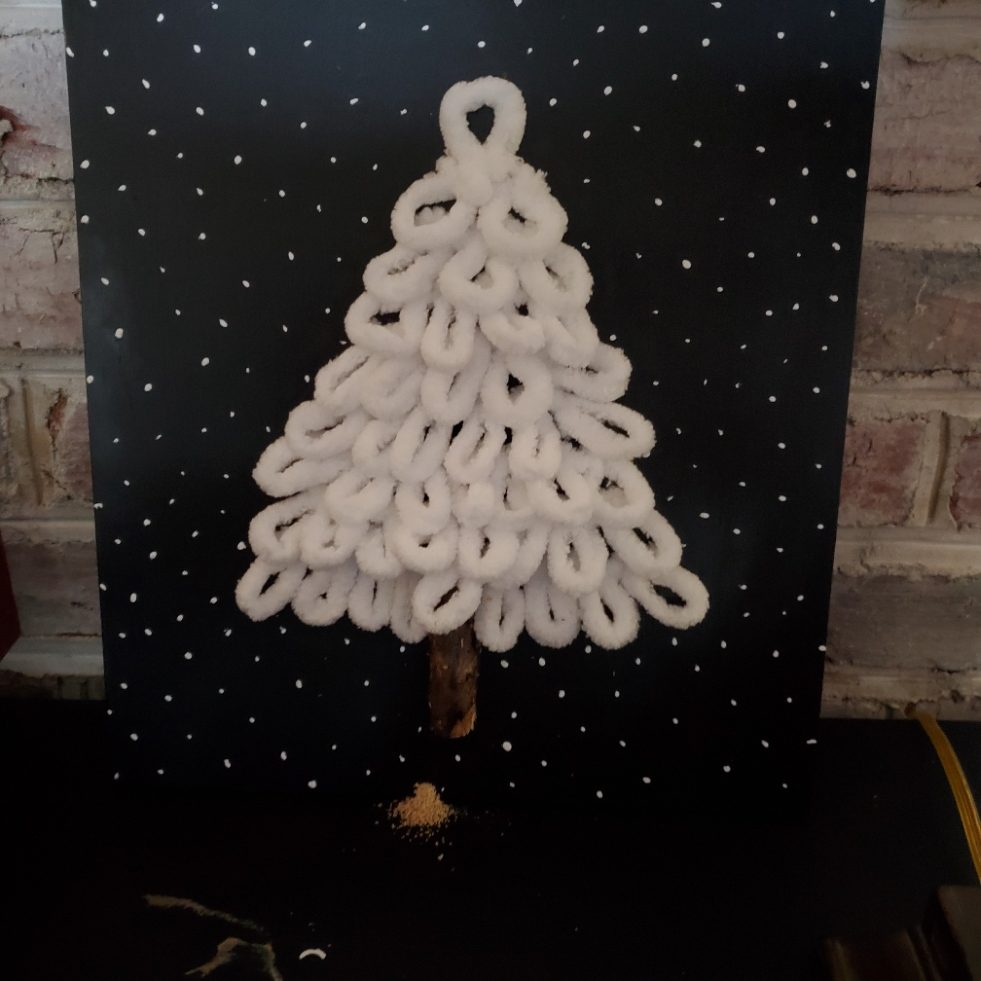
Here is the final tree. Notice I turned the loop yarn upside down on the top…..I wanted a loop at the top.
Next I glued my tree trunk stick on the wood.
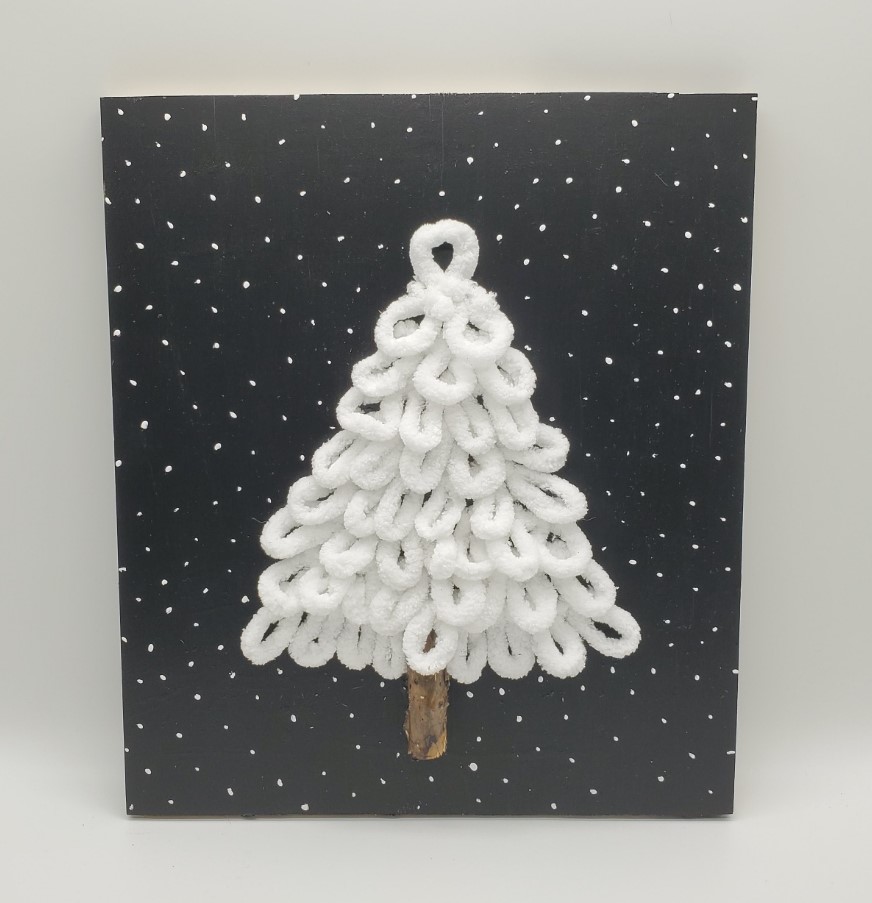
I decided to paint white dots to look like snow since this was originally my winter decor. HINT: I used the end tip of a small paint brush to make these tiny dots…..the dots get big and bulky if you try to use a brush.
I punched out some paper hearts and lightly adhered them to the tree. They will peel of easily once Valentine’s Day is over and I will reuse this.

BLOOPER

BEWARE of the sticks you use on your projects!!!! I displayed my Winter Tree in my house….one day I walked by and noticed a puddle of dust at the bottom. I obviously brought in a critter!!!! DON’T MAKE this mistake!!!!
I hope you enjoyed my DIY Valentine decor ideas. Have a great day!!!!

Karen

Please feel free to visit my past projects on my site https://humblecre-aye-tions.com

Leave a Reply

Your email address will not be published. Required fields are marked *