DIY crafts Repurposing Boxes. Think “outside of the box”.
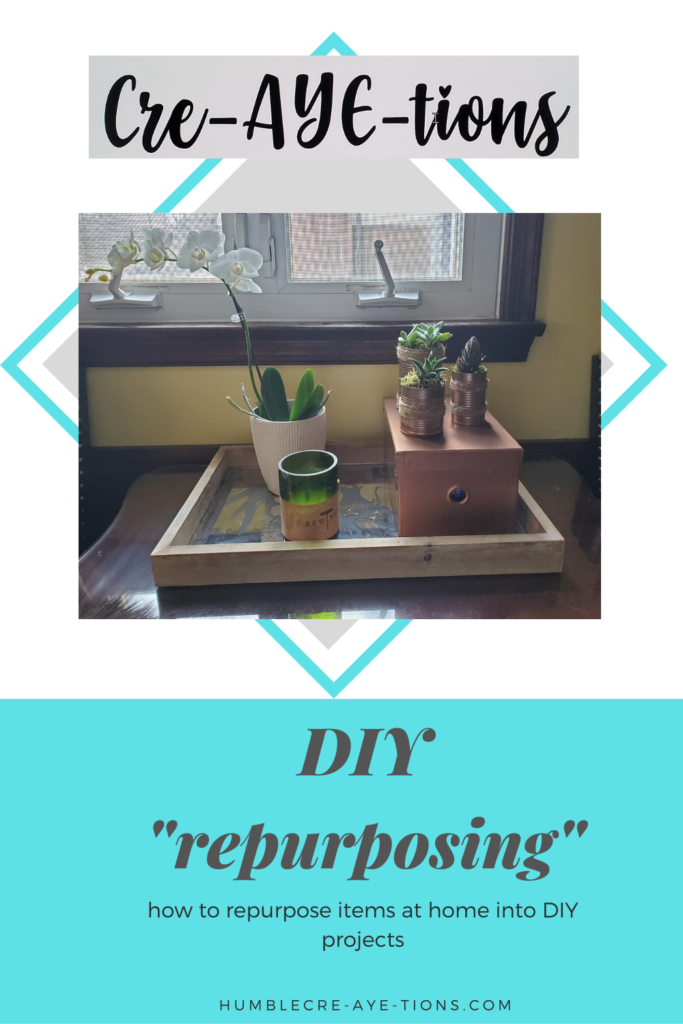
Everyone has guilty pleasures….well….mine are boxes! Boxes are “my jam”! I don’t mean gift boxes (like shirt boxes)….I mean shoe boxes, Amazon boxes, any box that is a GOOD medium size. When someone gets a new pair of shoes or we get an Amazon delivery in a medium size box I hardly throw away the box. Now, I have not found a purpose for every box BUT I do find myself using them quite often.
DIY craft repurposing a box!
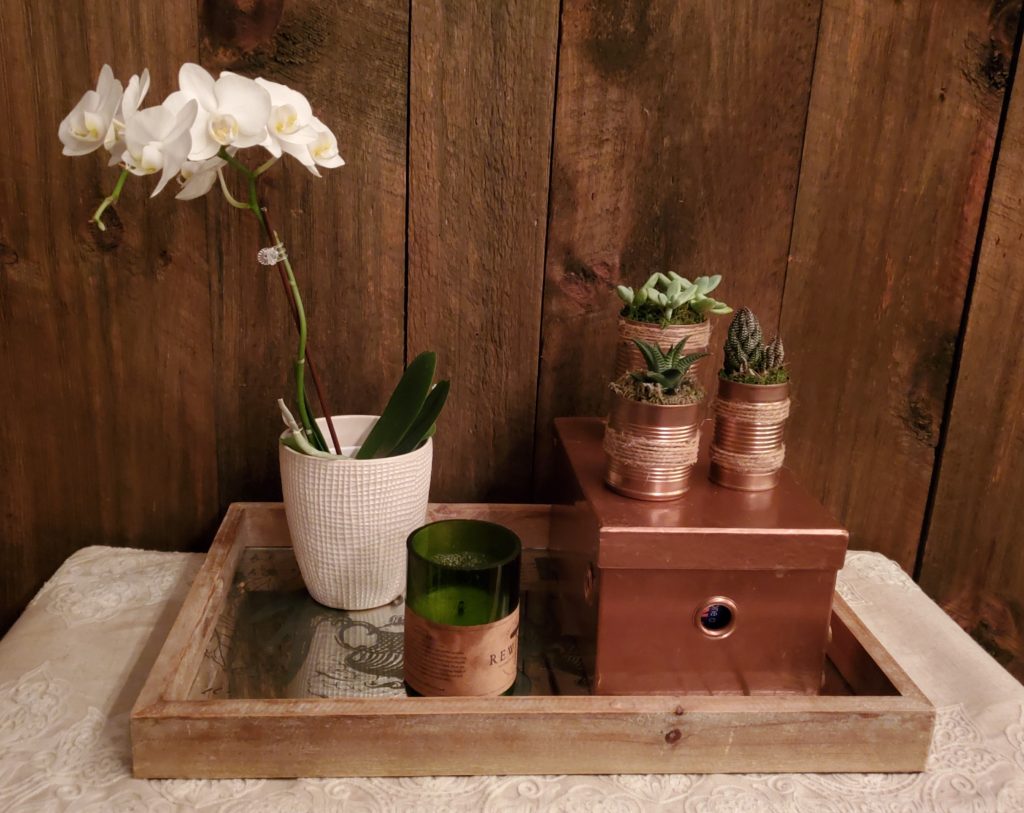
I have done some DIY crafts repurposing boxes…..usually I will spray paint them (I love a bronze color most of the time). In the picture below is a box that I keep in my kitchen where I store my coupons. This was a “girly juvenile” box that Lauren received when she was a little girl. When she moved out of our house that was one of the items that was designated as “trash”. I rescued that box and garnished it with my favorite bronze spray paint. Now I don’t mind it sitting out. My DIY succulent plants (from my “Yes you can-can” post) sit nicely on top.
DIY Box Craft with Pillow Case!
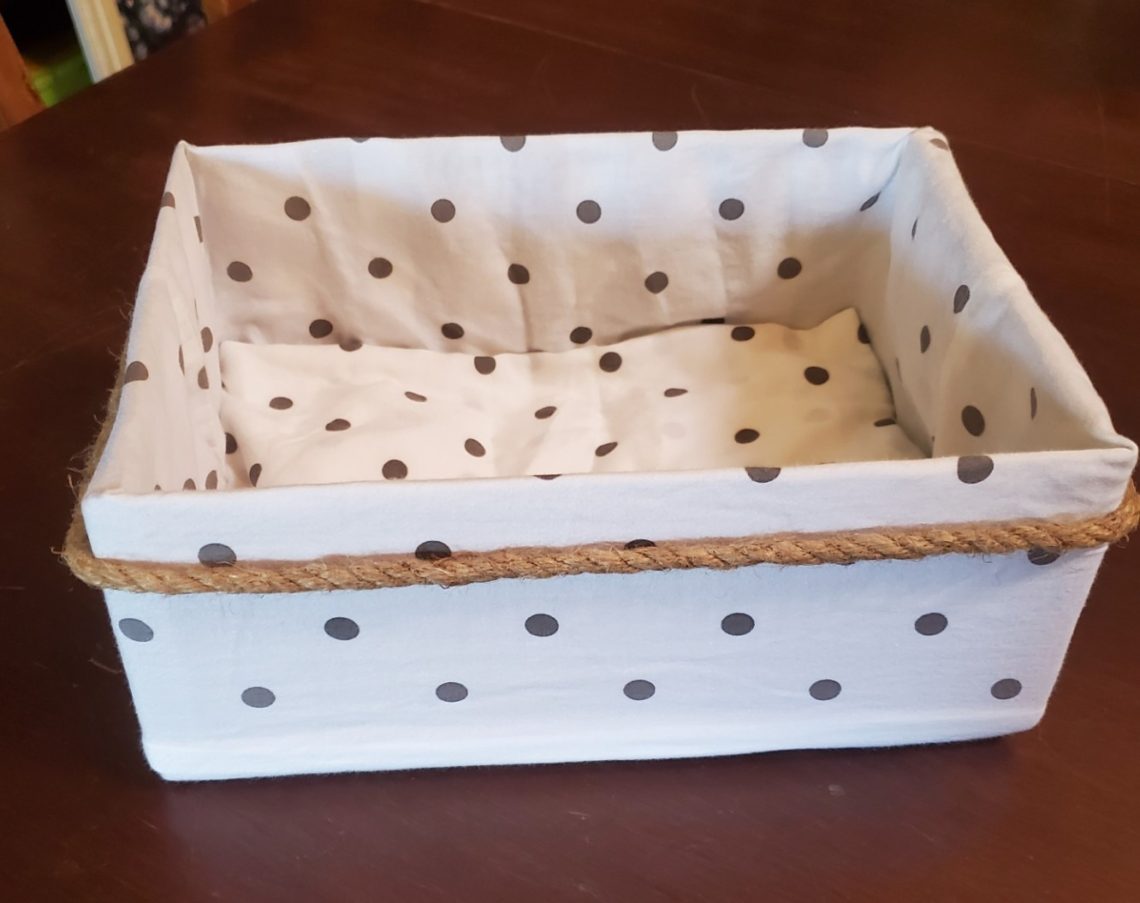
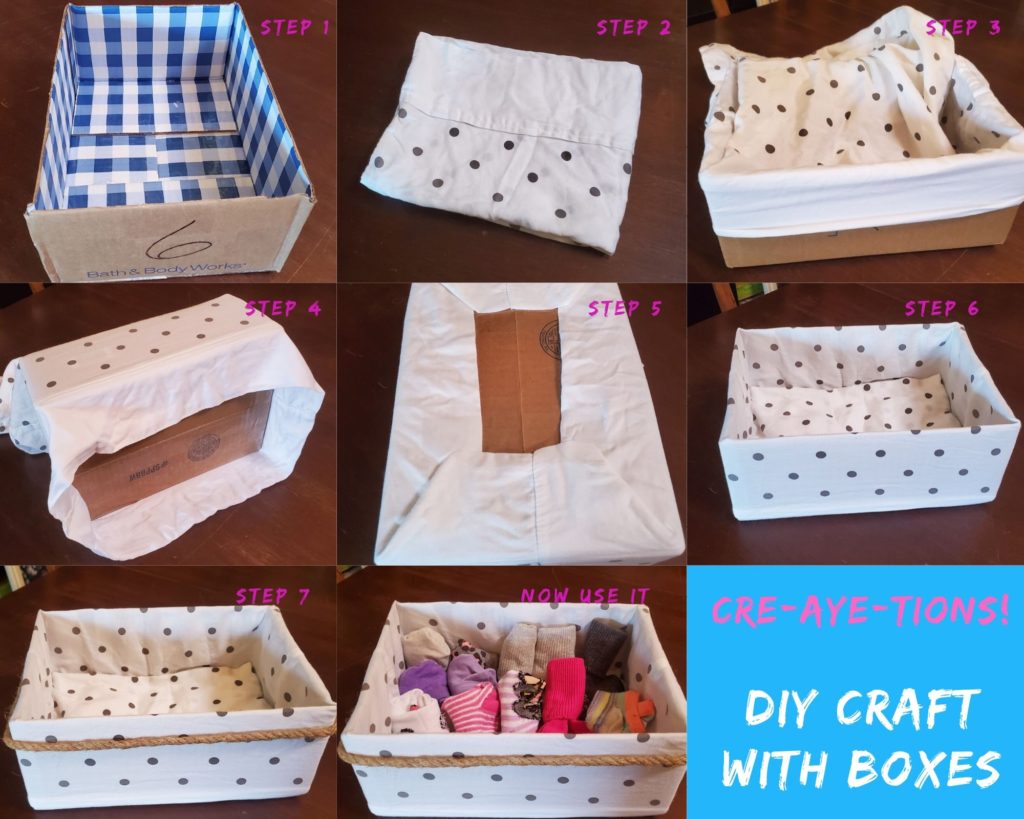
The older Aubrey is getting the bigger her socks are getting, so the original storage box I was using for her socks was getting over crowded. It was time to do a DIY box craft for her sock storage with a box from a mail order Bath & Body Works and a pillow case that matches the pillow case in Aubrey’s room (at our house). I did not want this to be a permanent creation because I really didn’t want to destroy the matching pillow case for a DIY project. SO here is my TEMPORARY DIY box craft.
Materials needed:
- Cardboard box – 8″ deep x 12″ long (you can use varying heights…the opening noted here is perfect for a standard size pillow case)
- Pillow case
- Packing tape
- Jute cord (optional)
Step-by-Step instructions (see step-by-step photos below)
STEP 1 – Find your Cardboard box 8″ deep x 12″ long and cut off all 4 flaps.
STEP 2- Chose a standard size pillow case you want to use to decorate your box.
STEP 3 – Insert the box into the pillow case always keeping the opening of the pillow case around all 4 sides of the box. It will be a tight fit BUT it will also be a “good fit”.
STEP 4 – Pull the opening of the pillow case down to the bottom of the box making sure there is enough pillow case to be able to secure to the bottom.
STEP 5 – Since this is a temporary project use 2 pieces of packing tape to tape the pillow case to the bottom of the box (like wrapping a gift).
STEP 6 – There will be A LOT of excess pillow case in the inside bottom of your box. Just neatly fold it to be a bottom layer of the box.
STEP 7 – In this project I decorated with a jute cord, however you can use ribbon or nothing at all.
FINAL – Now your creation is ready for storage!
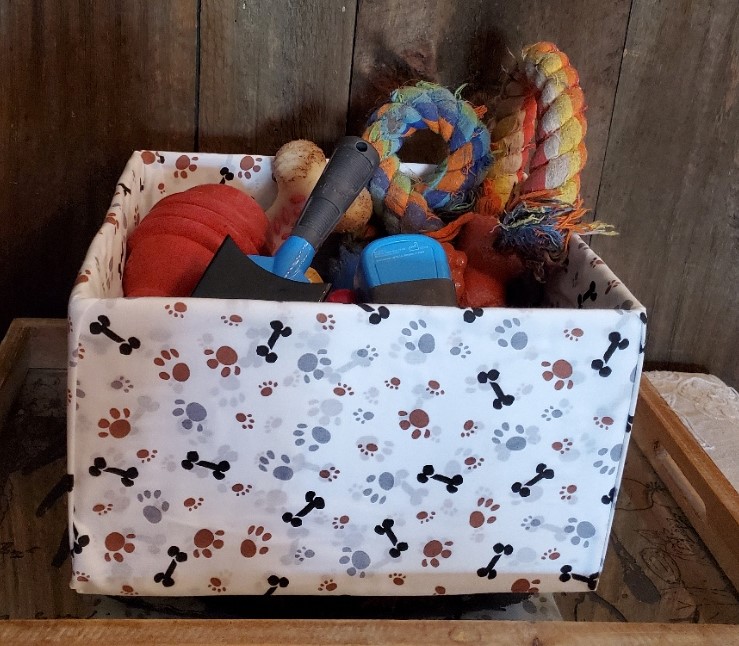
The above was just a temporary box design. You can get into more permanent box designs by using fabric and hot glue gun OR adhesive spray. I use the Gorilla Glue Spray Adhesive Heavy Duty that can be found at your local WalMart. See below a simple box I covered in fabric and adhesive spray to store our Dog toys. There are several DIY with boxes videos that get into some very cool-looking and functional boxes. Maybe I will experiment and show you some more at a later date.
Repurposing some boxes!
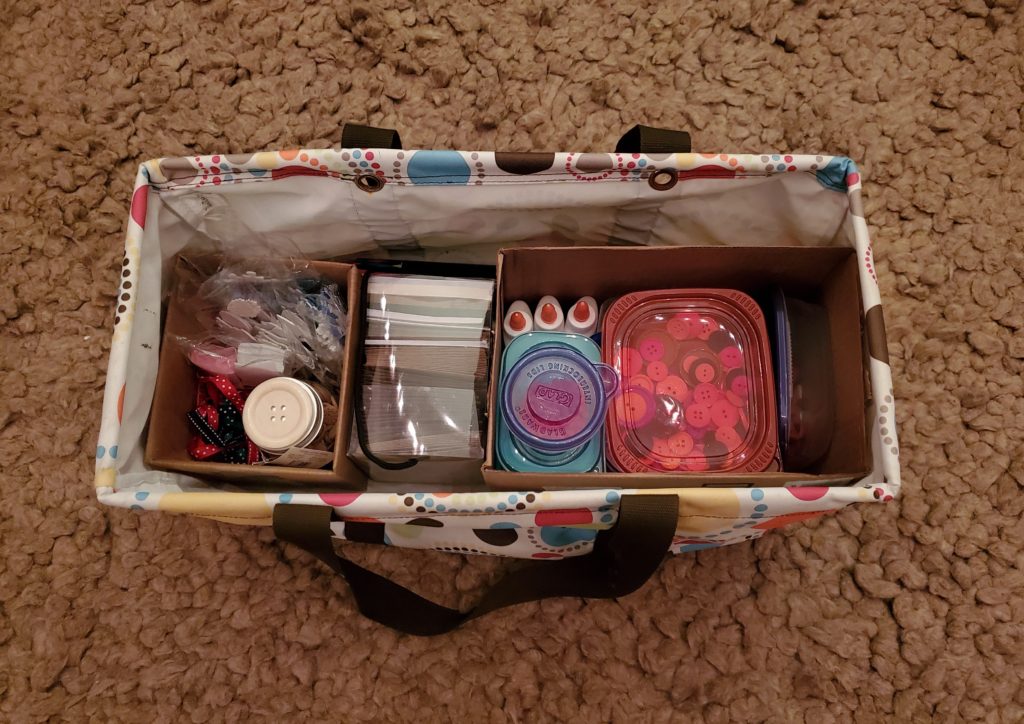
ONE LAST repurpose for those Amazon boxes……I do a craft with a local rehab/retirement center every month. We do a variety of different crafts so I have to take different supplies every time I go. A lot of the craft decor items are small and/or kept in numerous small containers. It is so handy to load these craft supplies in boxes from “my guilty pleasure box collection” and pack them in my big Craft tote bag. These boxes are “sub-compartments” inside my large tote bag. This way I can pull out the individual boxes with specific supplies as I need them. My box collection has come in very handy.
I think the moral of this post is to “think outside of the box” (no pun intended).
Blooper…….
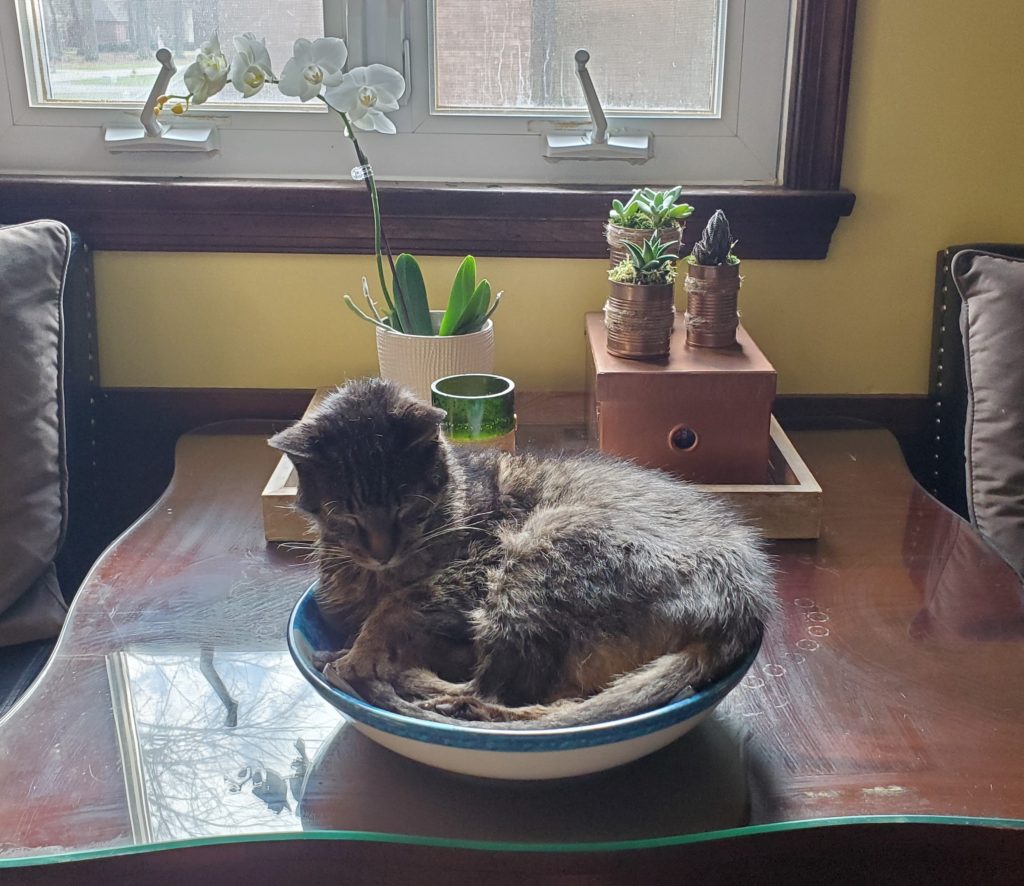
At the end of most movies now-a-days they will show you bloopers. Below is my version of my Blooper. My “staged” photo of the succulent and boxes above wasn’t exactly how it looks every day. This photo is how it really looks. For some reason our cat has taken more of a liking to a bowl rather than his bed. He has been sleeping in that bowl for about 2 months now. I hope he gets over this sleeping arrangement by summer…..that is a winter bowl with snowmen on it……that bowl gets put away around April.
